The Recycle feature in Social Champ is perfect for re-sharing your evergreen content across your social media accounts without manually scheduling each post. It allows you to create a content bank that automatically reposts on a schedule, saving time and keeping your accounts active.
Here is a comprehensive guide on leveraging Social Champ’s Recycle feature to elevate your social media game.
Let’s get started!
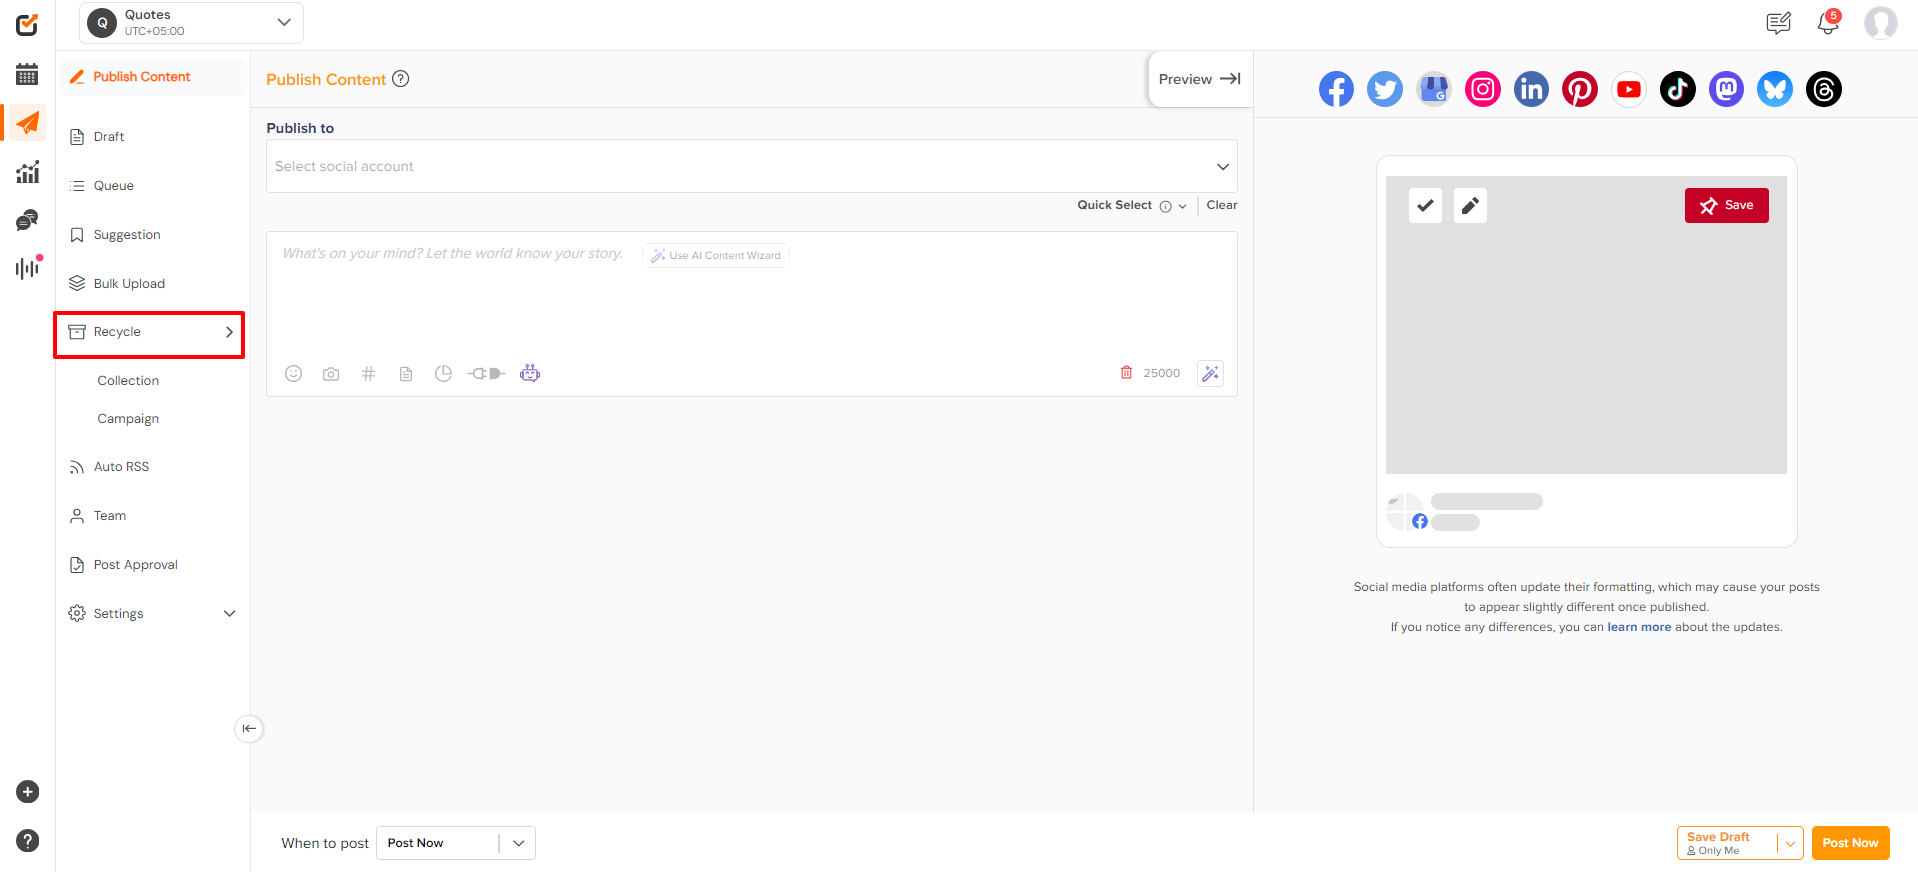
- Login from your Social Champ’s account and choose “Recycle” from the second column on the left.
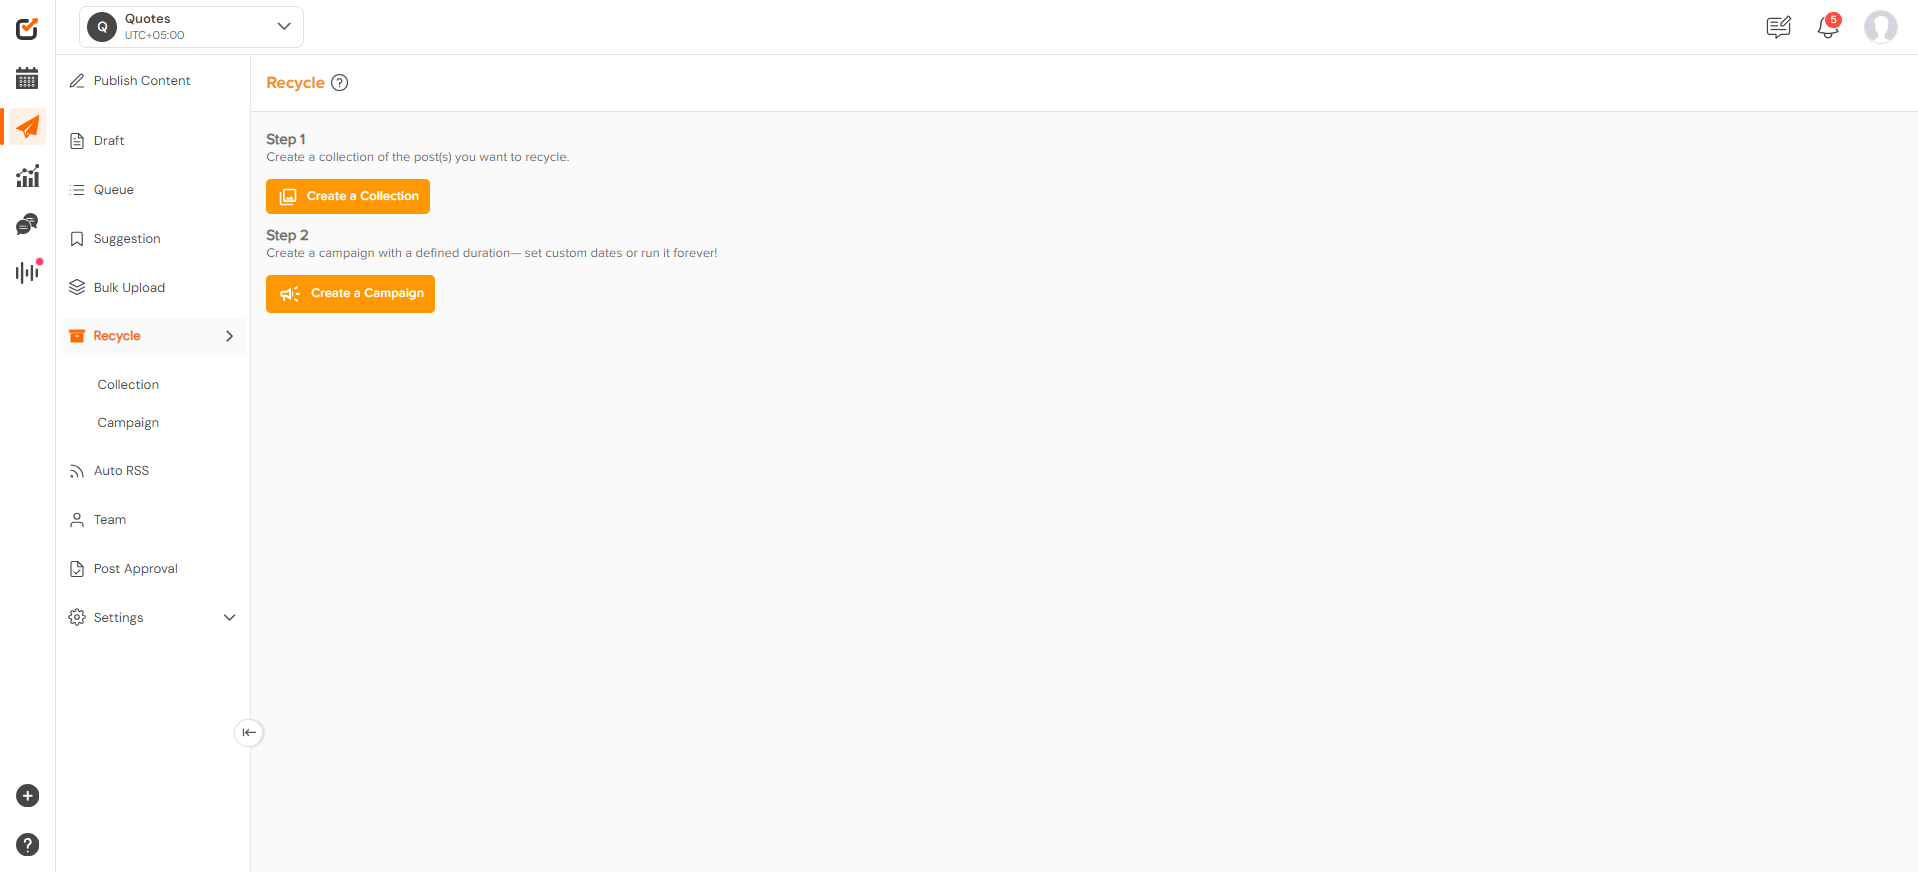
Feature Recycle can be used by setting up the Collection of the posts and running it as a Campaign.
Create a New Recycle Collection
- Creating a “Collection” is the first step. Start by Clicking on “Create a Collection”.
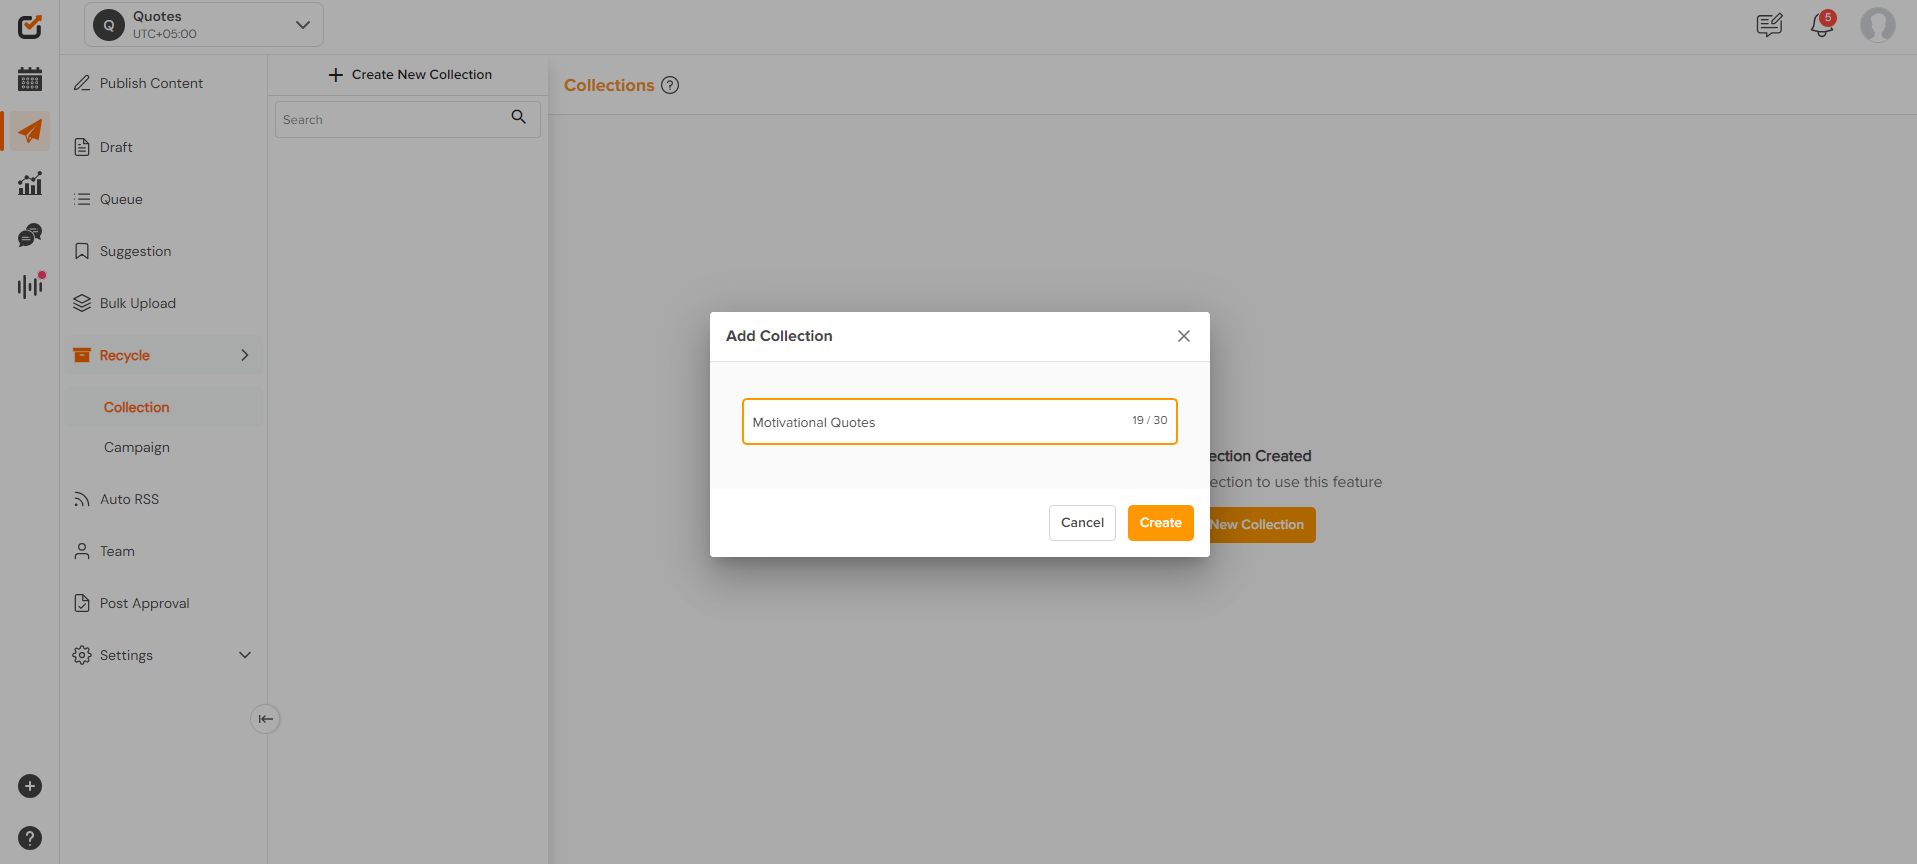
- Name your collection based on the content type you want to recycle (e.g., Blog Posts, Promotional Content, Motivational Quotes, etc.). Once you’ve done this, click “Create.”
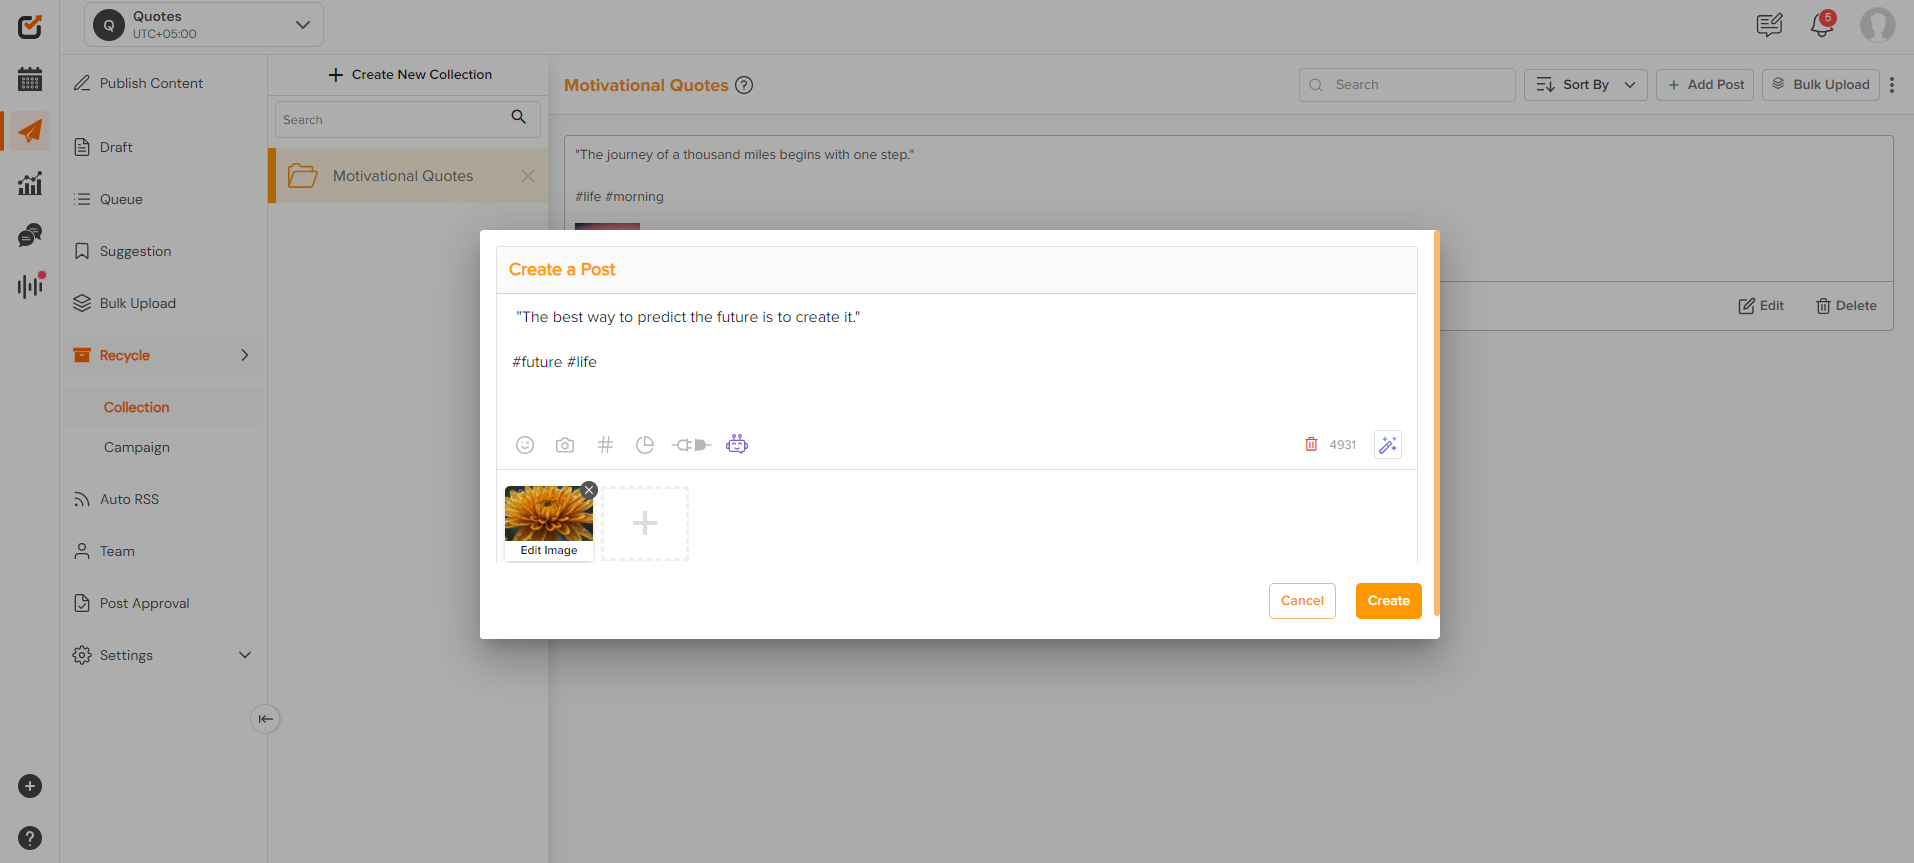
- After creating the collection, start adding posts that you want to recycle. You can either:
– Create a new post: Add text, images, or links directly into the content editor.
– Import from CSV: Upload a CSV file with pre-written posts to save time.
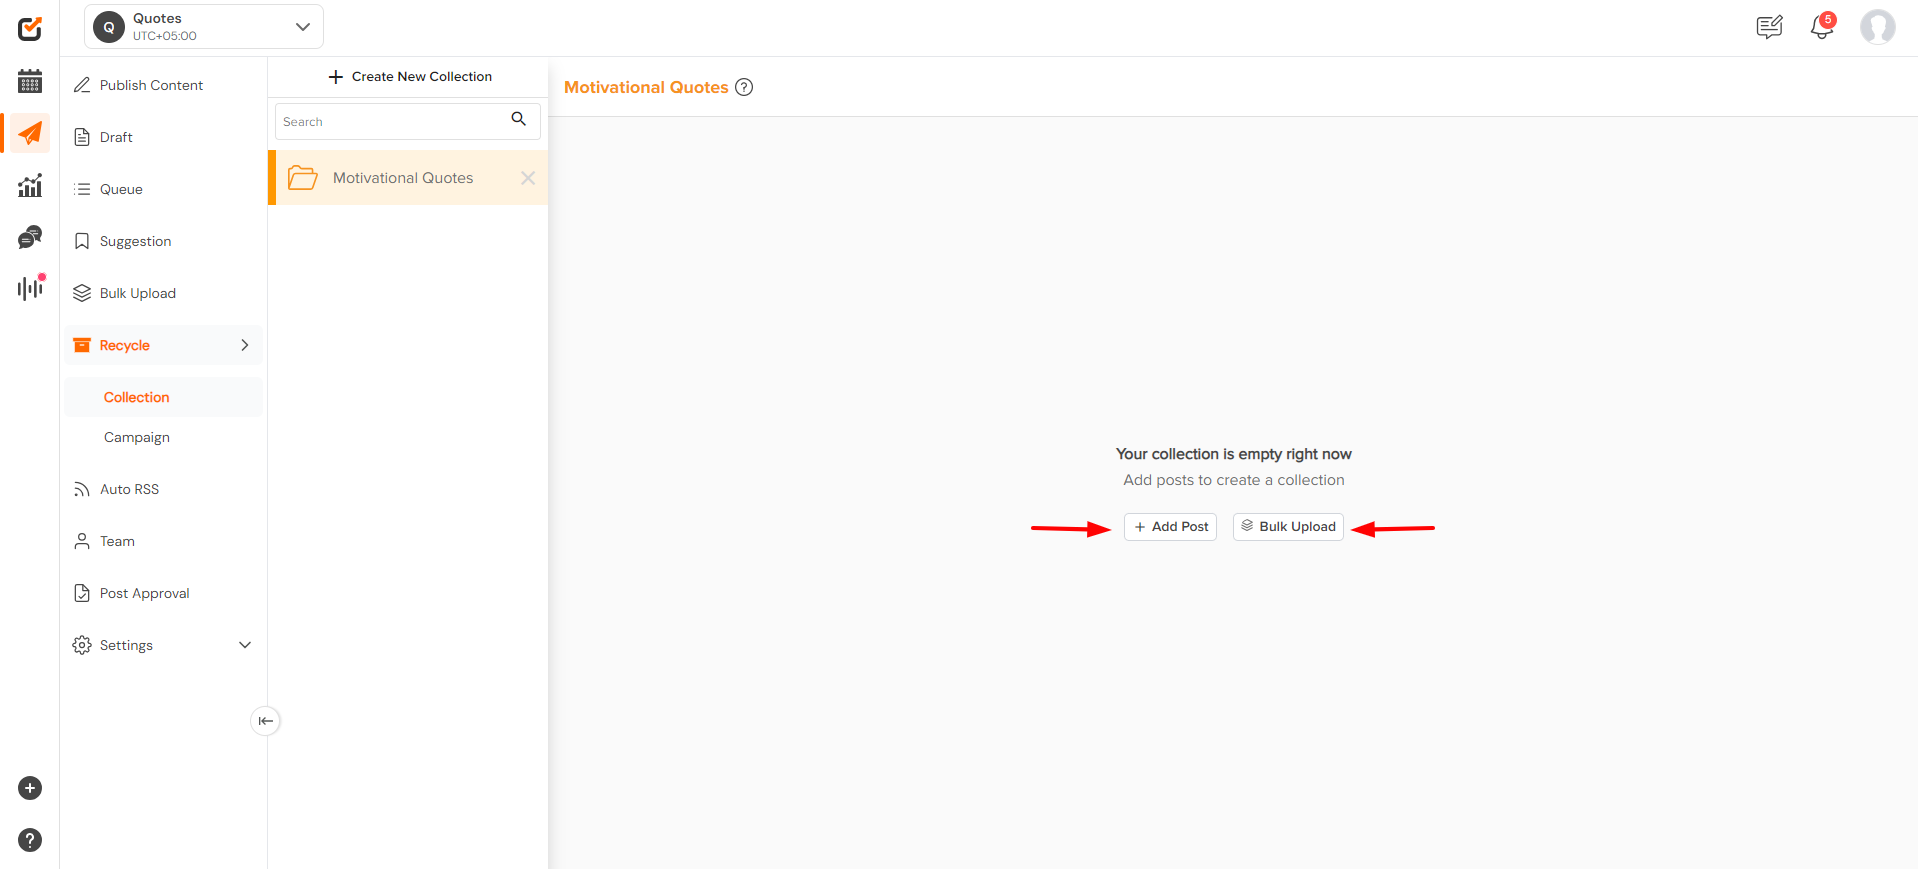
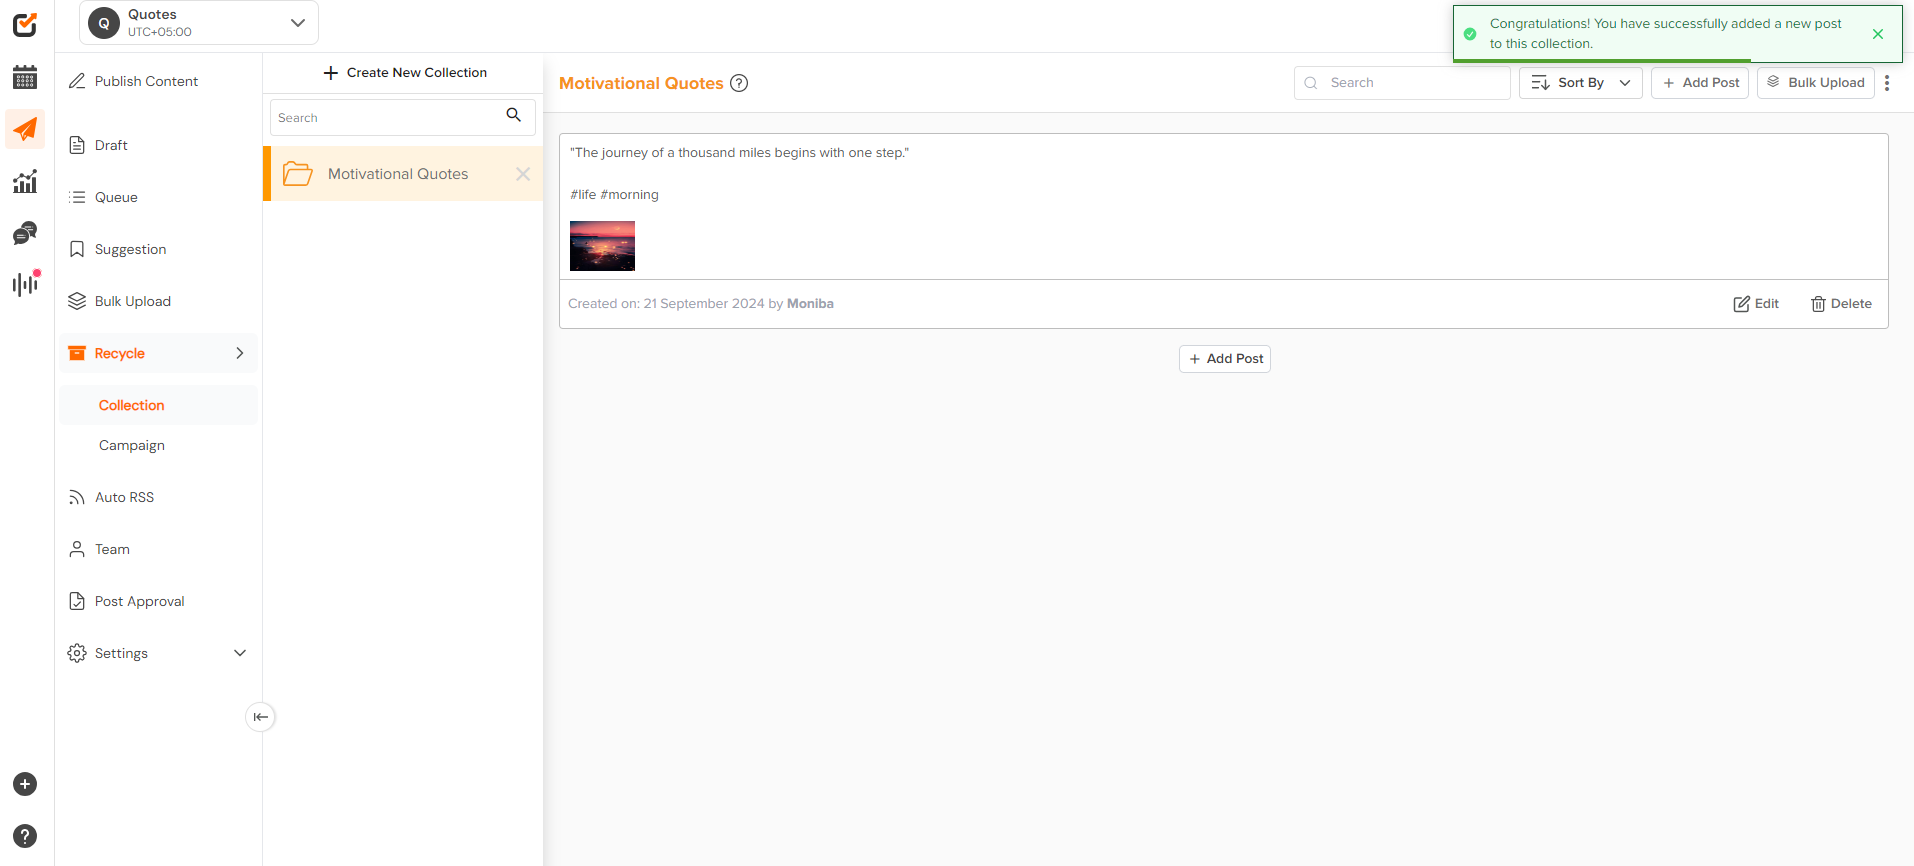
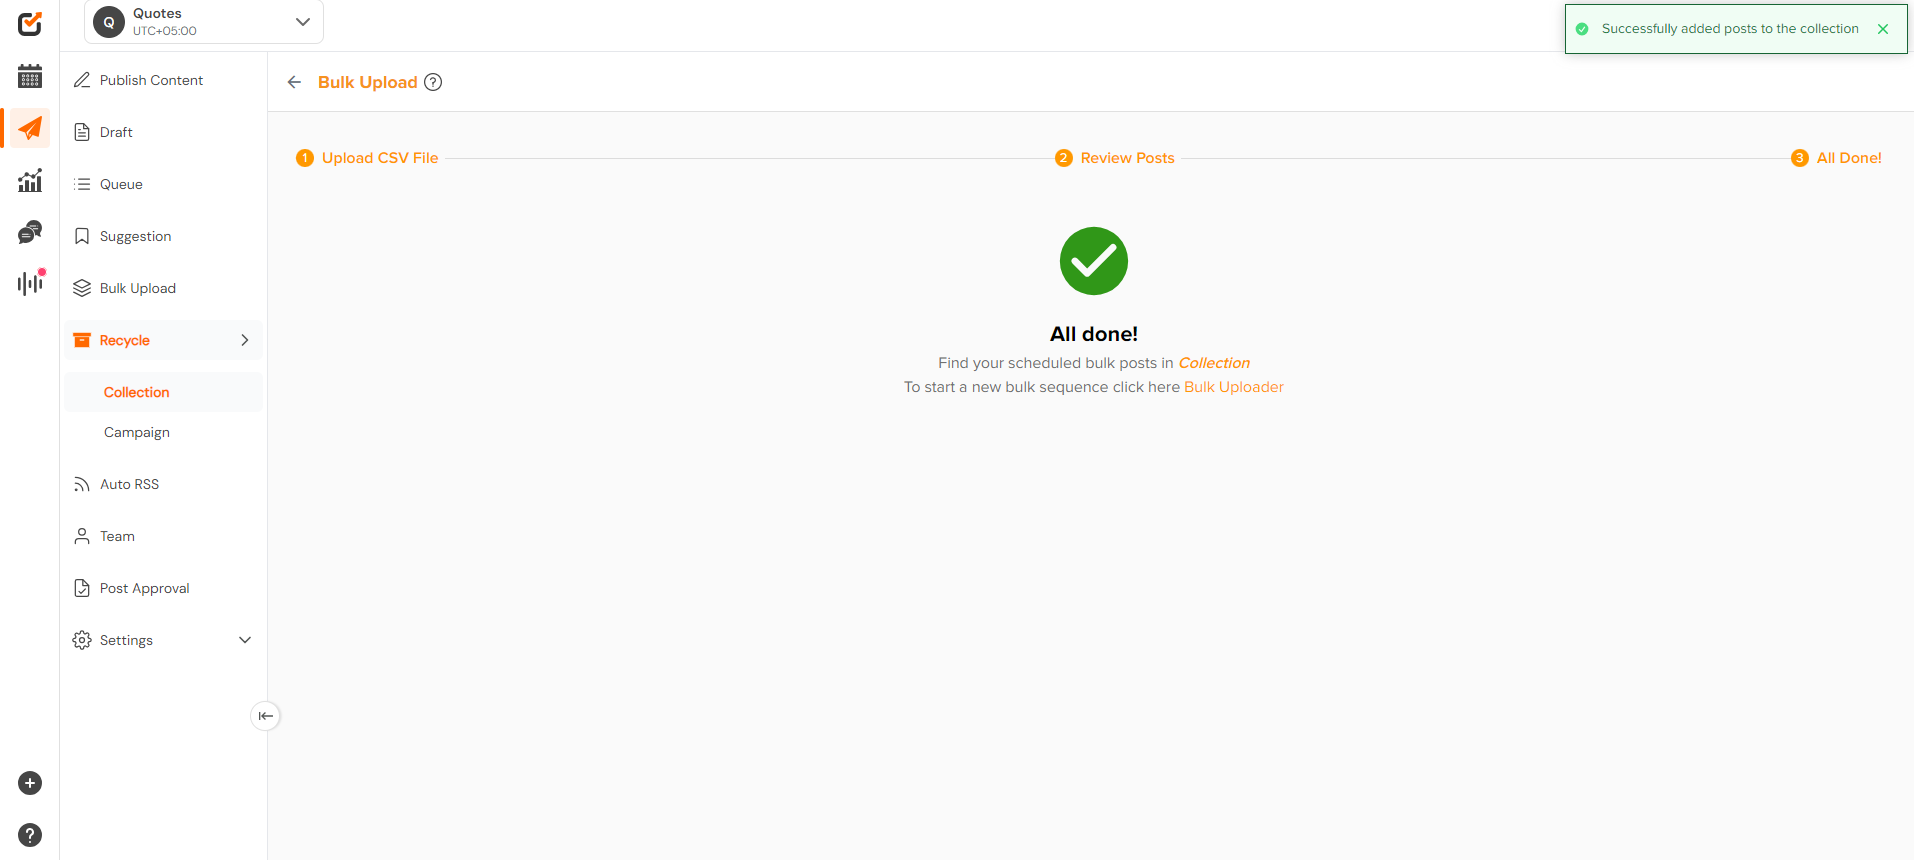
- Click “Add Post” and start creating a post. After creating a post, click “Create.” You will receive a notification that your post has been successfully added.
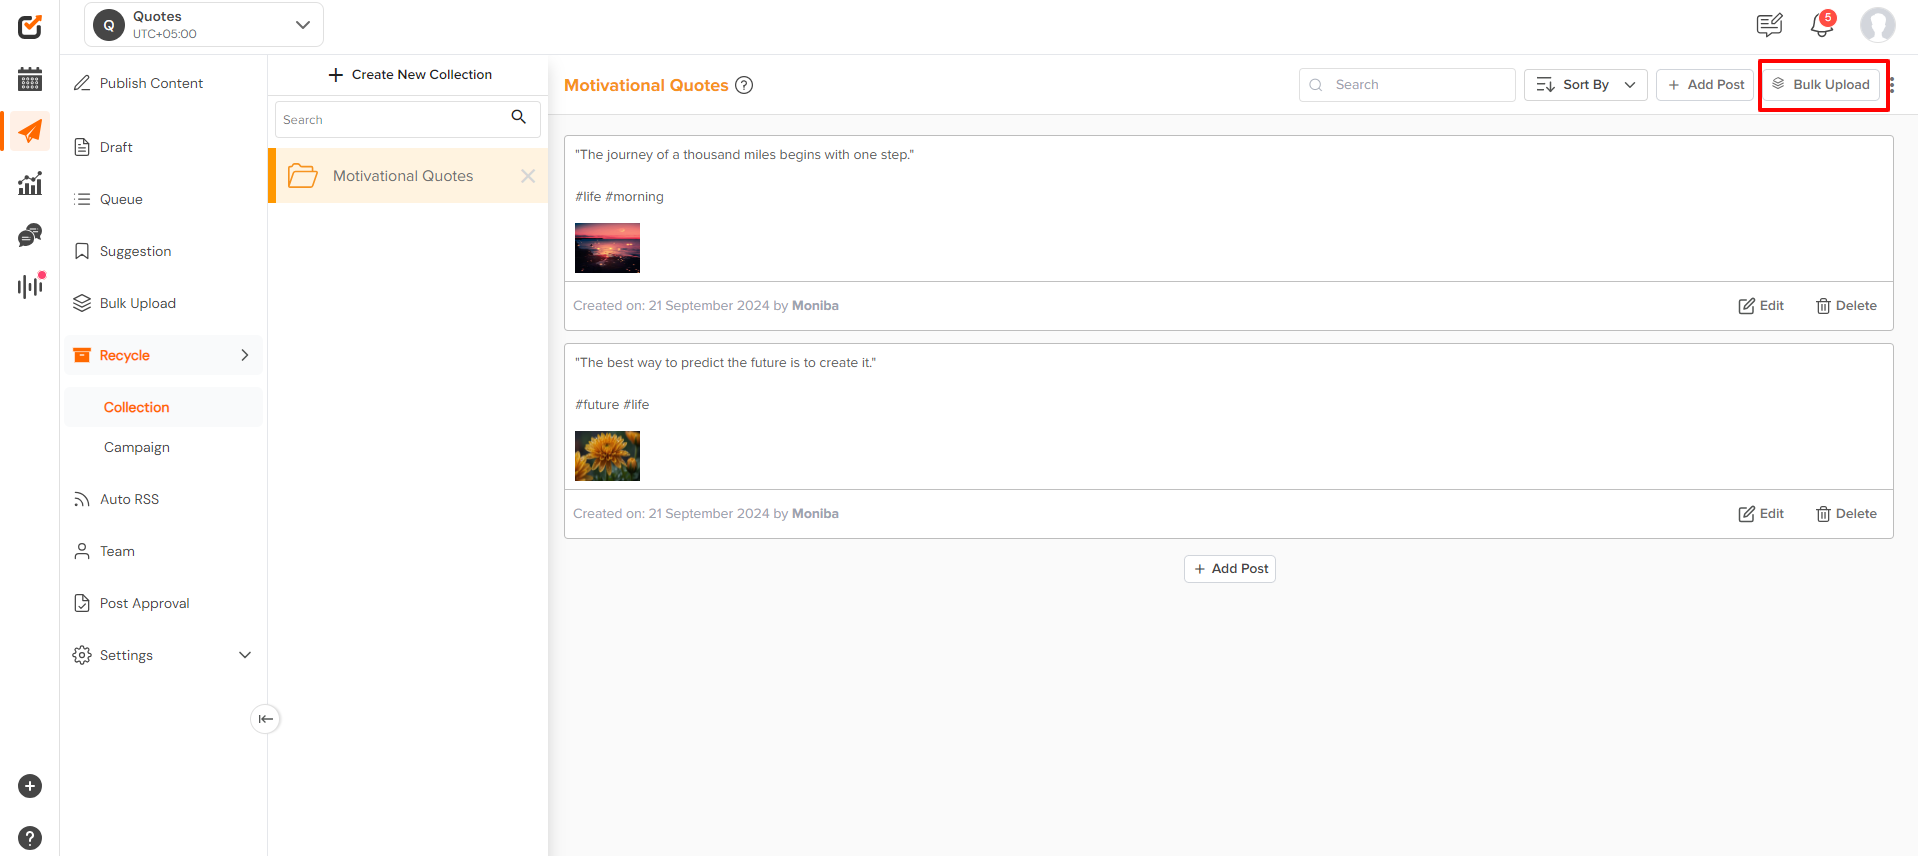
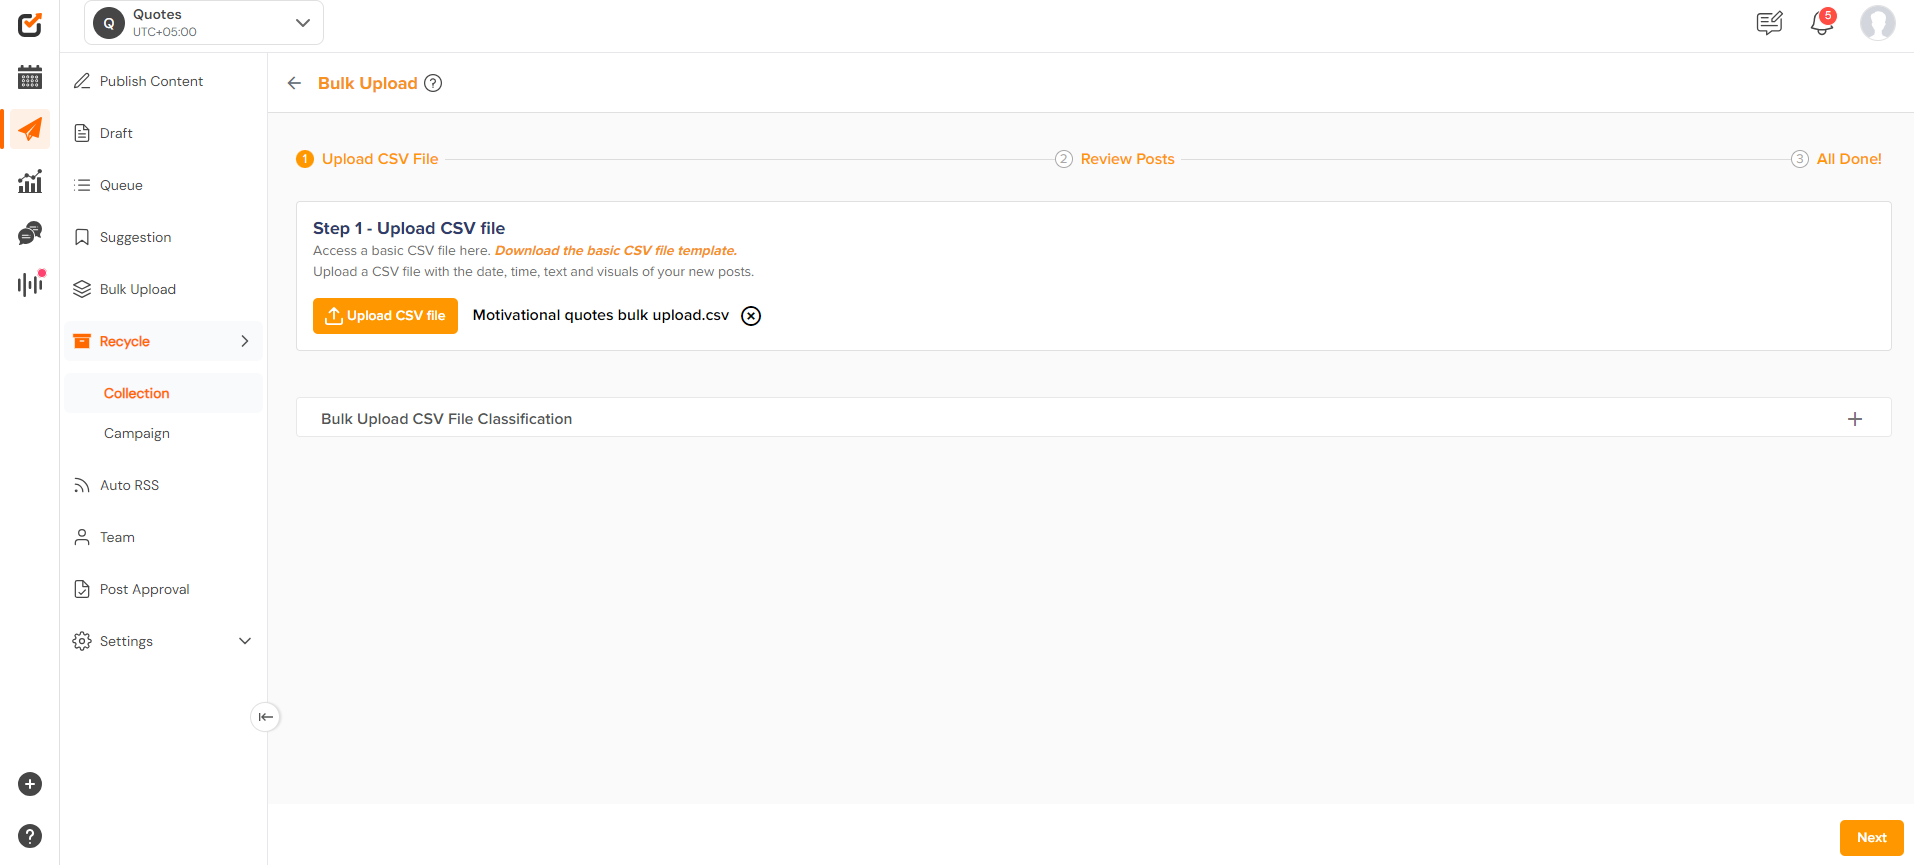
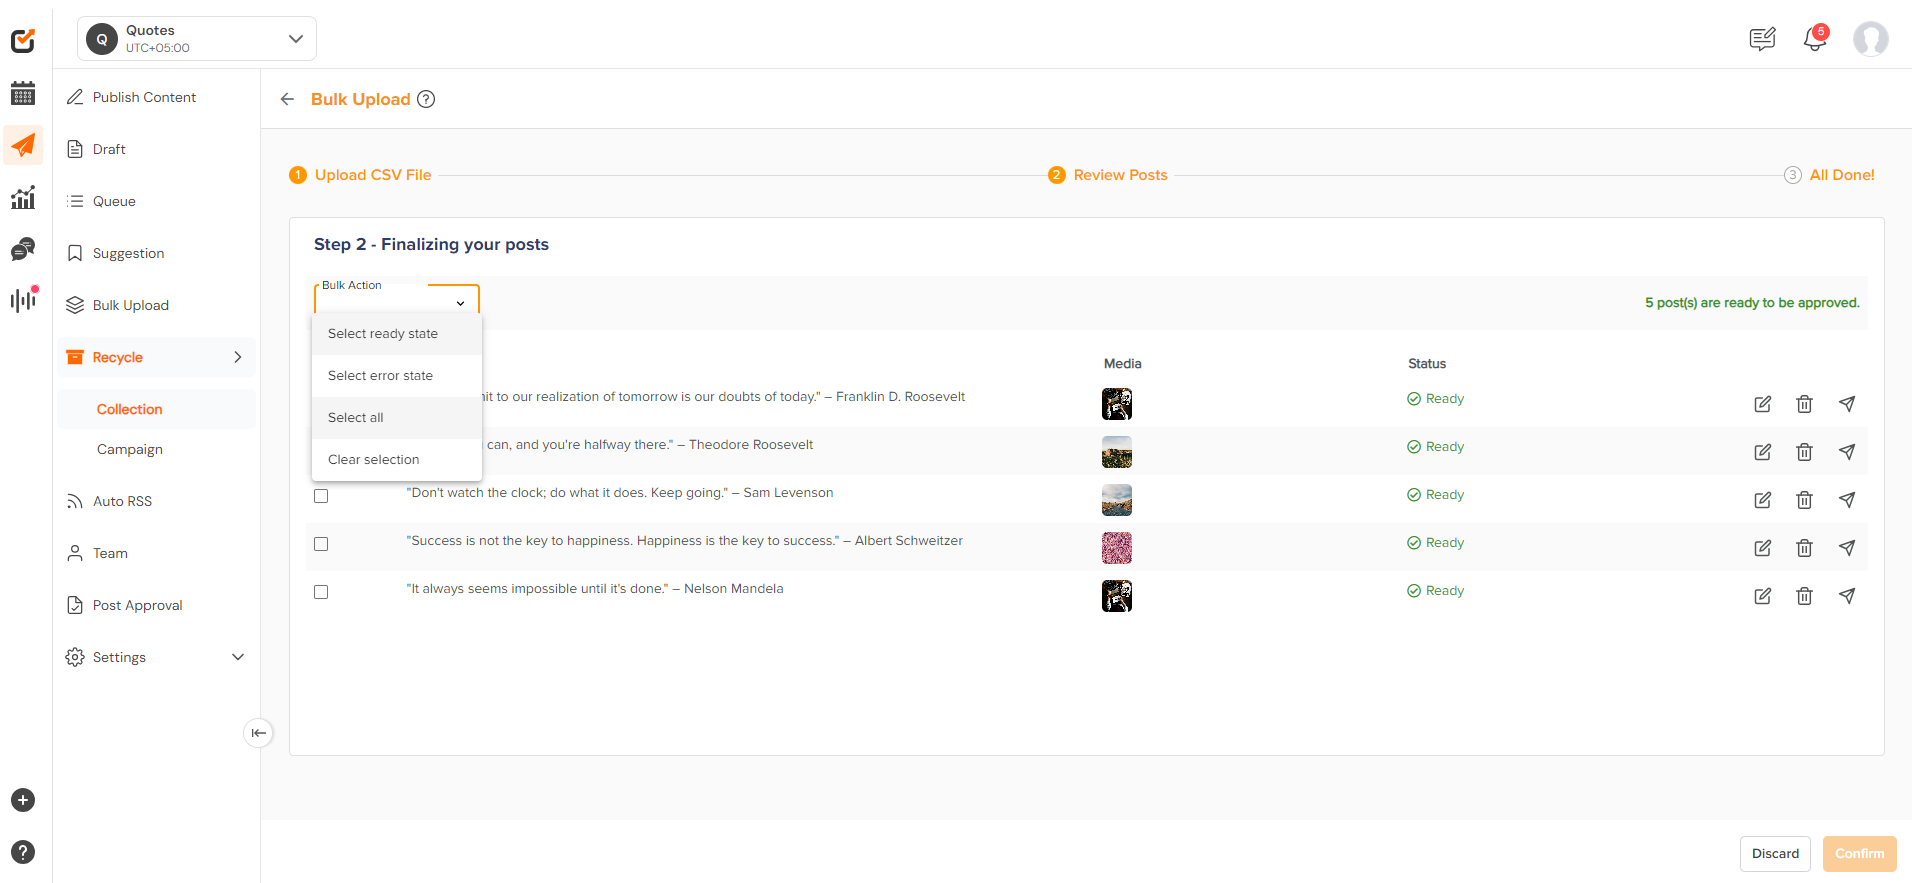
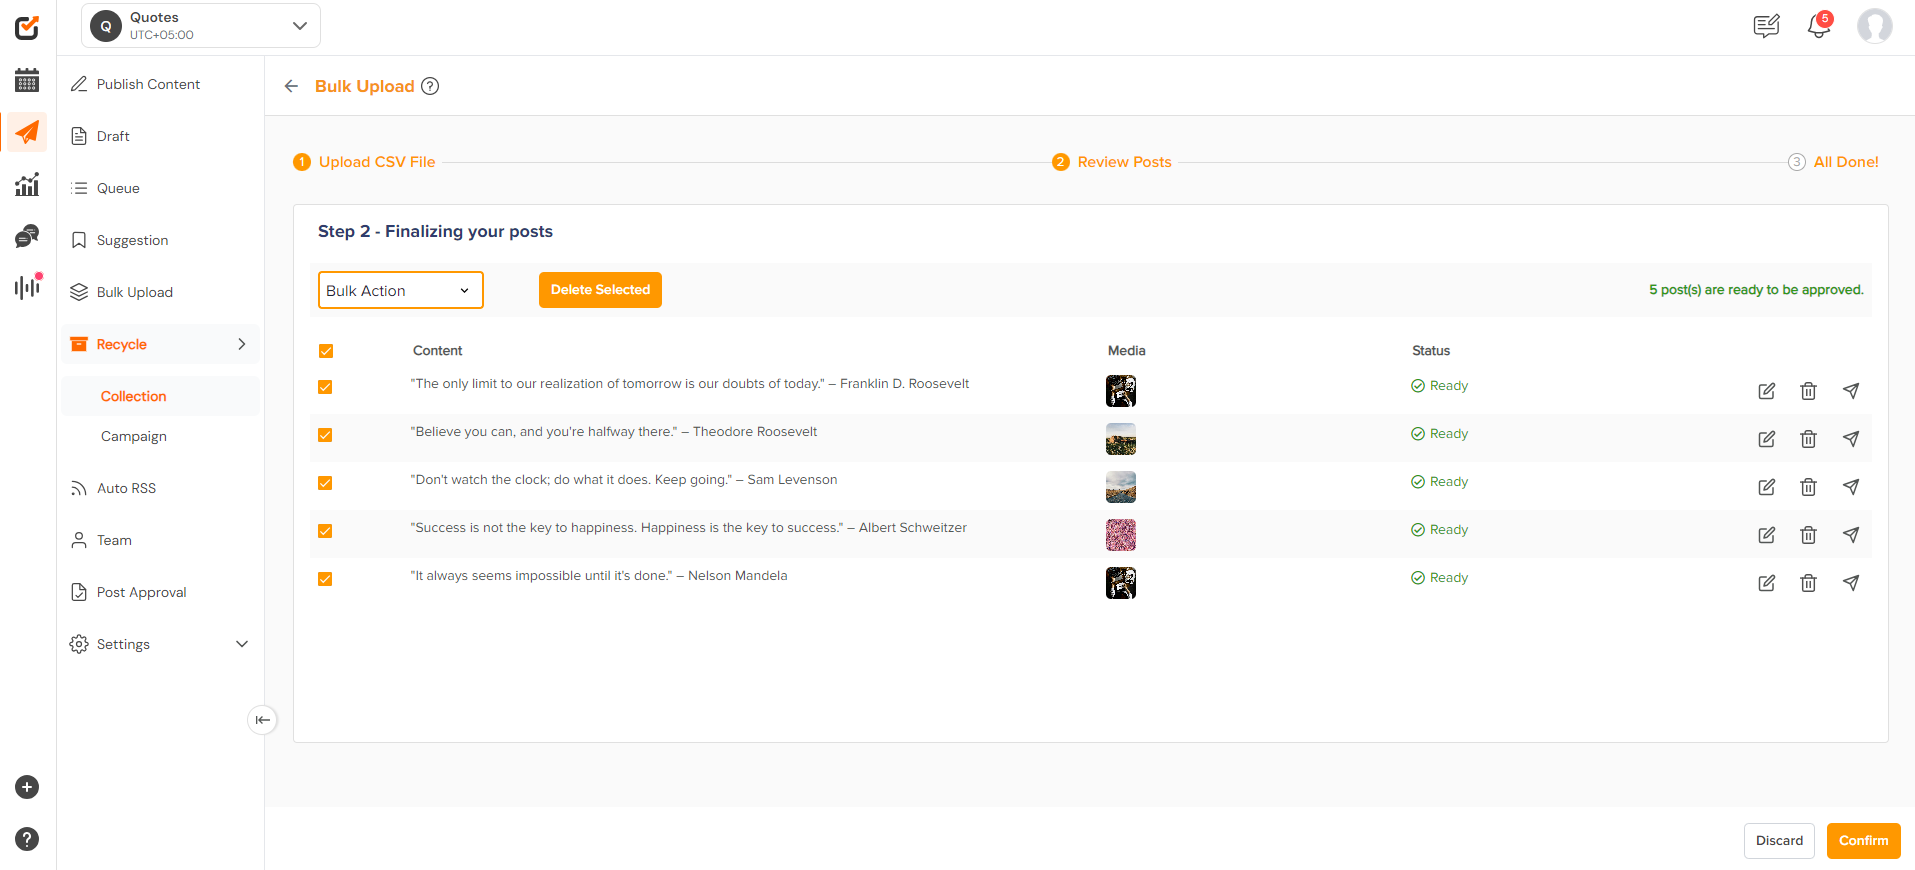
- You can add posts to your collection via Bulk Upload. Click on the option on the top right row. You will redirected to the bulk upload window, where you can download a CSV to fill in, or you can go back to your collection.
- From the top right, ‘three dots,’ the collection can be, ‘Shuffled’, ‘Emptied,’ ‘Export CSV,’ and ‘Edit.’ You can also ‘Delete’ and ‘Edit’ individual posts within the collection.
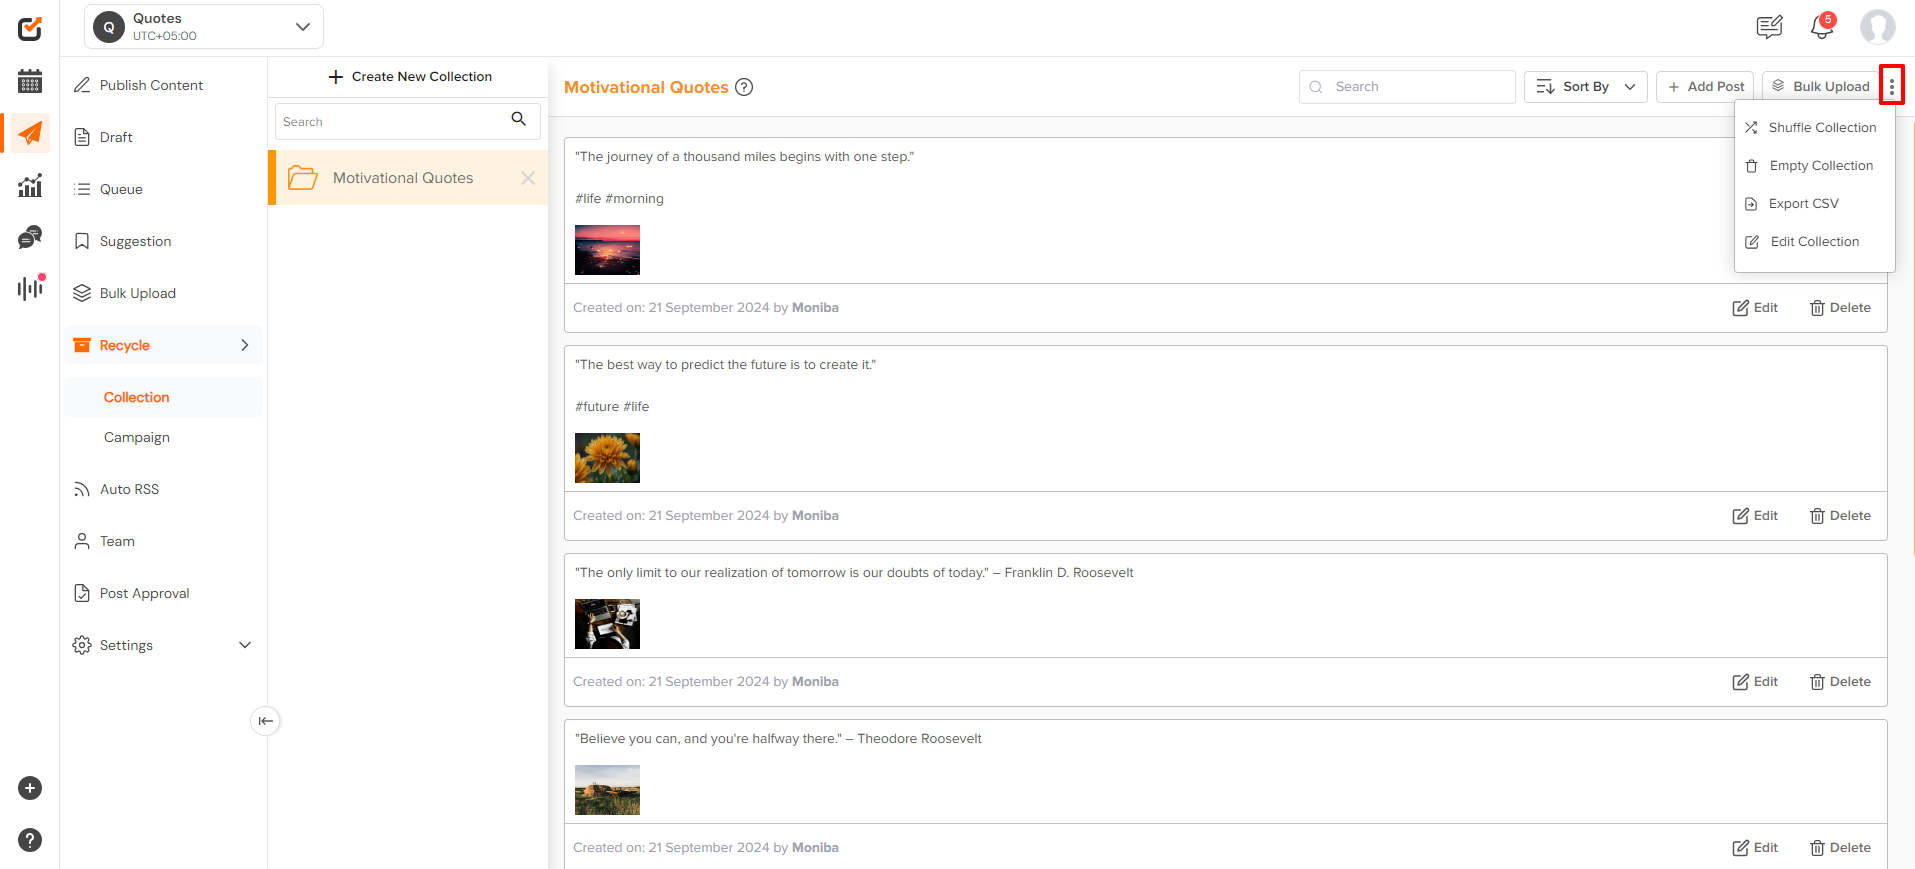
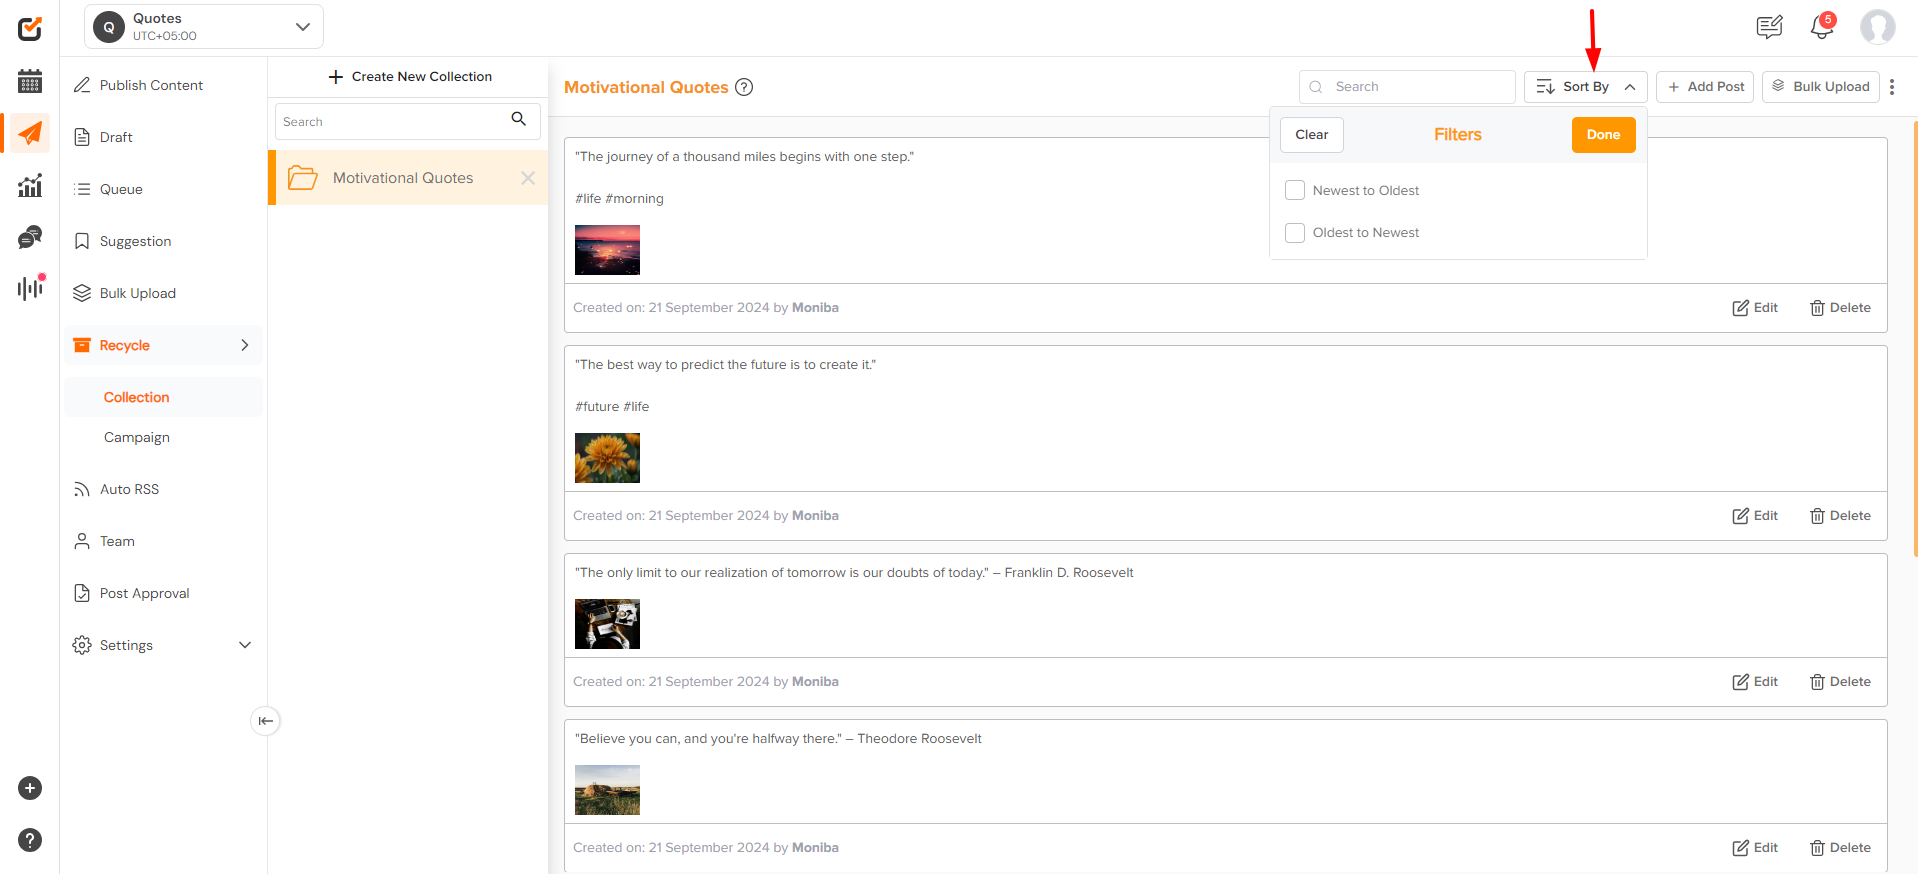
- Posts can sorted by clicking on the “Sort By” button.
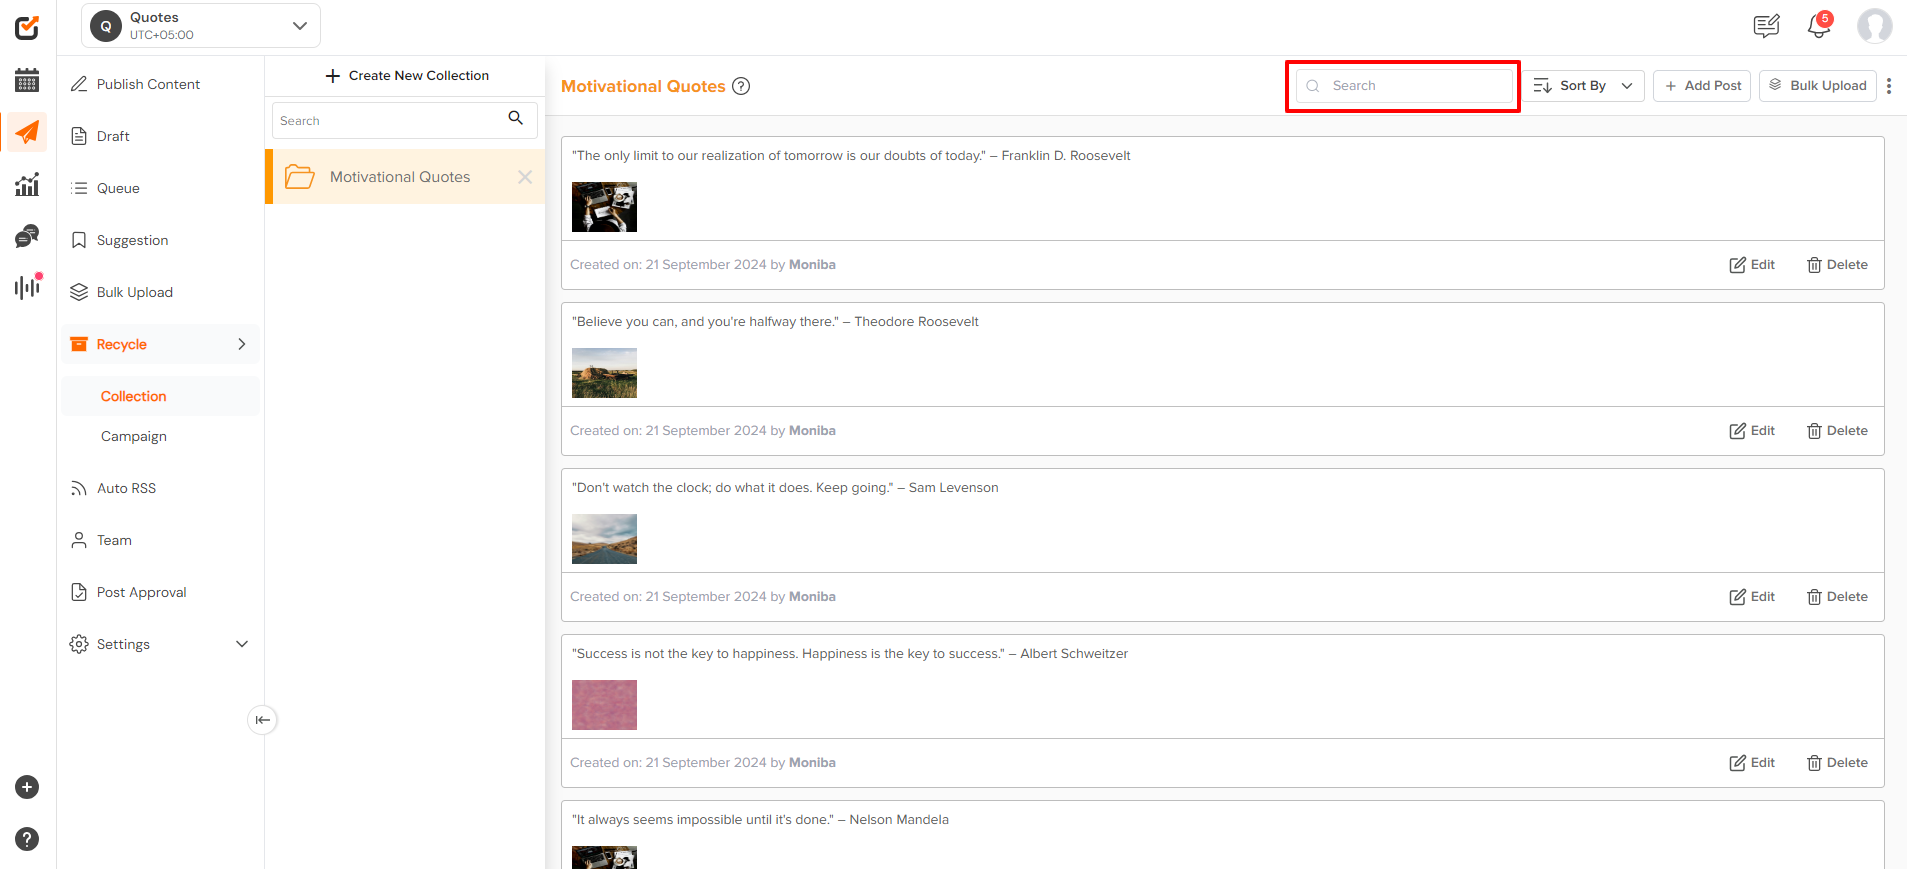
- You can also search a post using the search option here.
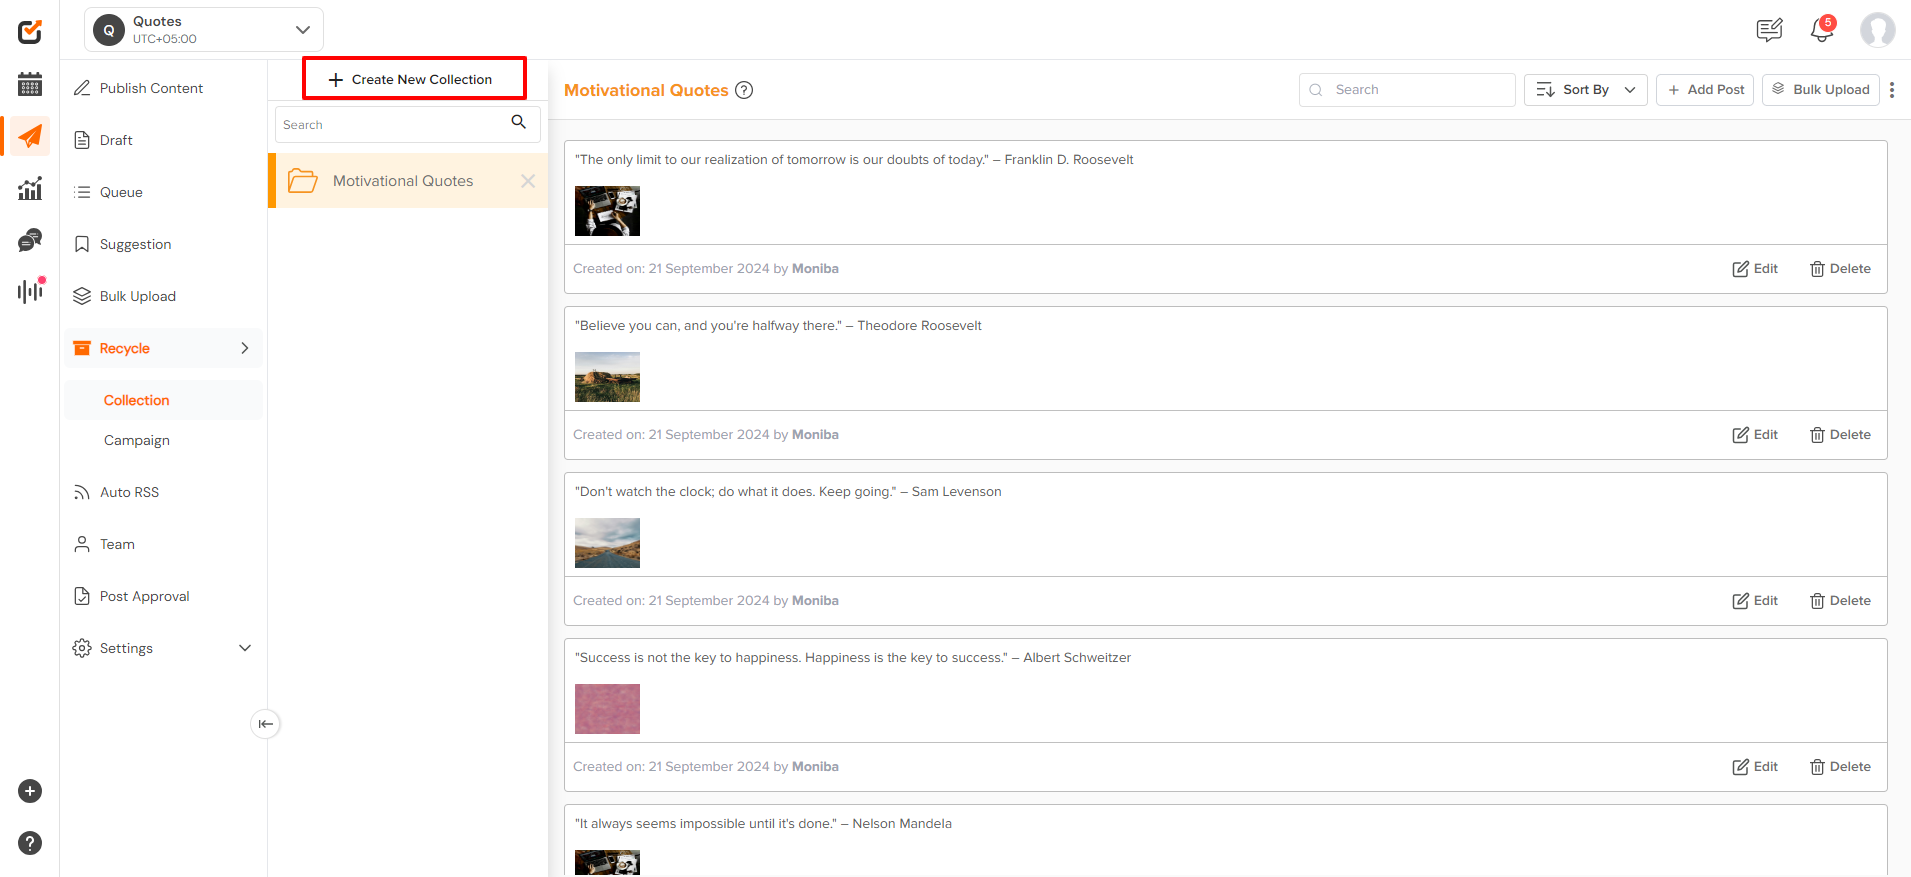
- Want to create more collections? Not to worry click on the ‘+ Create New Collection.’
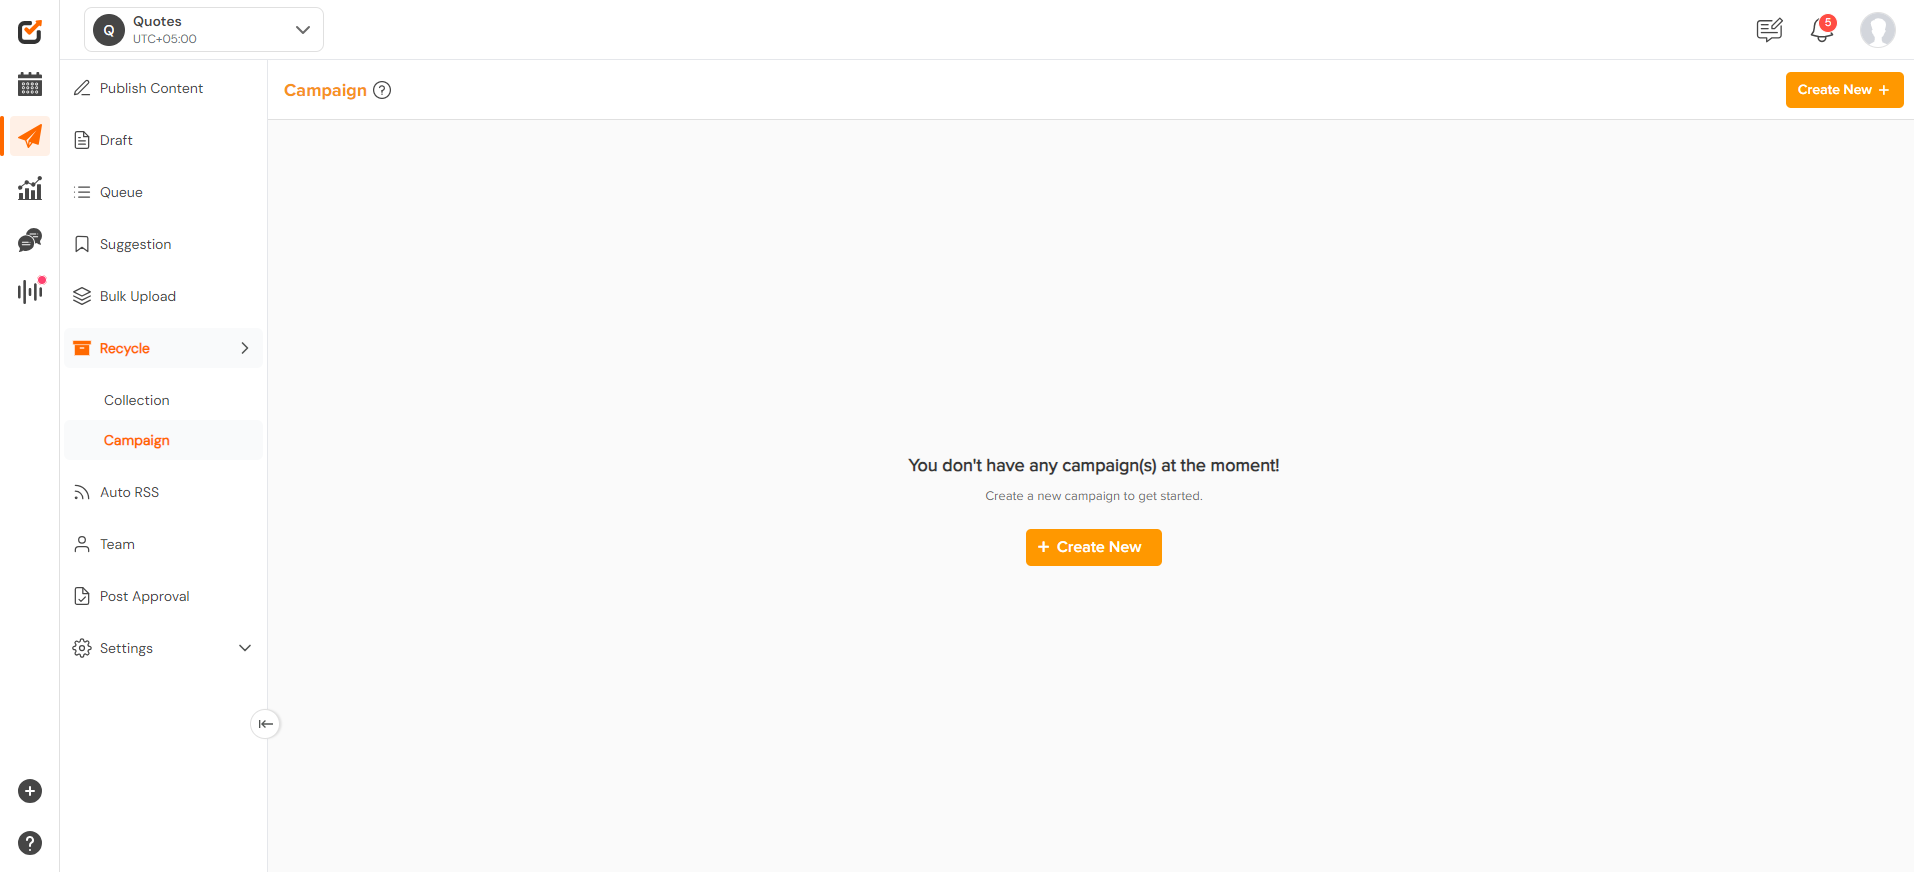
Create a Campaign
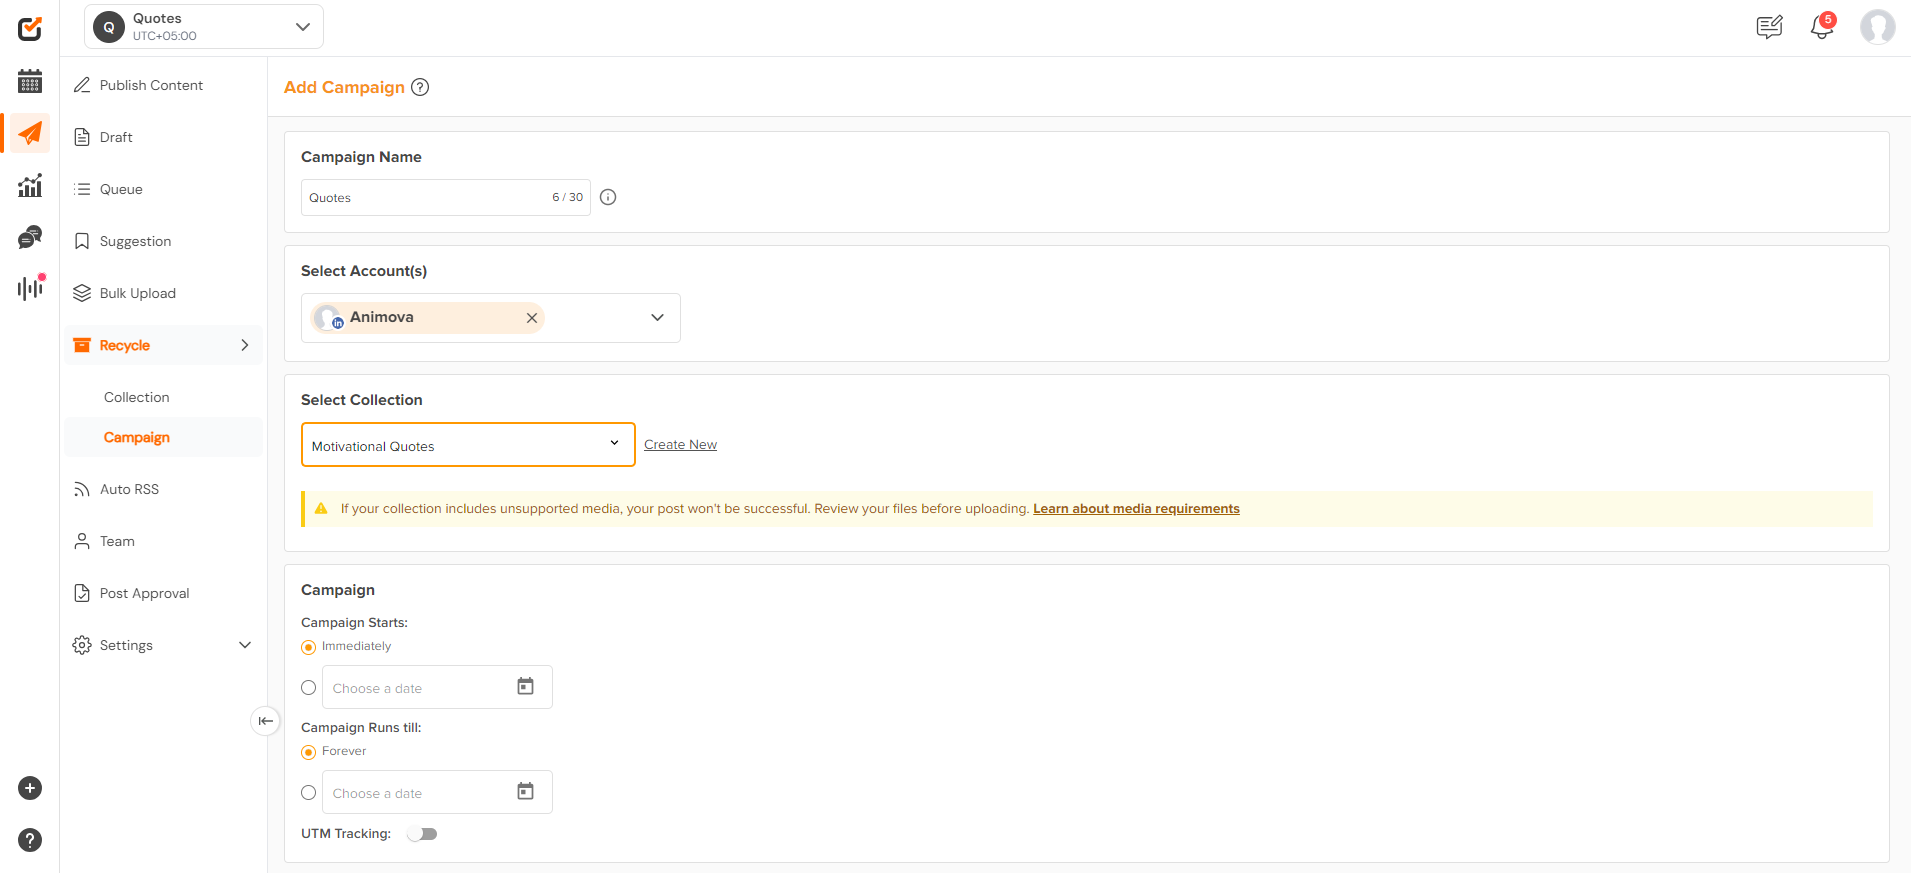
- Creating a “Campaign” is the second step. Click “Create a Campaign”. Further click on “Create New” and start with filing in the details of the campaign.

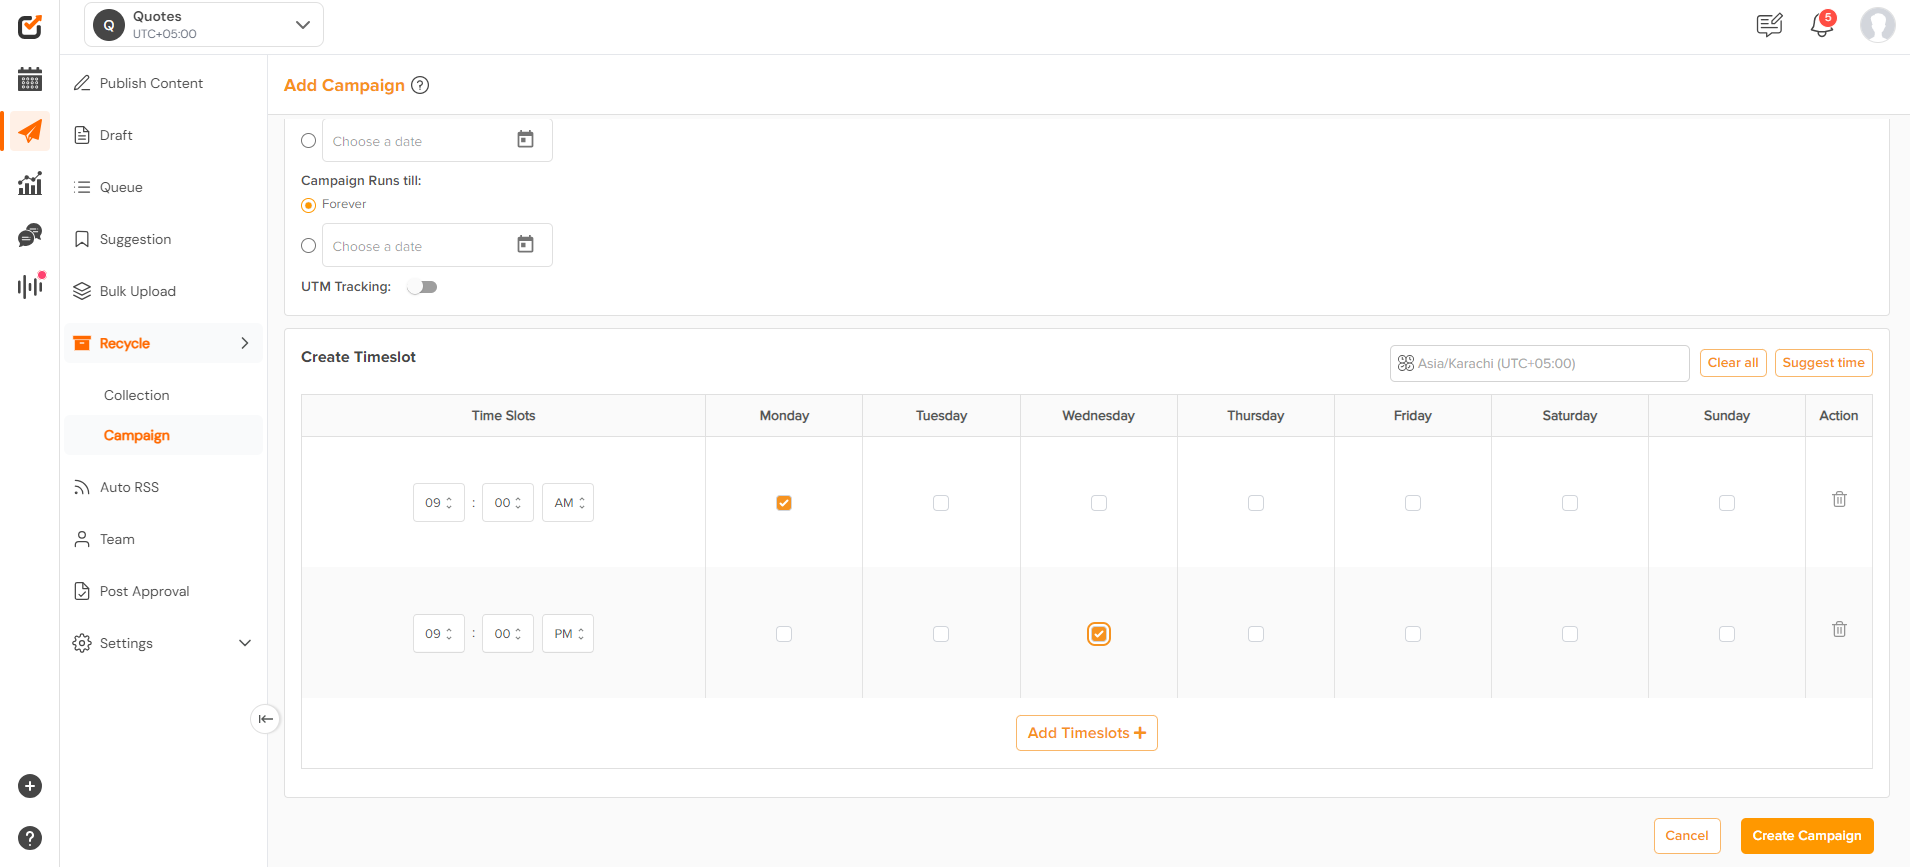
- Add the campaign name, select the accounts on which you wish to run the campaign, select the collection to run, or click ‘create new’ to create a collection from here. Enable UTM (if needed to track).Choose a start and end for the campaign from the provided calendar. Choose a time zone, and then create time slots.
- You can create custom time slots or use the suggested time. Click “Create Campaign”.
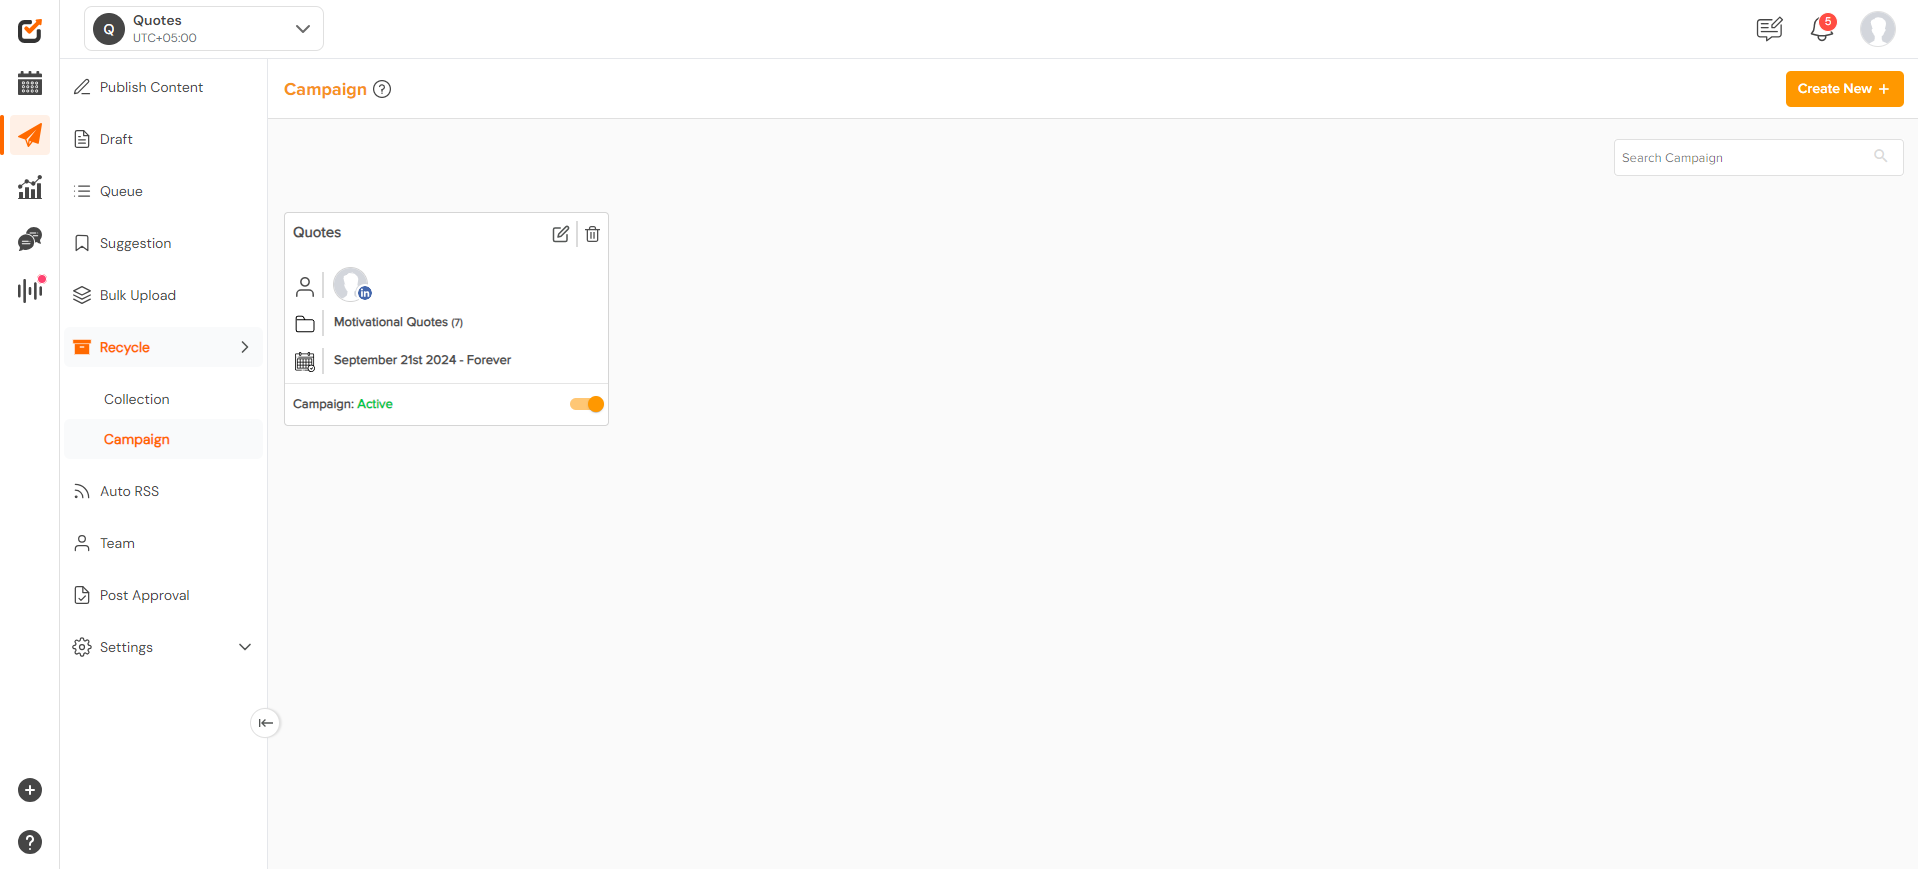
- Once the campaign is created, the Recycle feature will automatically publish posts according to the schedule you’ve set as long as it is “Active”
You can pause, edit, or delete specific posts from the collection at any time.- To pause a collection, toggle the switch next to the collection name.
- To edit or delete a post, click on the post within the collection and make the necessary changes.
Key Tips for Maximizing the Recycle Feature:
- Diversify Content: Mix different types of posts (e.g., text, links, images) to keep your feed engaging.
- Monitor Performance: Use Analytics to identify the best-performing posts and tweak the schedule for better results.
- Refresh Content: Occasionally update recycled posts to keep them relevant and prevent redundancy.
- Adjust Frequency: Avoid overposting by tweaking how often each post is recycled.
With Social Champ’s Recycle feature, you’ll save time while keeping your social media accounts consistently active and engaging. Ready to start automating your posts? Head over to the Recycle section and watch your content work for you! 🤩
Here is a video tutorial:
Check out FAQs here.
Was this article helpful?
YesNo