Social Champ is a user-friendly and efficient social media management platform that allows you to easily create, schedule, and manage your posts across various social media accounts.
Follow the steps below to learn how to create and schedule posts on Social Champ.
1. Log into Social Champ
After logging into your Social Champ account, you’ll land on the Publish Content dashboard.

2. Select Workspace and Social Accounts
Choose the social media accounts you want to post to by selecting them from the dropdown at the top. You can also search for specific accounts by typing them in.

3. Create a Post
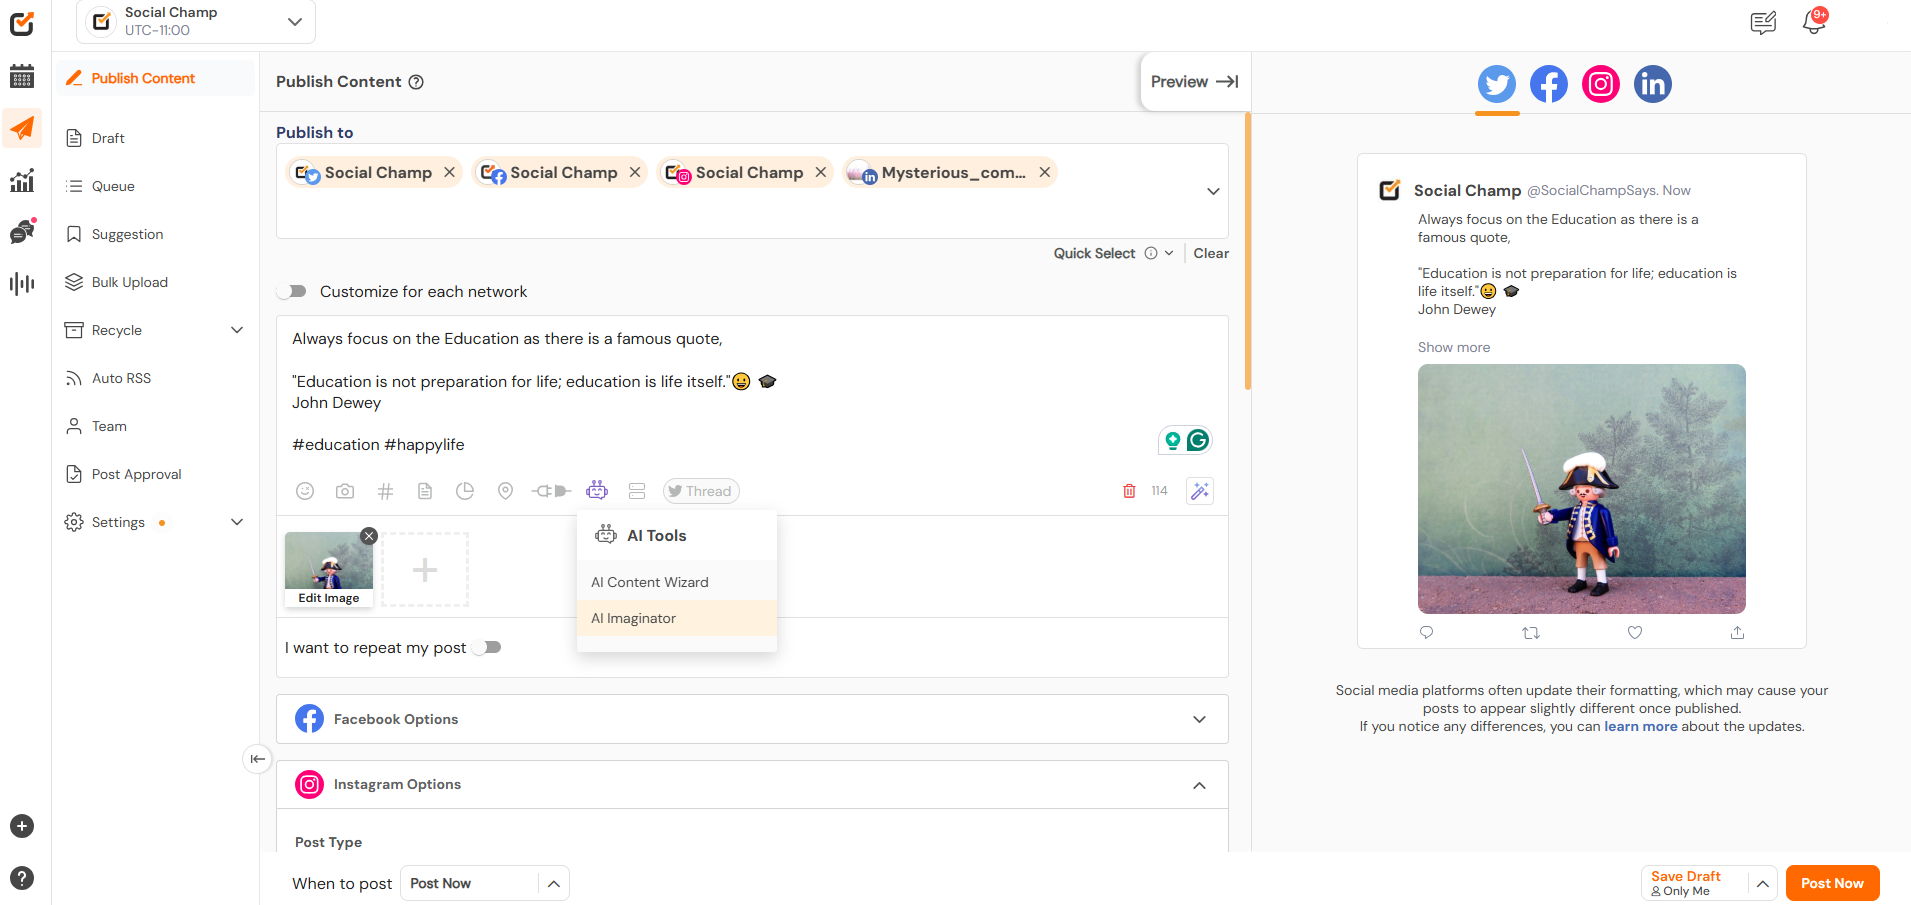
- Type in the description of the post in the content composer box.

To make your post more creative and engaging, you can make use of the integrations available at the bottom of the content composer box.
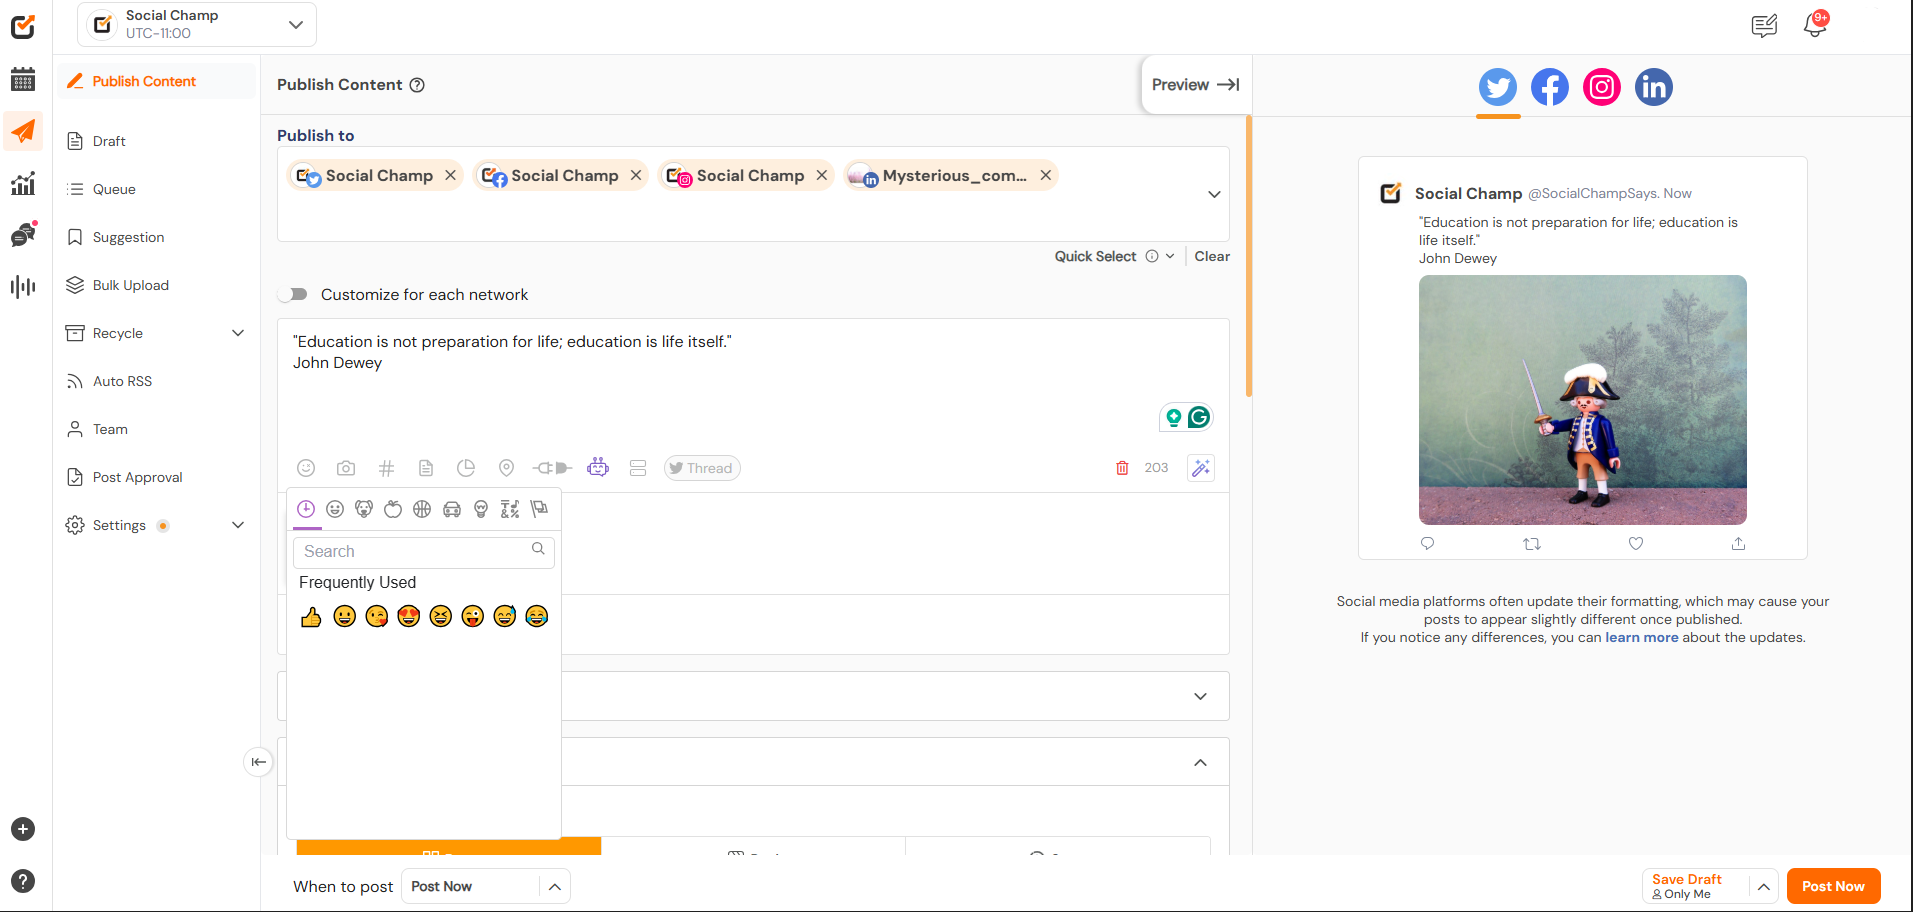
- Add Emojis to your post.
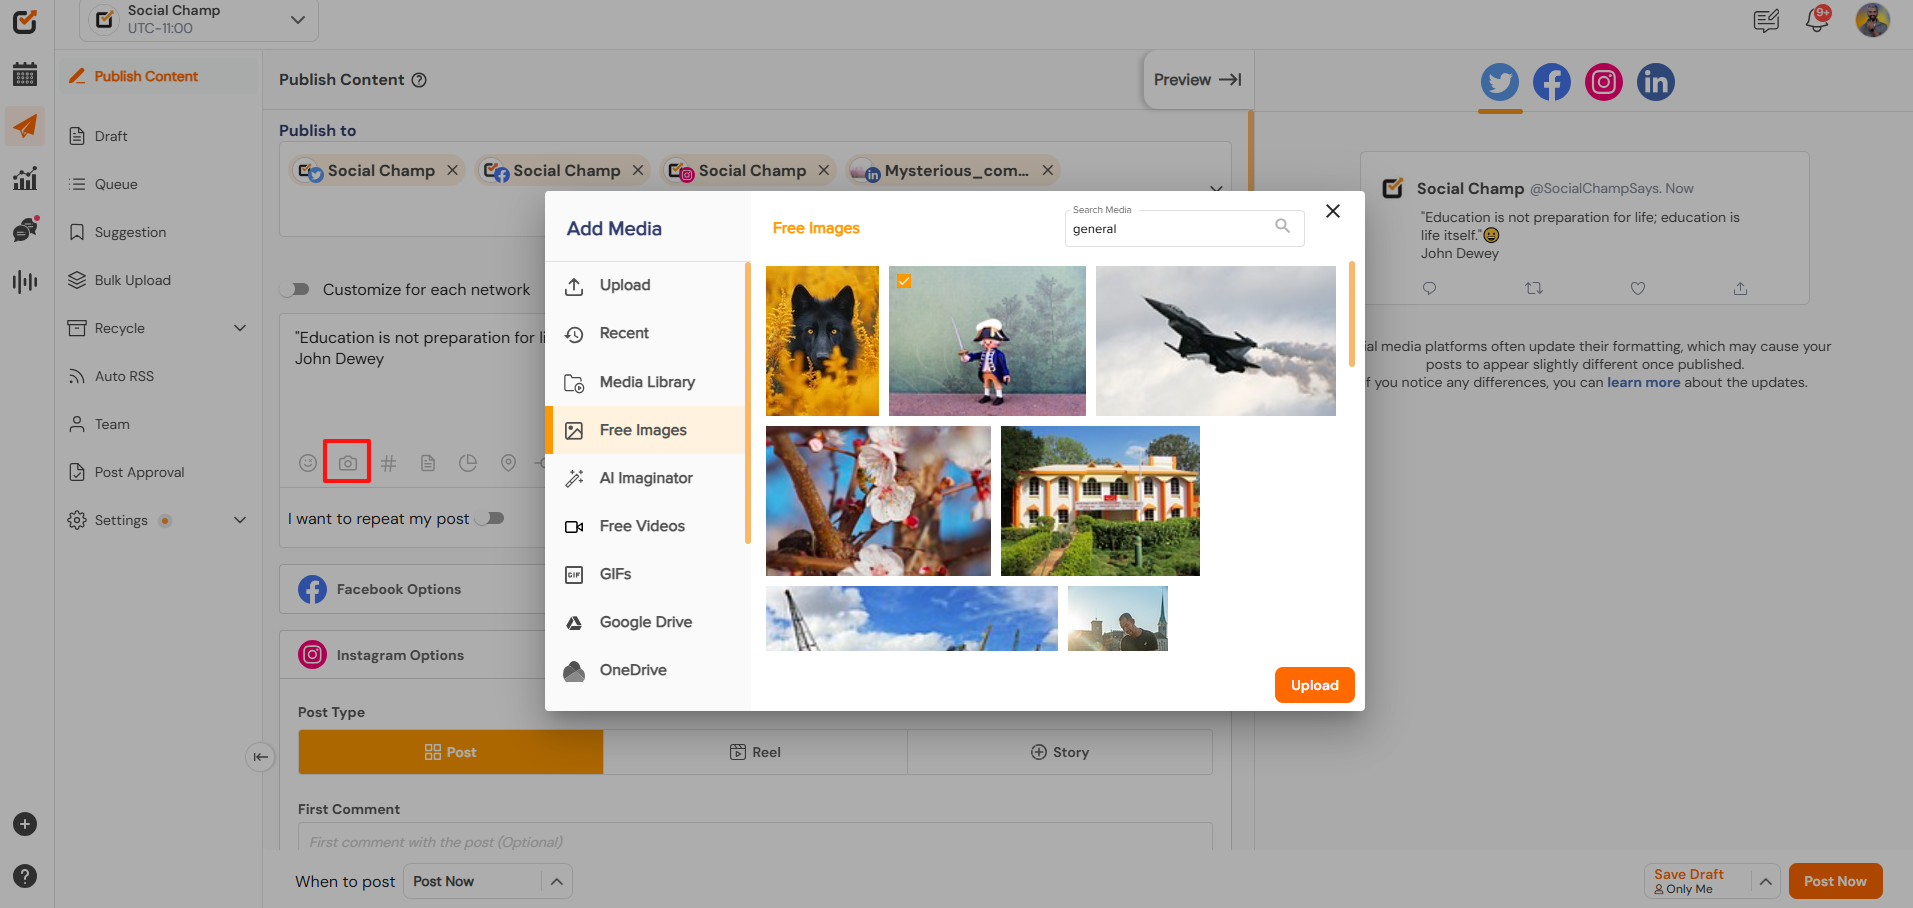
- Upload media using an available set of integrations.
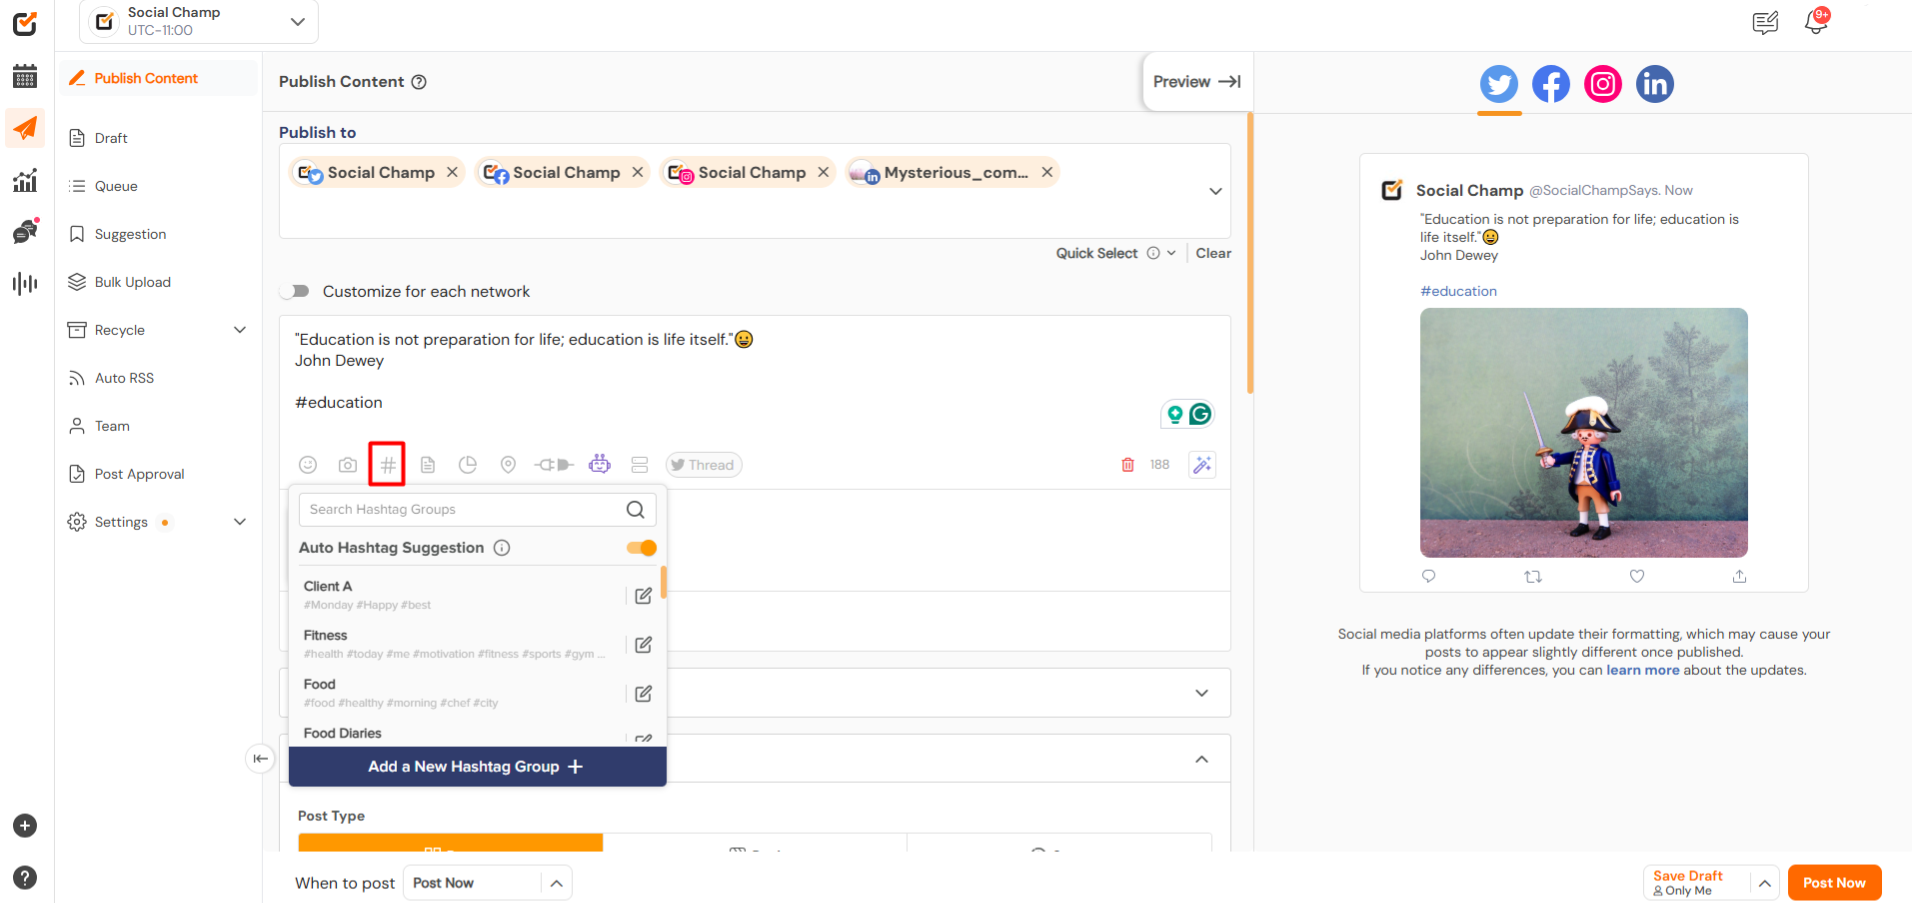
- Add Hashtags, either individually or by creating a Hashtag group of frequently used tags, which you can add with one click.
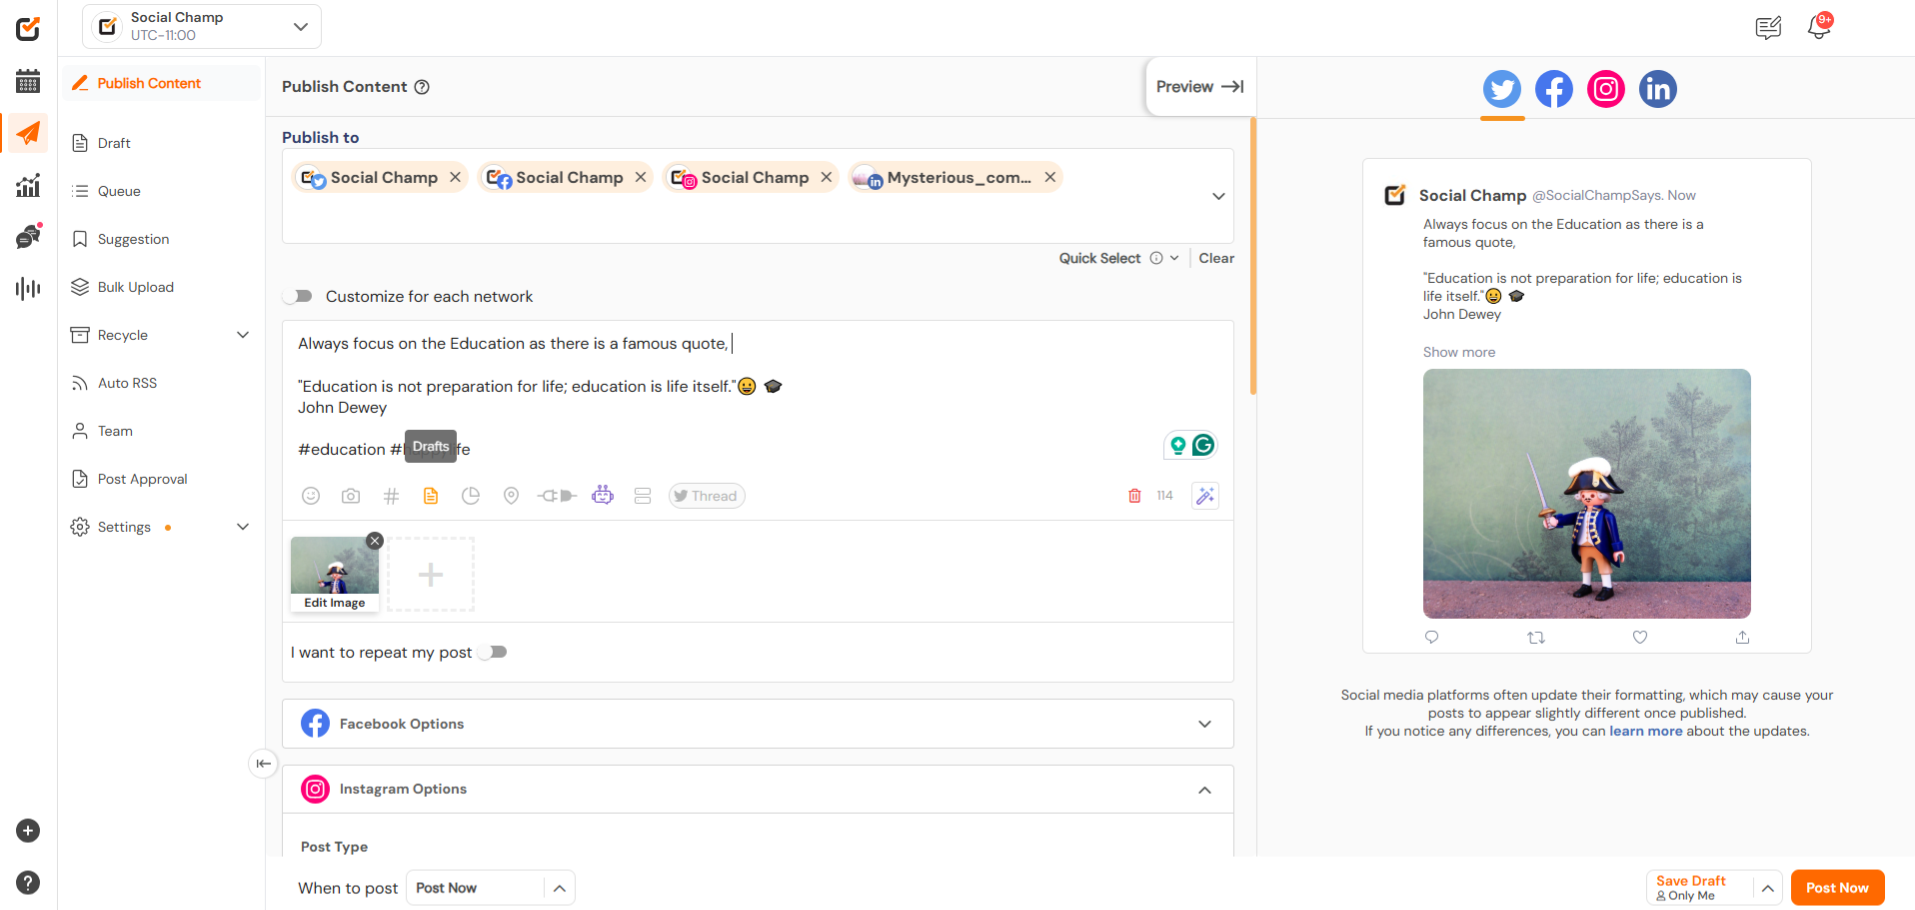
- Pre saved Drafts.
Already saved drafts can be added to create a post. Making the work more more manageable and efficient.
- Add Location
You can also include a location with your post. (Available for the Facebook pages and Instagram account).

- Canva Integrations
Social Champ integrates with tools like Canva. Allowing you to create and edit content without leaving the platform.

- Create a Poll Post
Poll posts can be created for the Twitter and LinkedIn accounts.
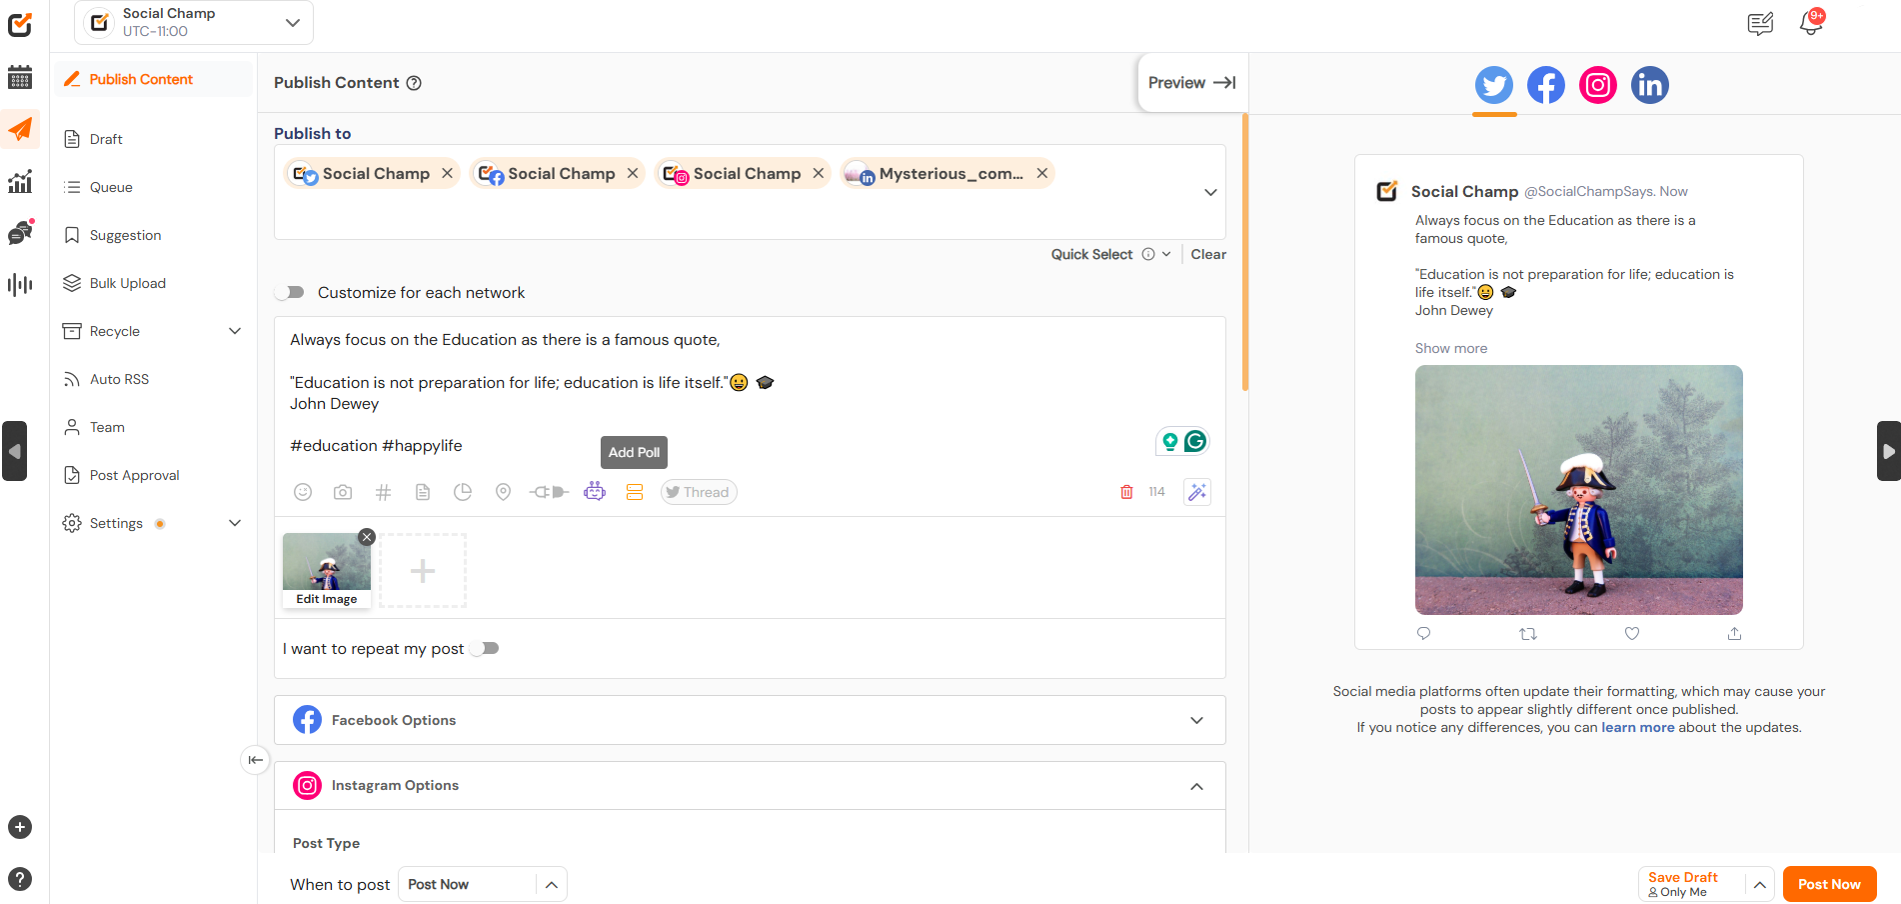
4. AI Champ Suite
- Sentiment Analysis
- Click on the sentiment analysis icon to understand how your content will be perceived by your audience. With this feature, you can:

- Choose the language for analysis.
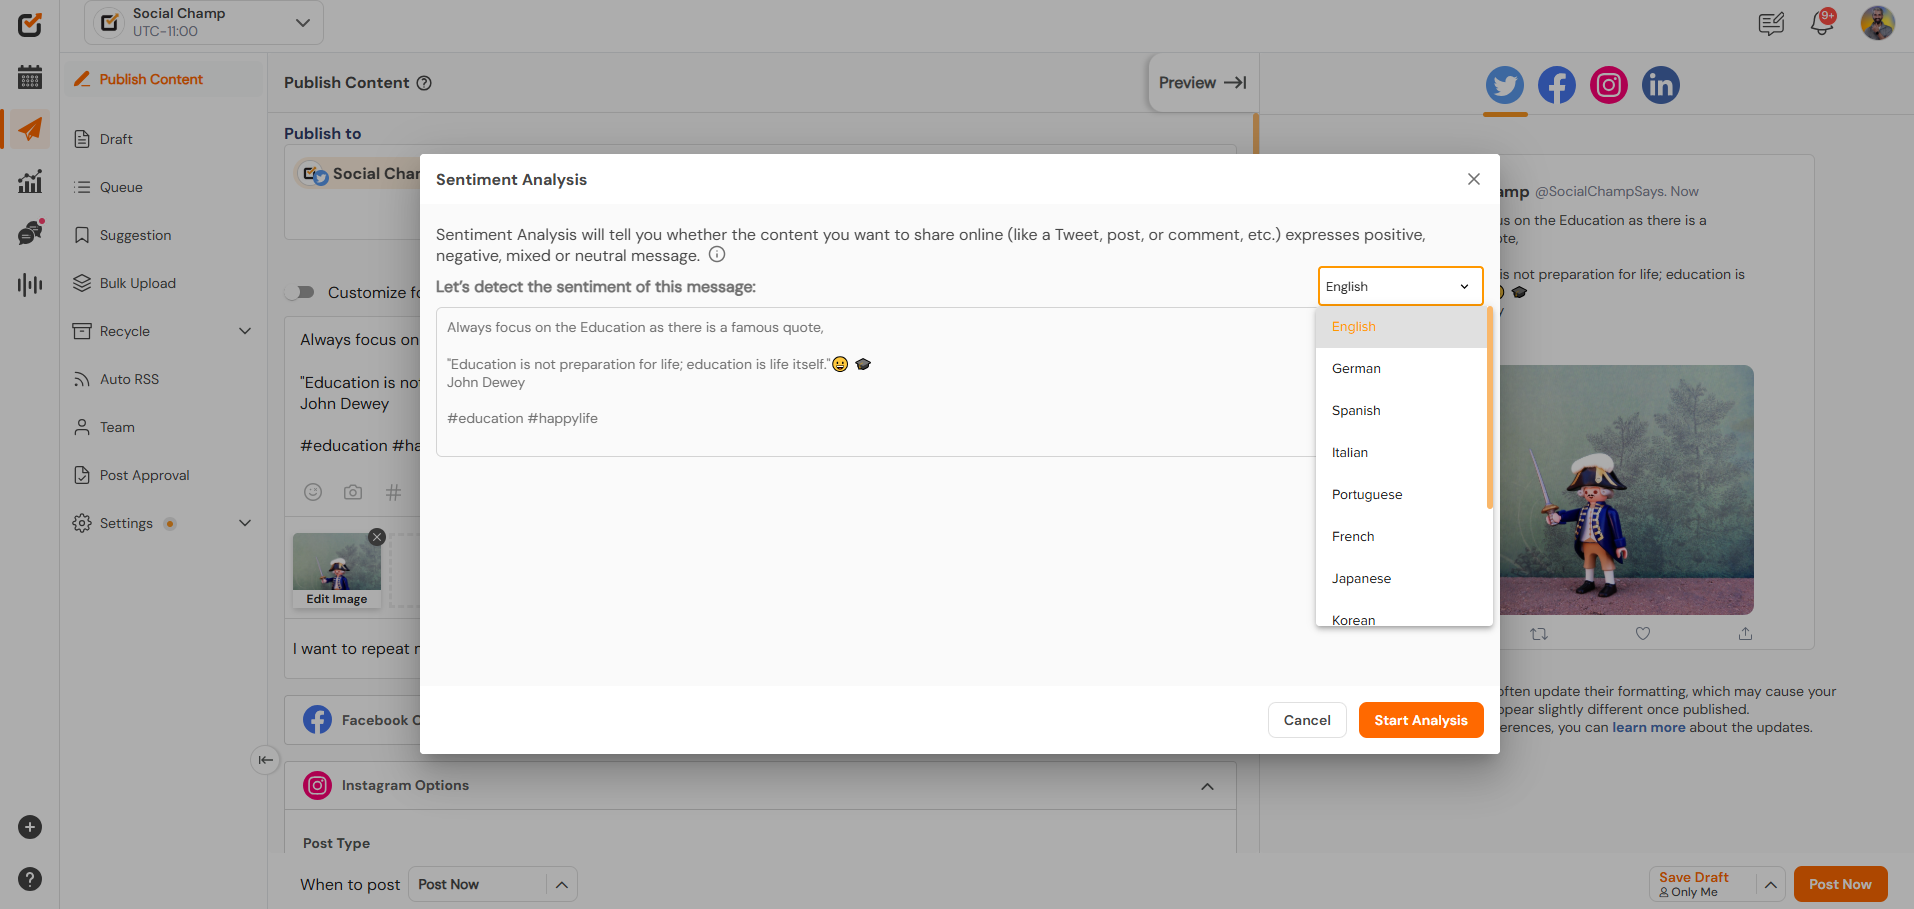
- See the sentiment of your content and know how positive, neutral, negative, or mixed feeling it’s giving to your audience).
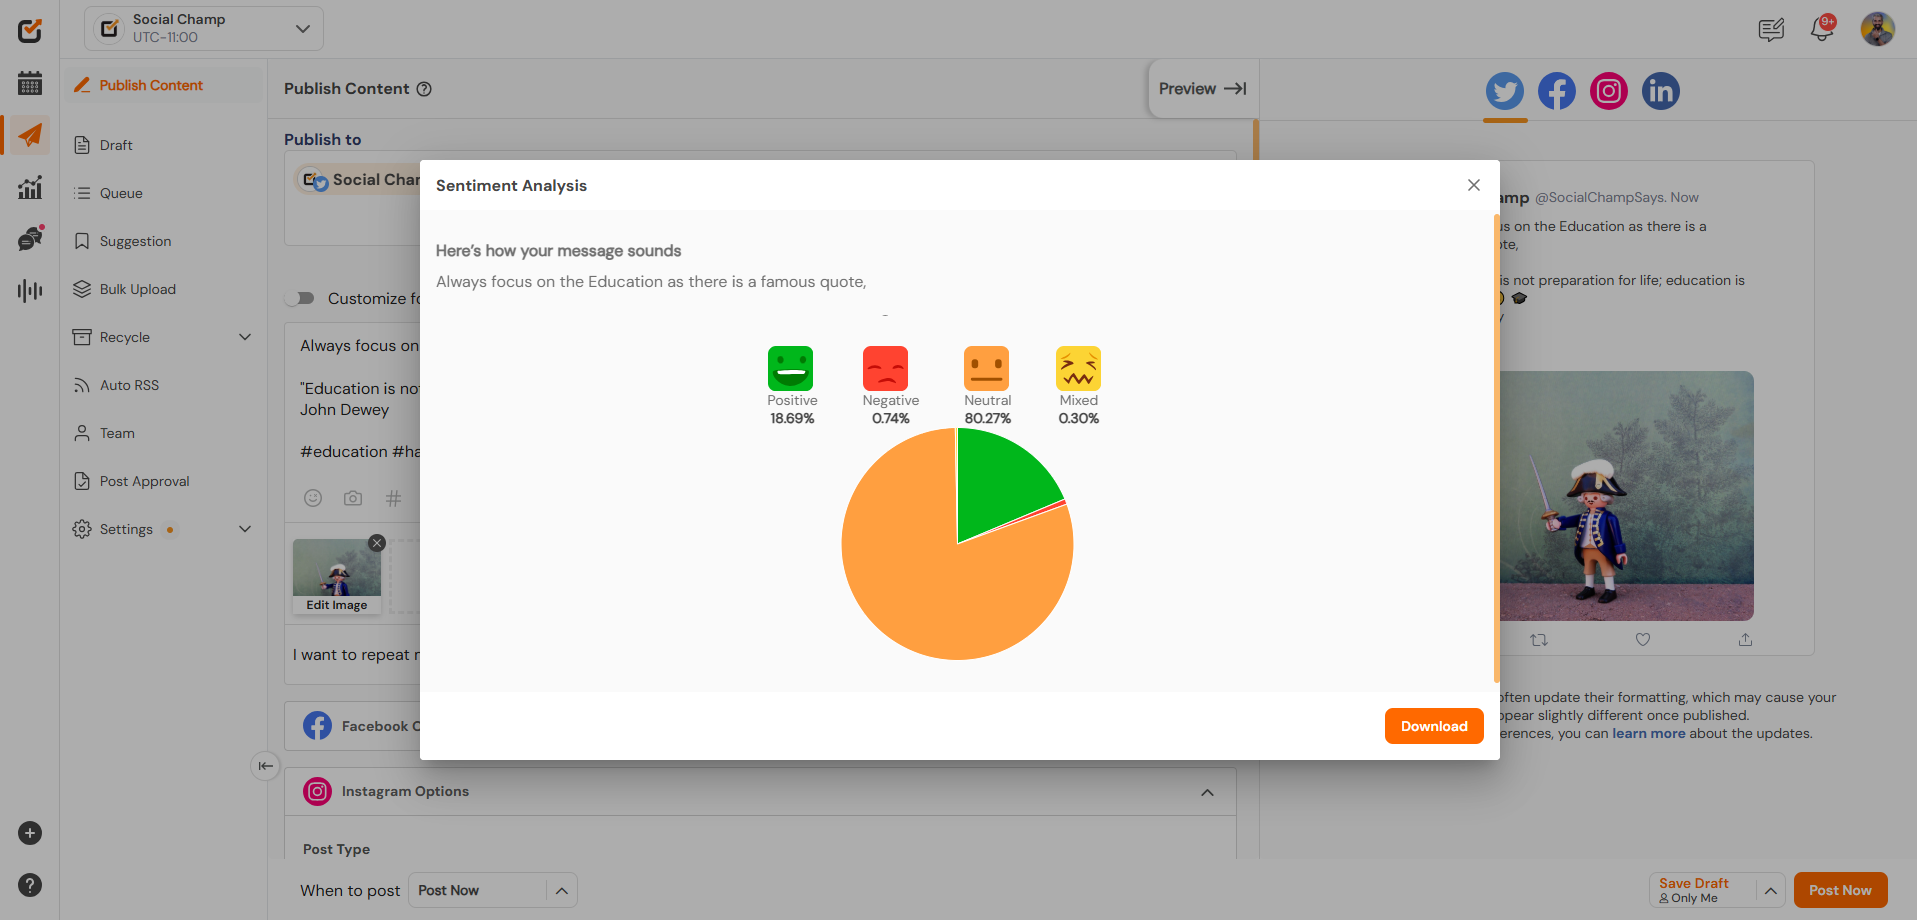
- Click on the sentiment analysis icon to understand how your content will be perceived by your audience. With this feature, you can:
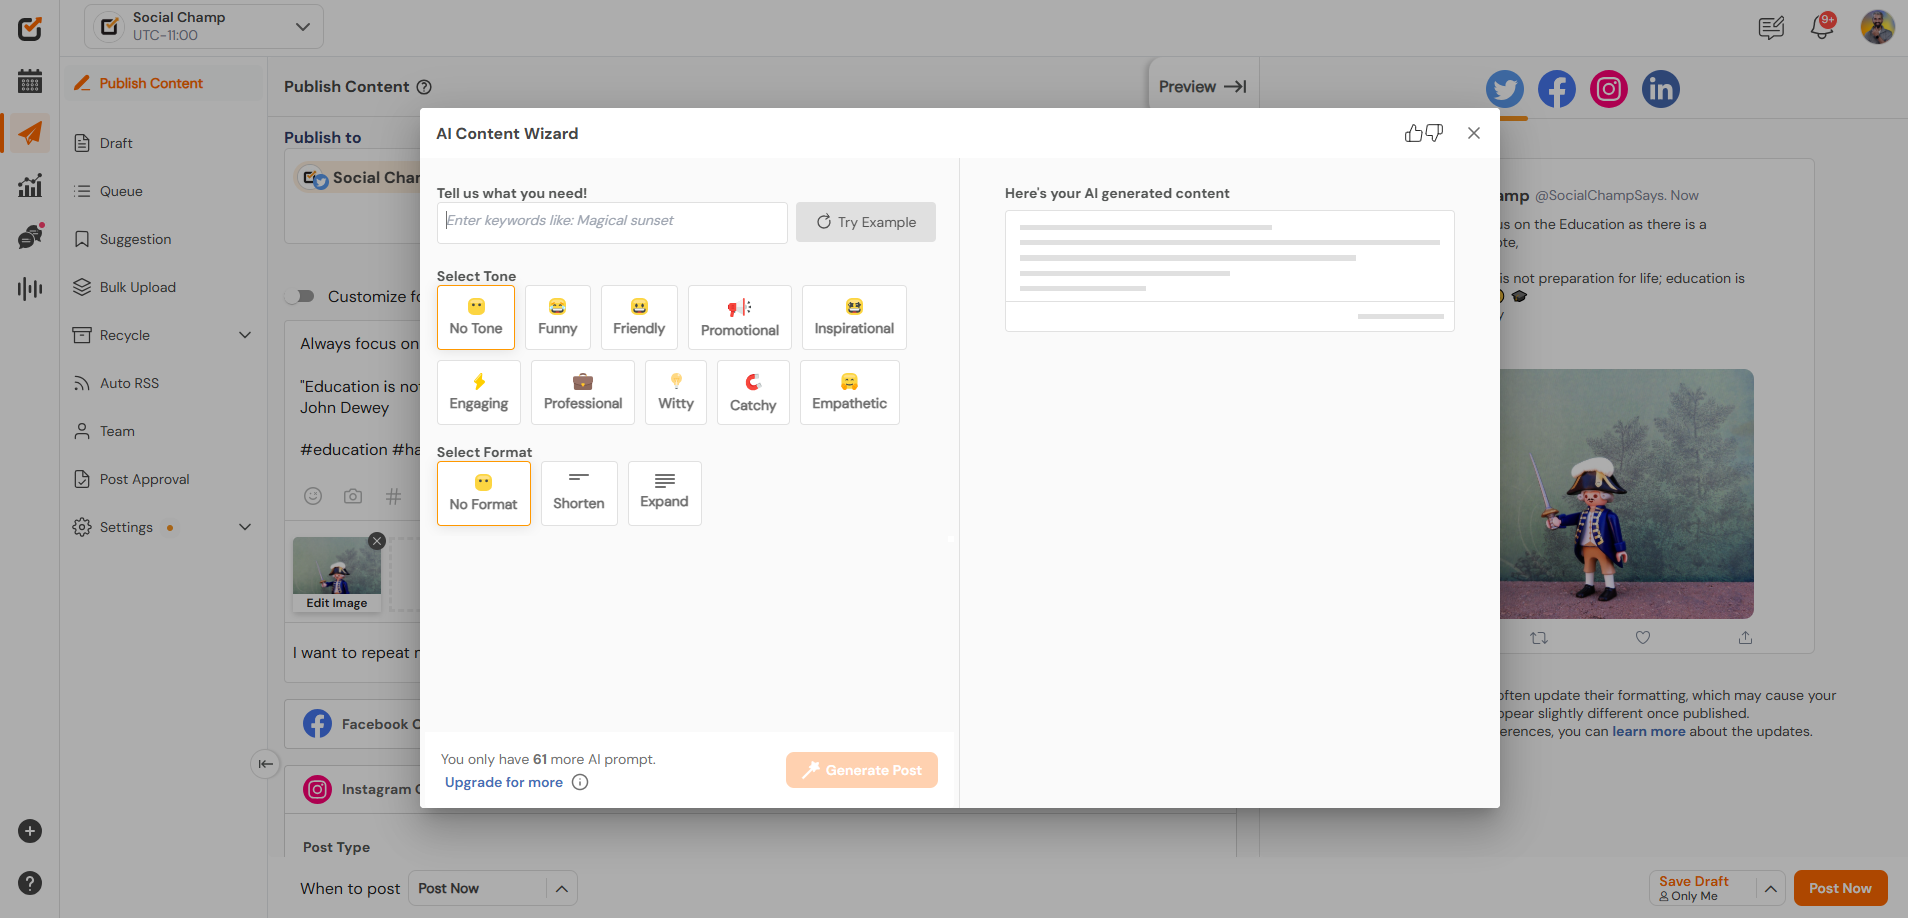
- AI Content Wizard:
1. If you need help crafting content, use the AI Content Wizard to Select the tone and format for your post.

2. Let AI generate the content for you.
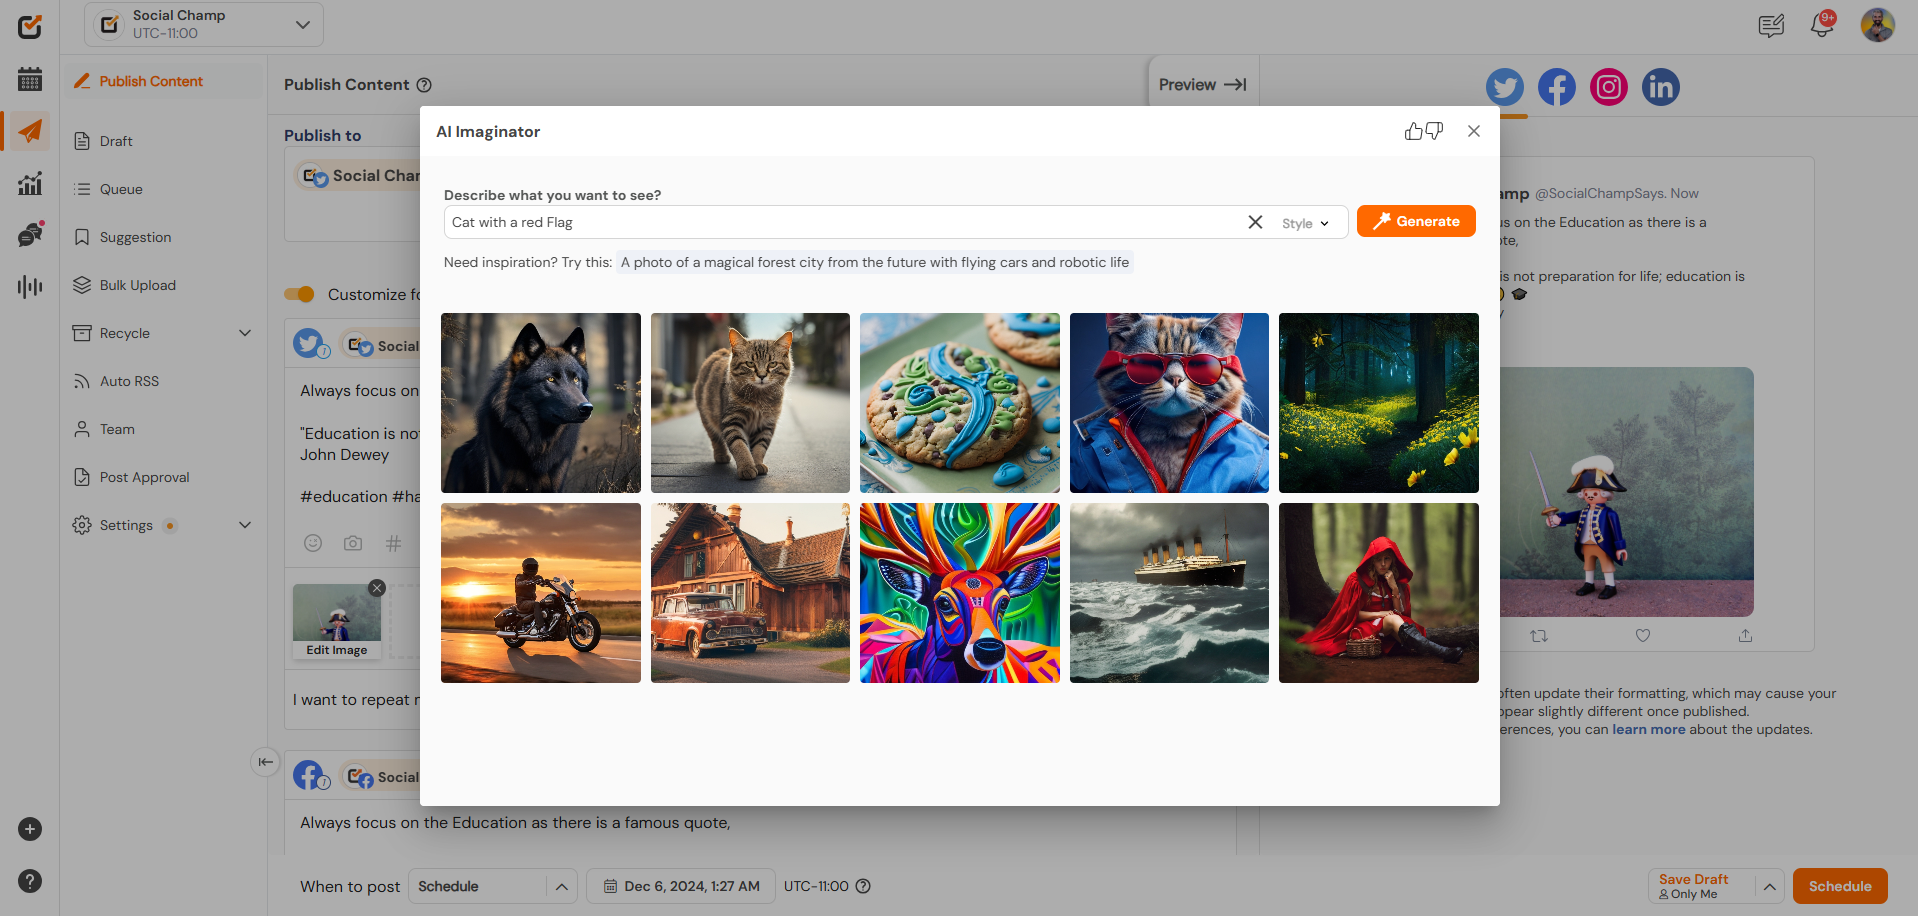
- AI Imaginator
1. Use the AI Imaginator feature to generate unique images by providing keywords related to your post.
5. Customize Your Post for Each Network
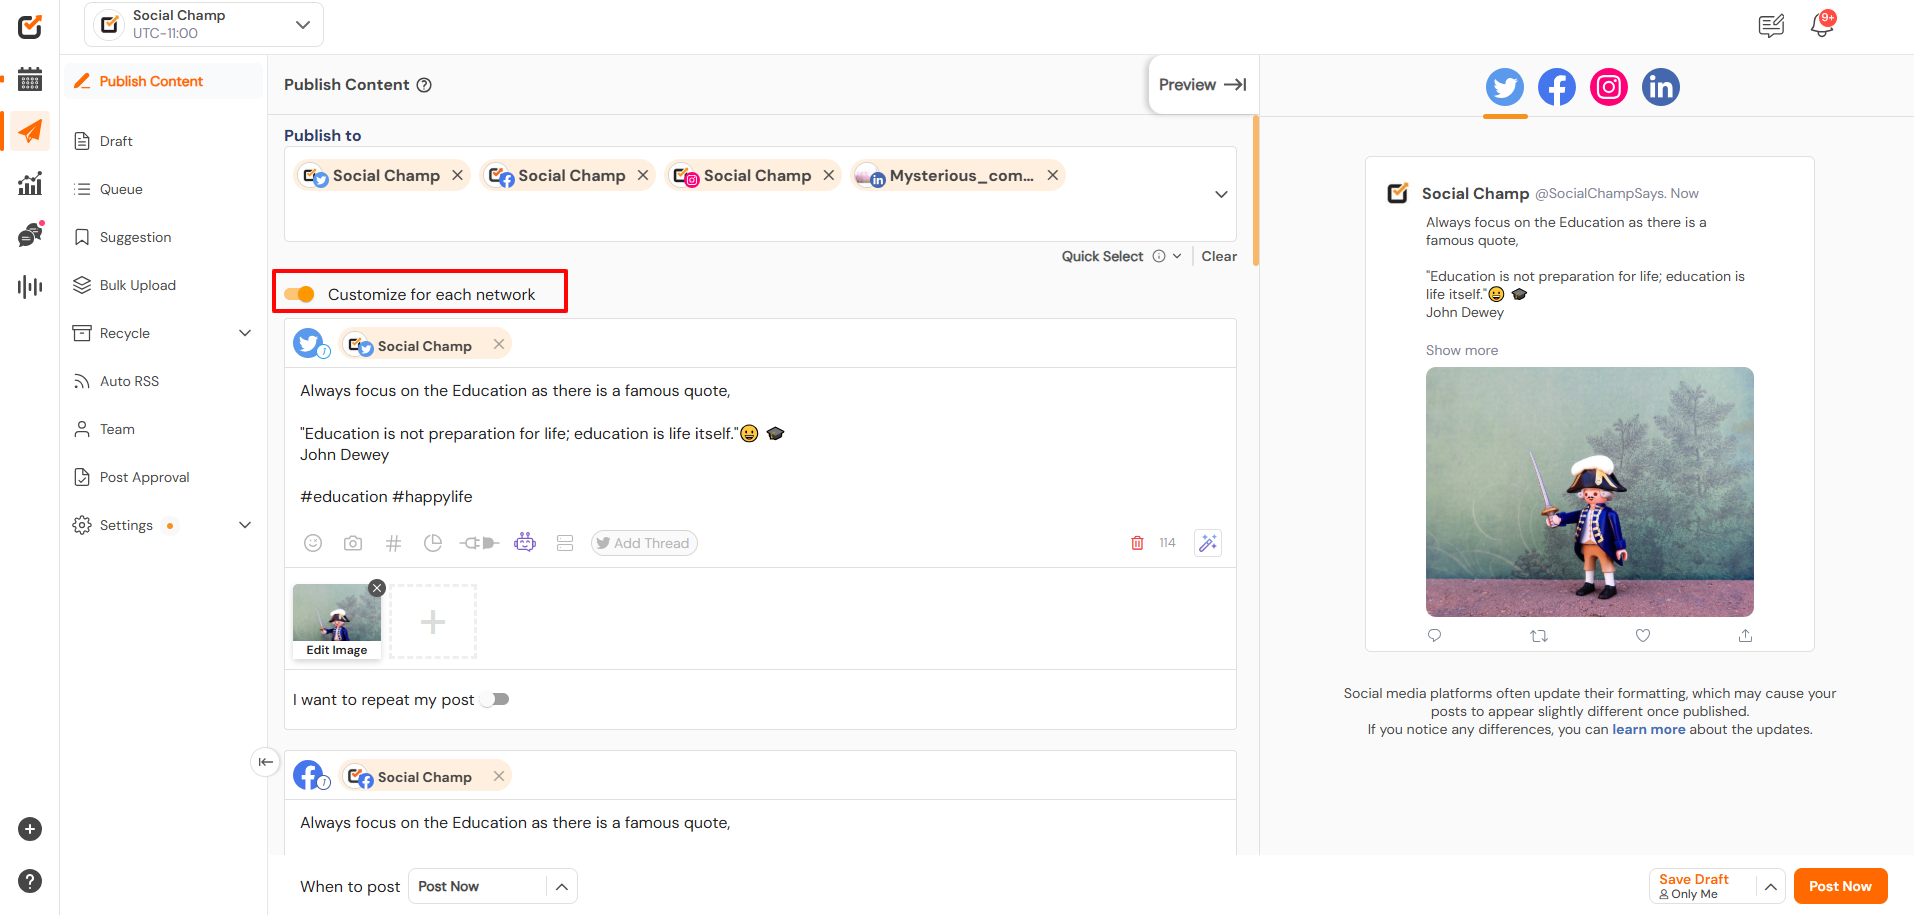
Toggle on the “Customize for Each Network” option to tailor your post for each platform. You can adjust hashtags, media, and character limits for each network as needed.
6. Set Up Post Frequency
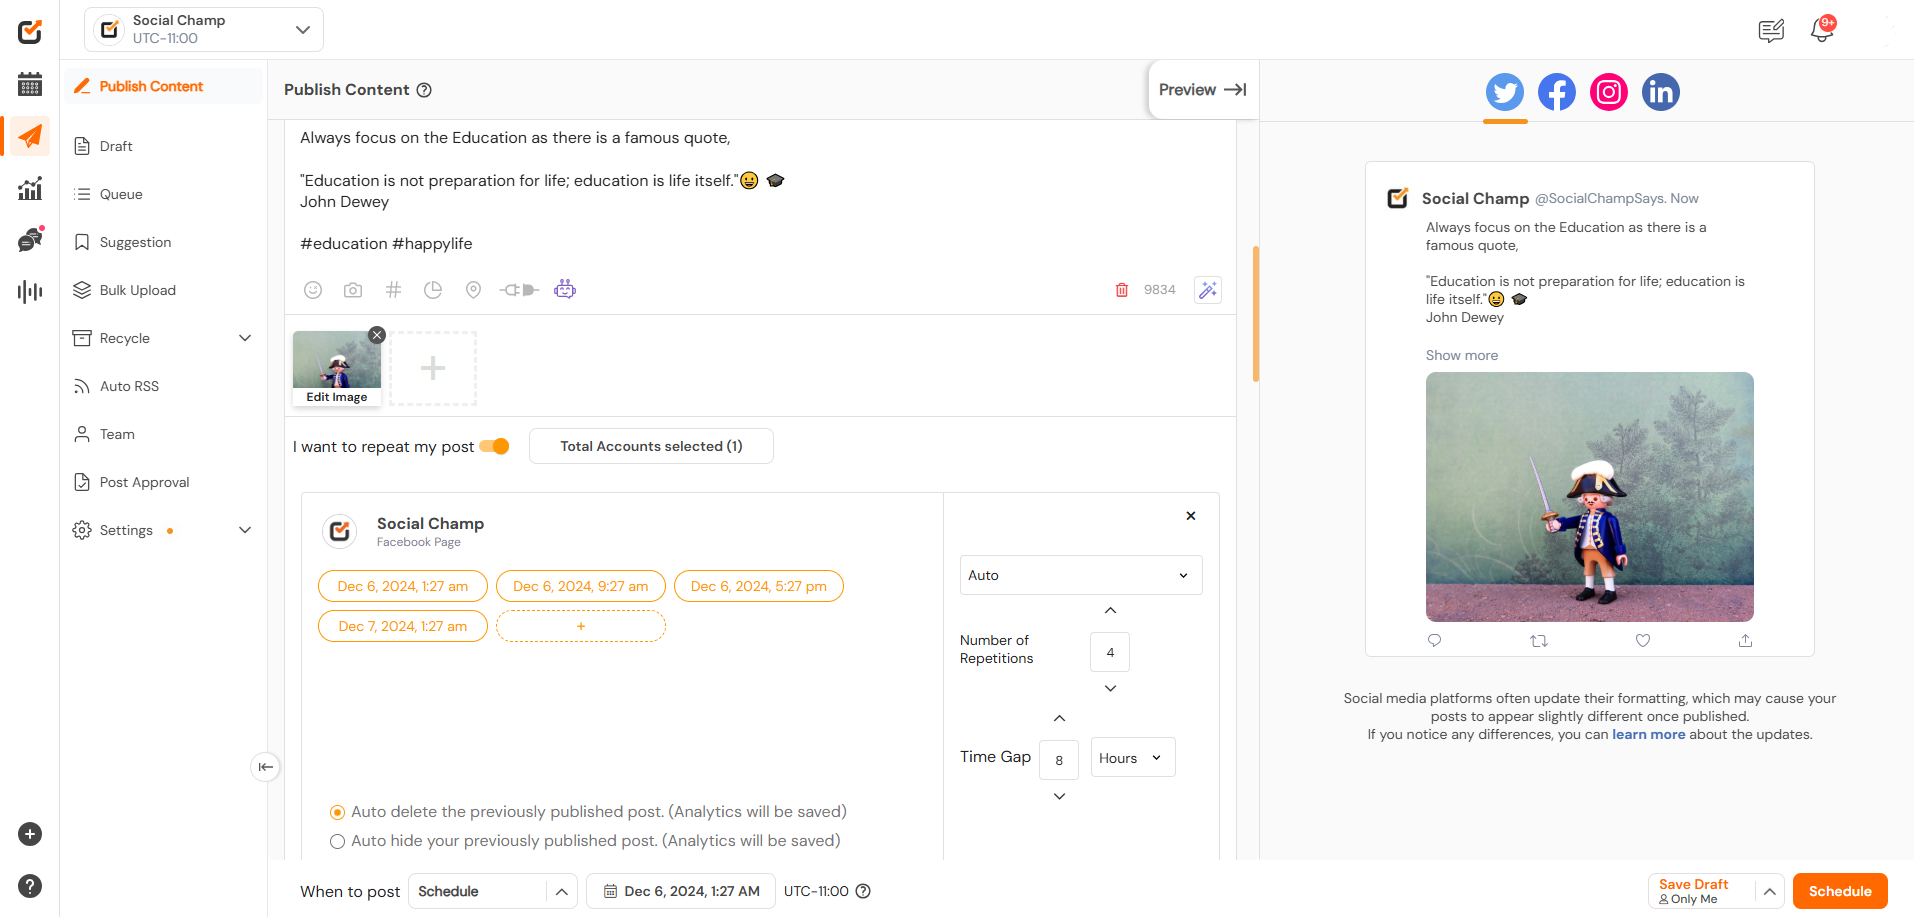
You can set your post to repeat on Facebook and Twitter if you want it to be shared multiple times.
7. Preview of the Post
The post’s Preview can be seen on the right-hand side of the page.

8. Finalize Your Post
Once your post is ready, you have several posting options:
-
-
- Auto Queue (Last): Add your post to the First available slot in the preset queue.
- Auto Queue (Next): Add your post to the first slot in the preset queue.
- AI-suggested Time to Post: Schedule the posts at the AI-suggested times to get better engagement on your posts.
- Schedule: Select a specific date and time for the post.
- Post Now: Publish the post immediately.
-

With these steps, you can easily create, customize, and schedule posts across your social media accounts using Social Champ. Whether you’re a social media manager, a business owner, or just looking to improve your social media presence, Social Champ offers all the tools you need to make the workflow more efficient.
Happy Scheduling Champs!
BONUS: Here’s a video tutorial on Post Scheduling.
Check out FAQs here.
