Hey Champs! Welcome to our comprehensive guide on how to leverage Social Champ’s Recycle feature to elevate your social media collection and campaign.
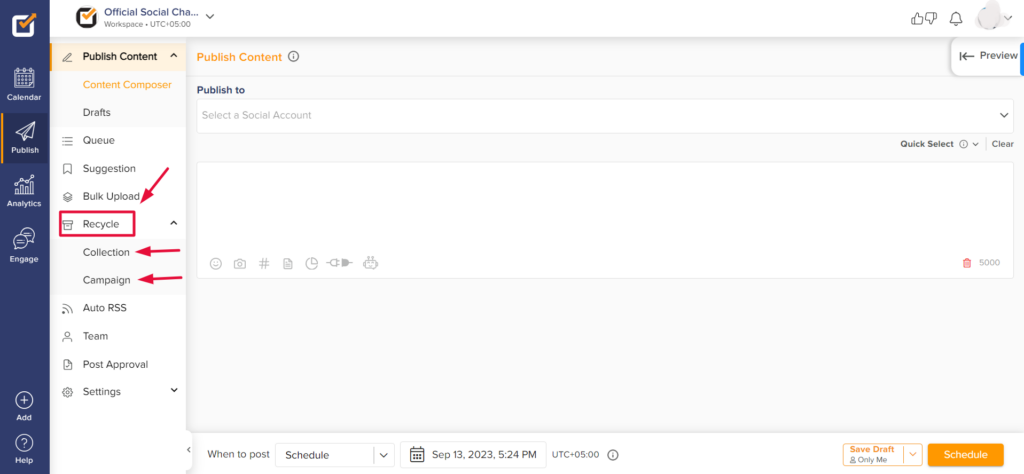
Login from your Social Champ’s account and choose ‘Recycle’ from the second column on the left.
Recycle will open up into two options: Collection and Campaign.
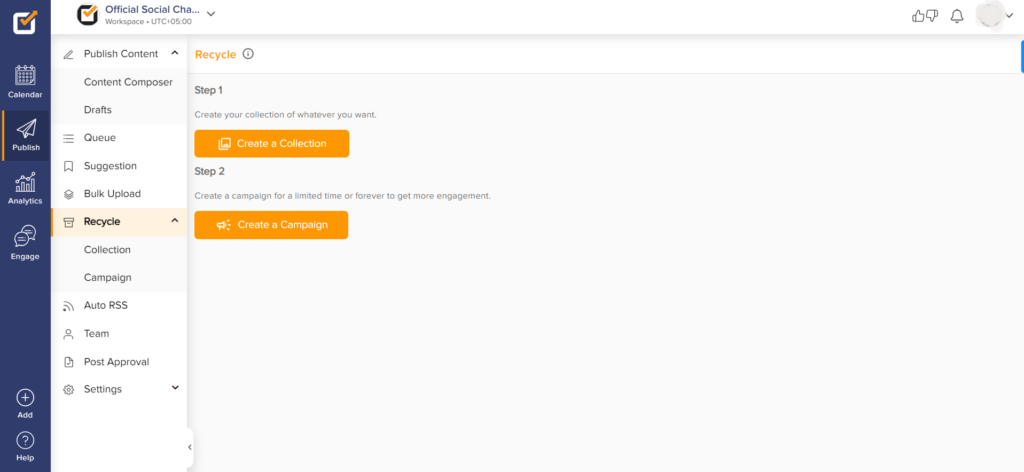
Collection:
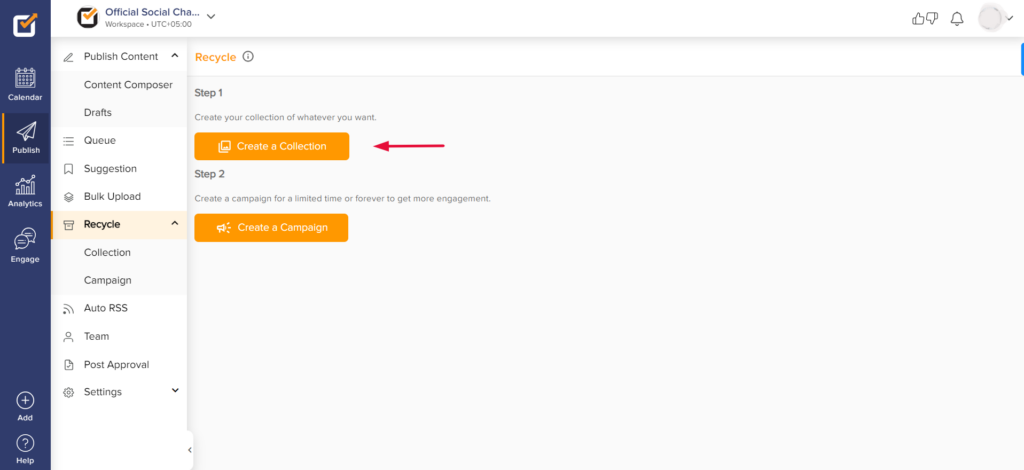
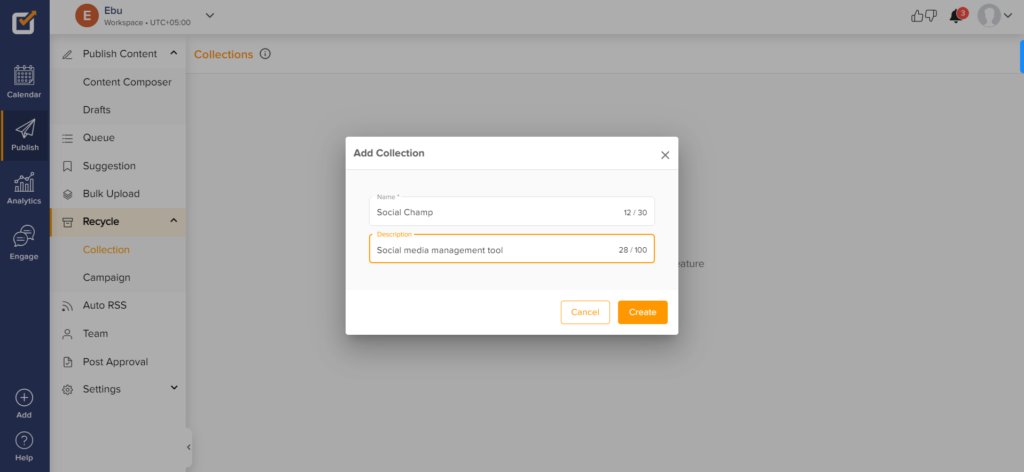
- Creating a ‘Collection’ is the first step. Click ‘Create a Collection’.
- You will start with the ‘Name’ and ‘Description’ of the collection. Once done, click ‘Create’.
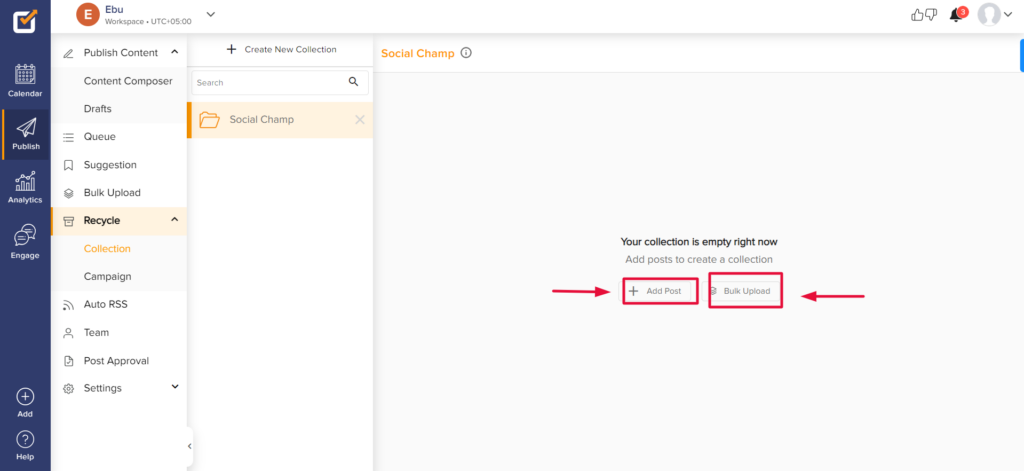
- To add posts within the collection, you can either click ‘Add Post’ or ‘Bulk Upload.’
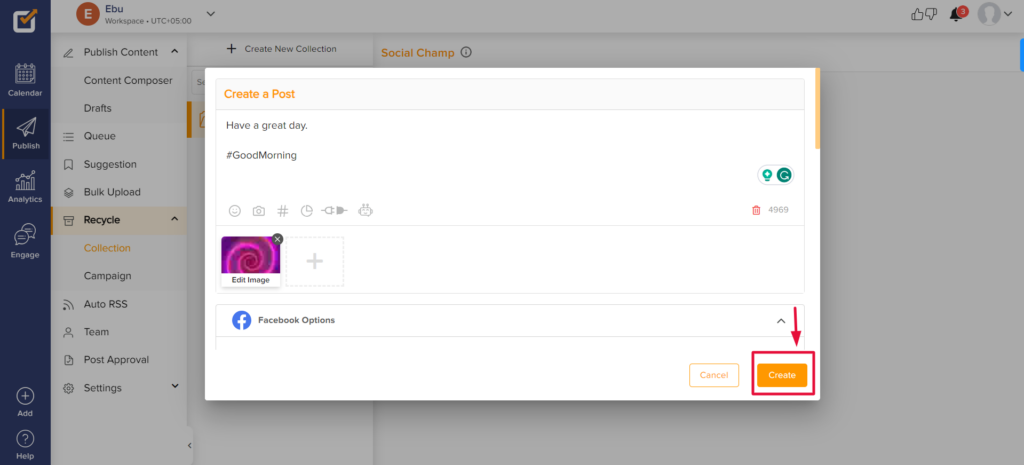
- Click ‘Add Post’ and start creating a post.
- You will get a notification about your post being successfully added.

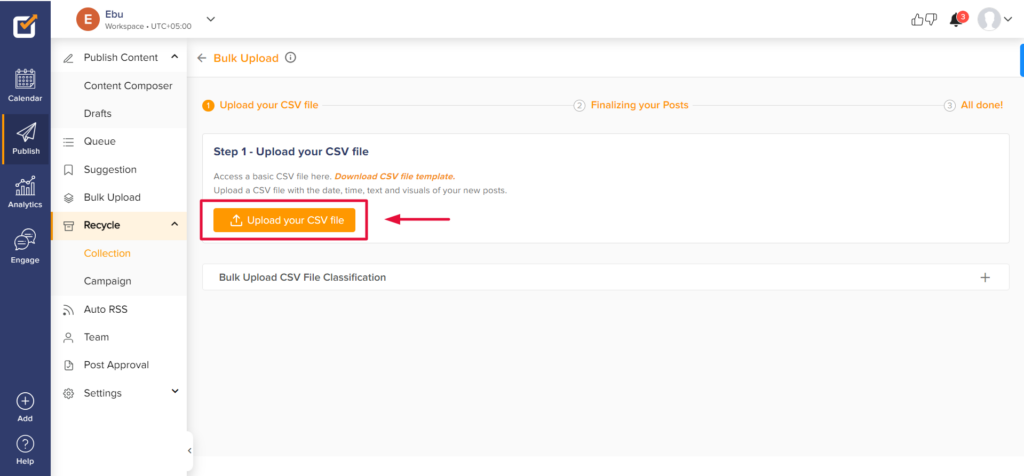
- You can add posts to your collection via Bulk Upload. Click on the option on the top right row. You will redirected to the bulk upload window, where you can download a CSV to fill in, or you can go back to your collection.
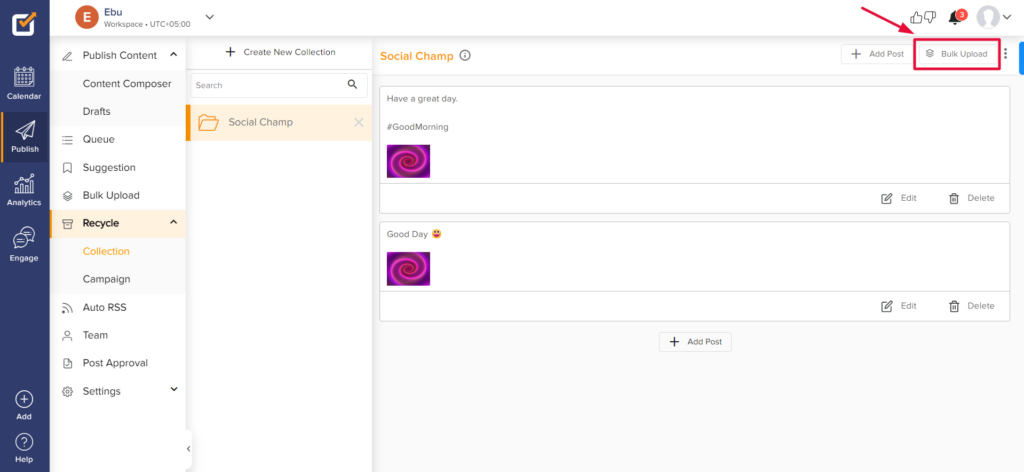
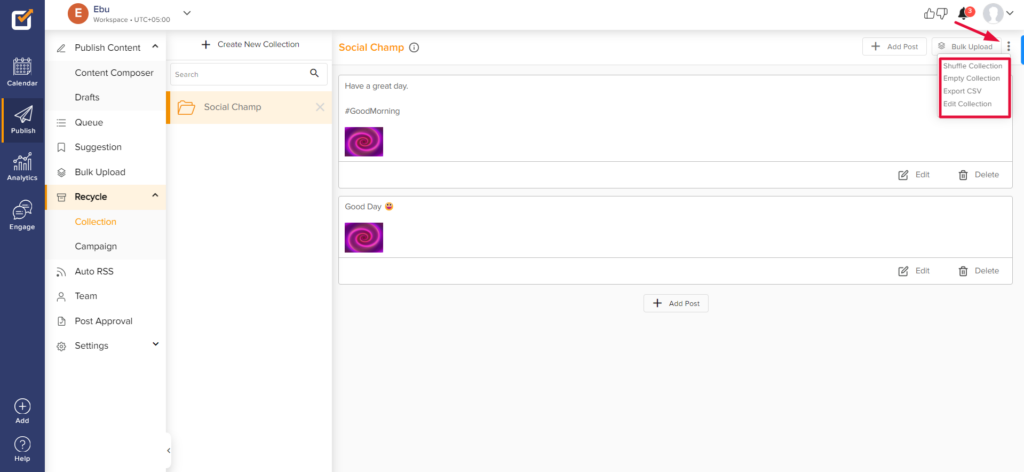
- From the top right, ‘three dots,’ the collection can be ‘Emptied,’ ‘Export CSV,’ and ‘Edit.’ You can ‘Delete’ and ‘Edit’ individual posts too within the collection.
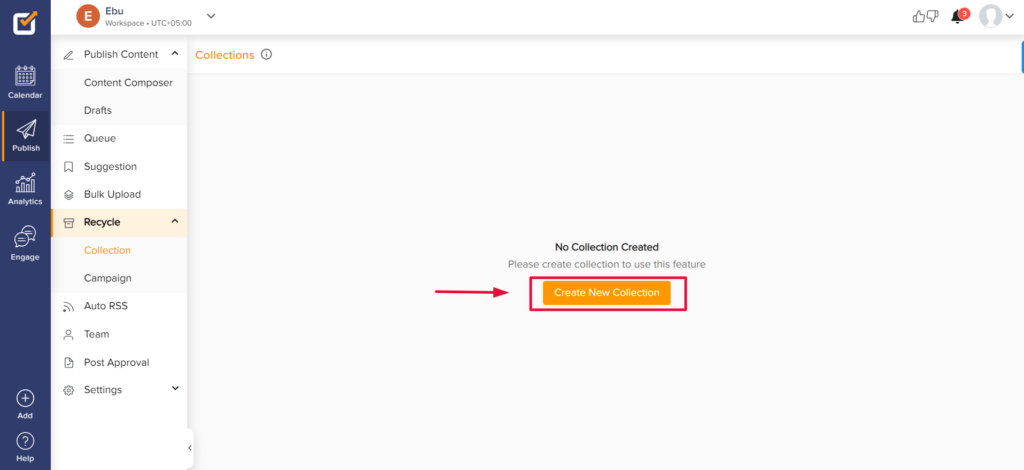
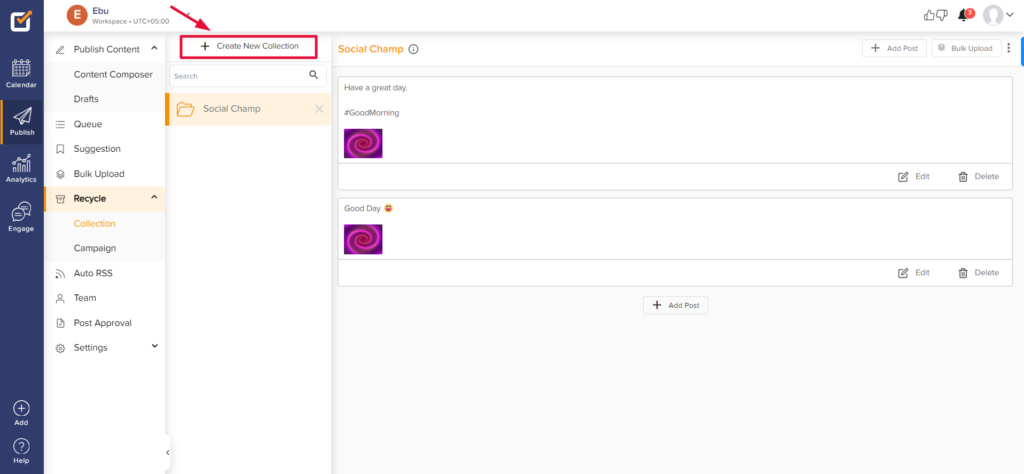
- You can create more collections from the top ‘+ Create New Collection.’
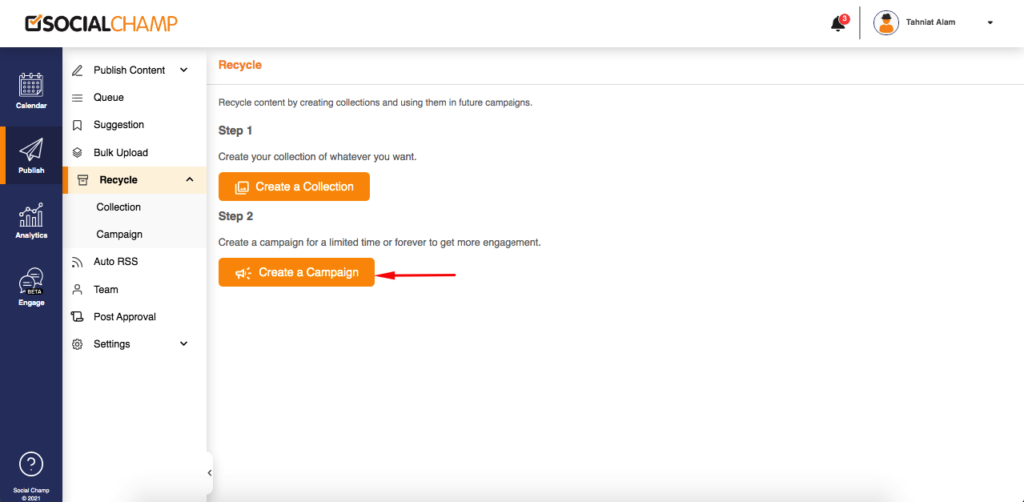
Campaign:
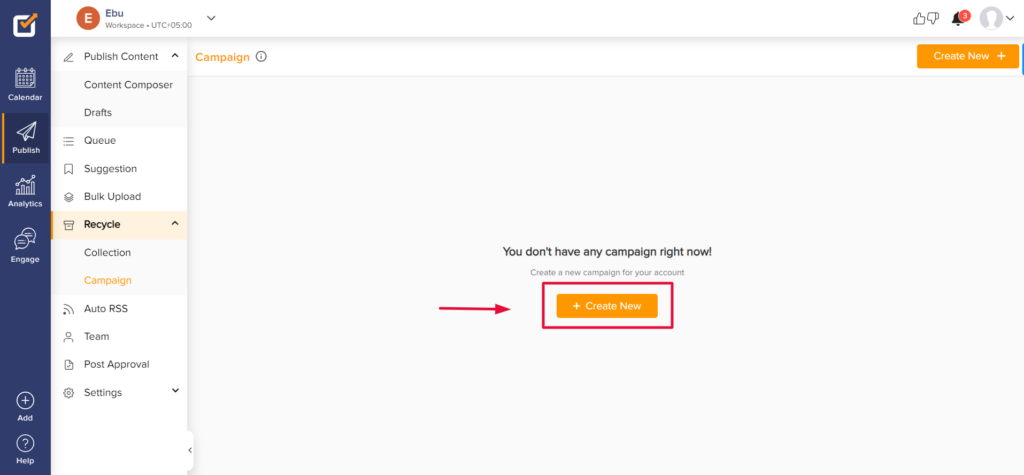
- Creating a ‘Campaign’ is the second step. Click ‘Create a Campaign’.
- To create a campaign, click ‘Create New’.
- Add the campaign name, select the accounts on which you wish to run the campaign, select the collection to run, or click ‘create new’ to create a collection from here. Enable UTM (if needed to track).
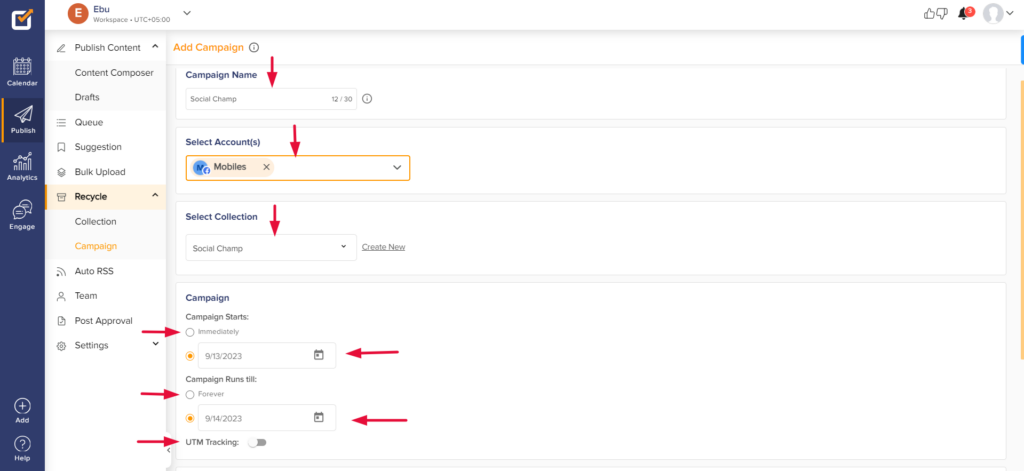 Choose a start and end for the campaign from the provided calendar. Choose a time zone, and then create time slots.
You can create custom time slots or use the suggested time. Click ‘Create Campaign’.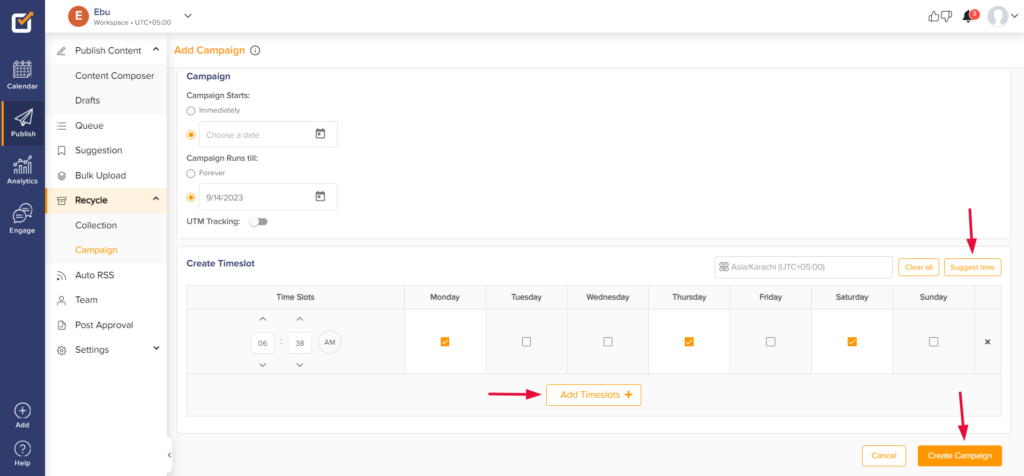
- Once the campaign is created, you will see the toggle enabled and the status to be ‘Active’ in green color. All the information on the running collection and the duration can be verified from here too.
 Great! Now you know how the Recycle Feature works. 🤩
Here is a video tutorial:
Check out FAQs here.
Was this article helpful?
YesNo