Hey, Champs, have you ever wondered how to delete scheduled posts? Social Champ allows you to delete them from the Calendar/Queue.
Let’s get started with the step-by-step guide to delete the scheduled post from the Calendar.
- Select ‘Calendar’ from the left blue pane.
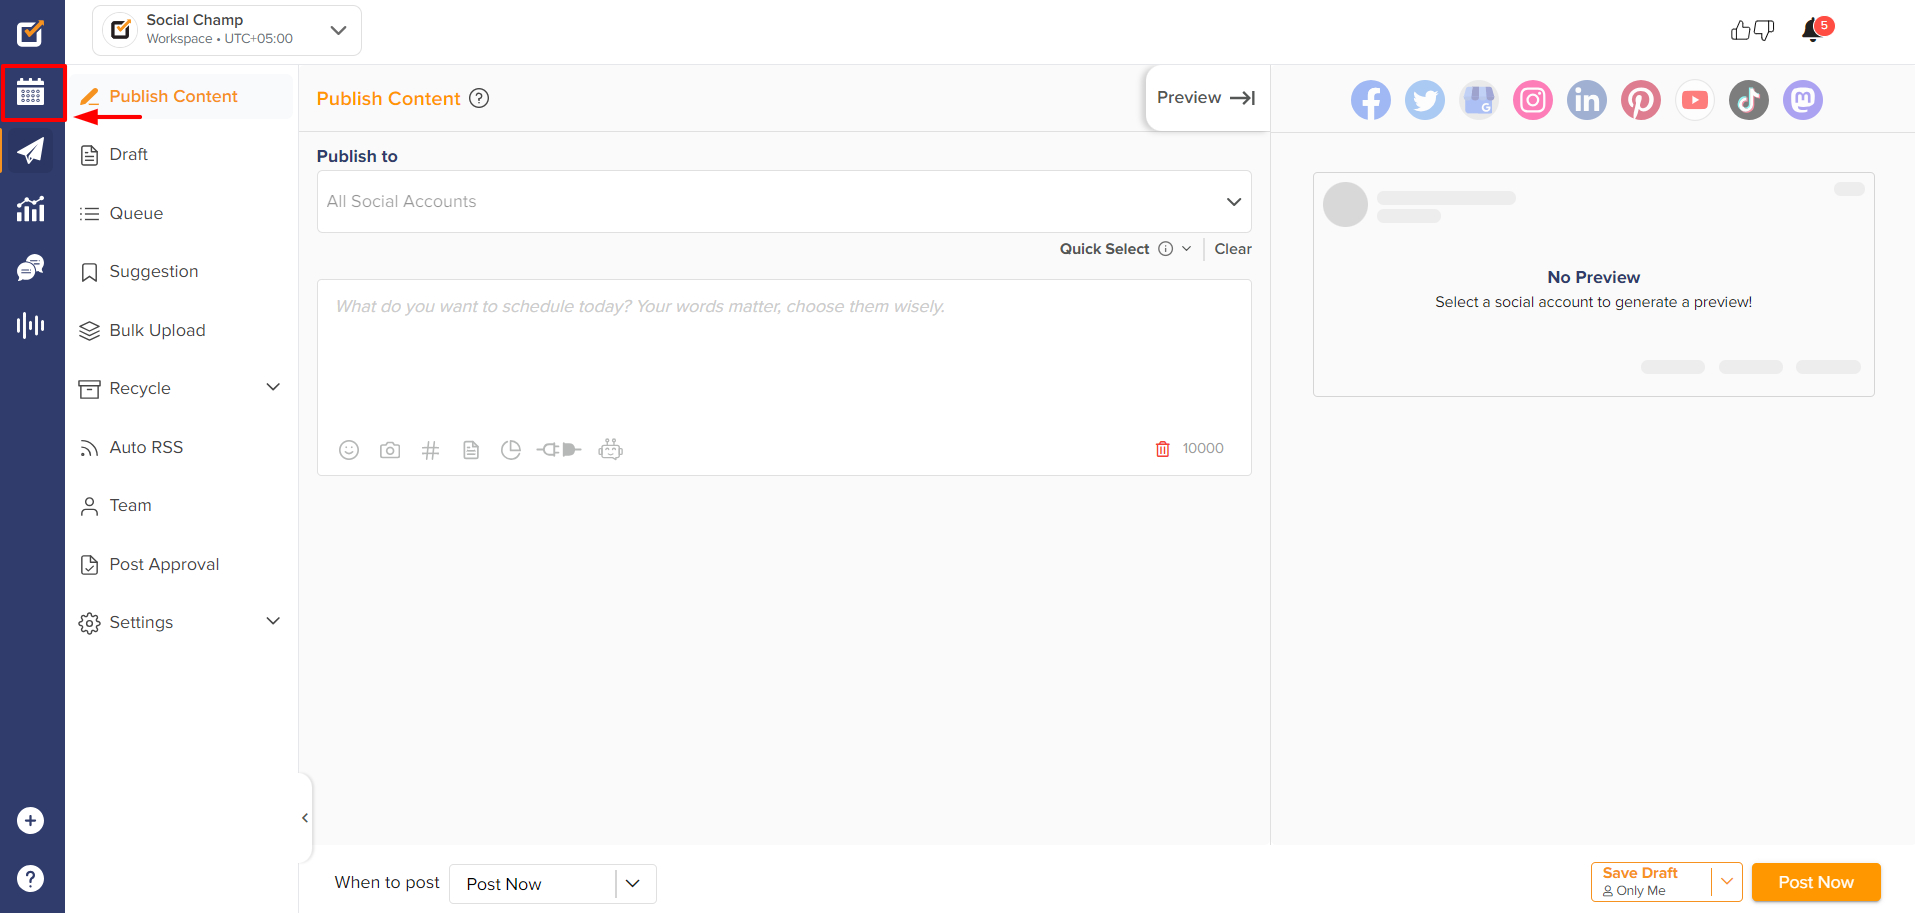
- From the top left drop-down menu, select the social media accounts for which you want to see the scheduled post.

- From the top right drop-down menu, you can filter the posts by the post type available. Select ‘Scheduled Posts’ to see the posts accordingly.

- Clicking on the specific post will let you preview the post on the right side of the Calendar. To delete the post, click the ‘Delete’ button at the top right of the preview.


- If you want to delete all the scheduled posts for the selected accounts simultaneously, click the ‘Delete all’ button. Tick the check box and click ‘Yes, delete it all.’


You can also delete the scheduled posts from the Queue section. Let’s see how it works.
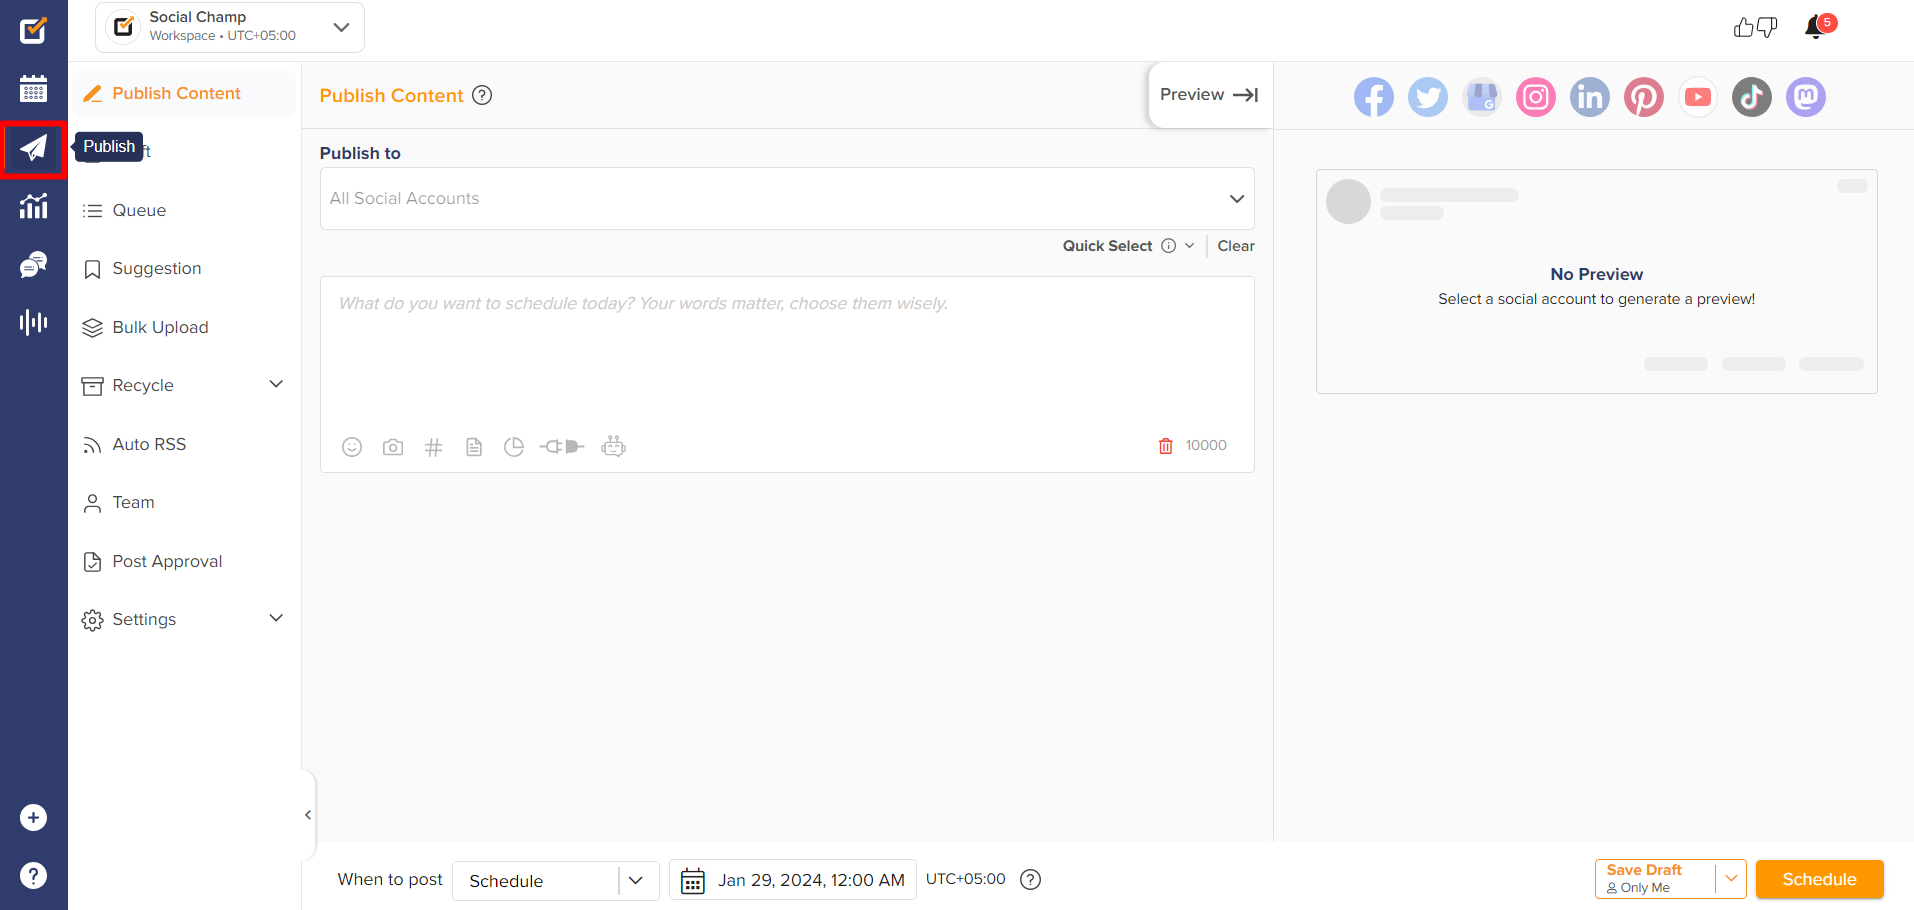
- Select ‘Publish’ from the left blue pane.
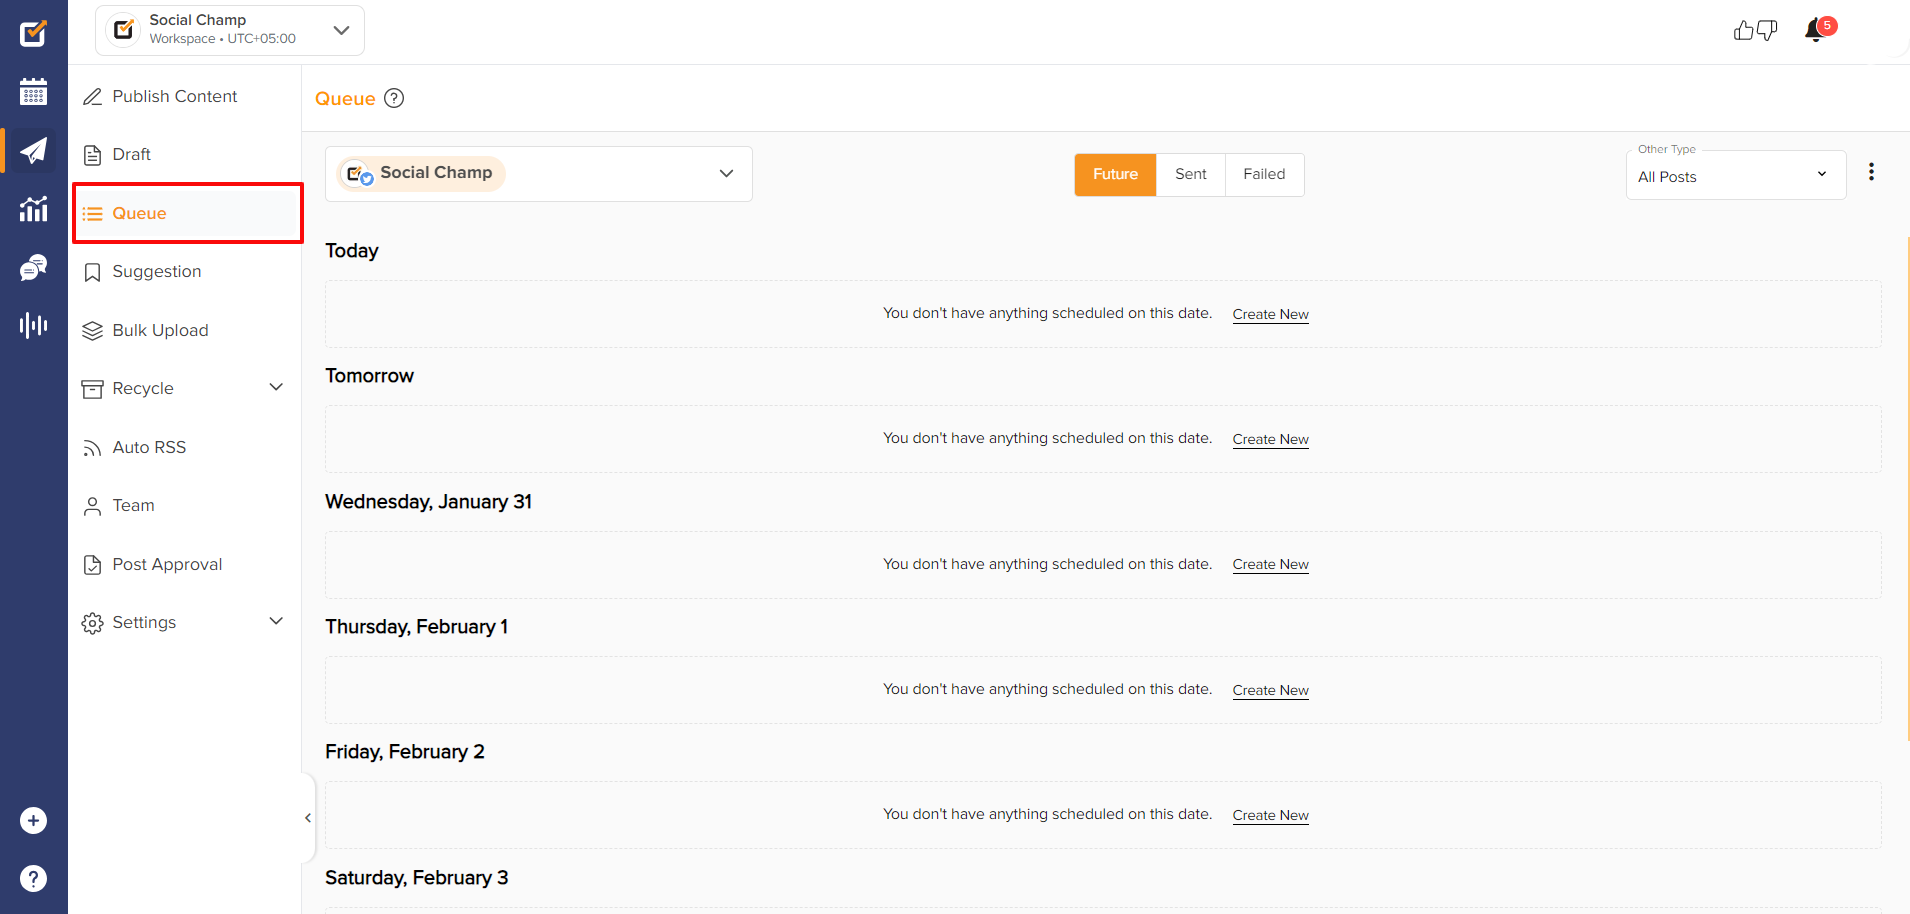
- Choose ‘Queue’ from the left column and select the social media account from the top left drop-down.
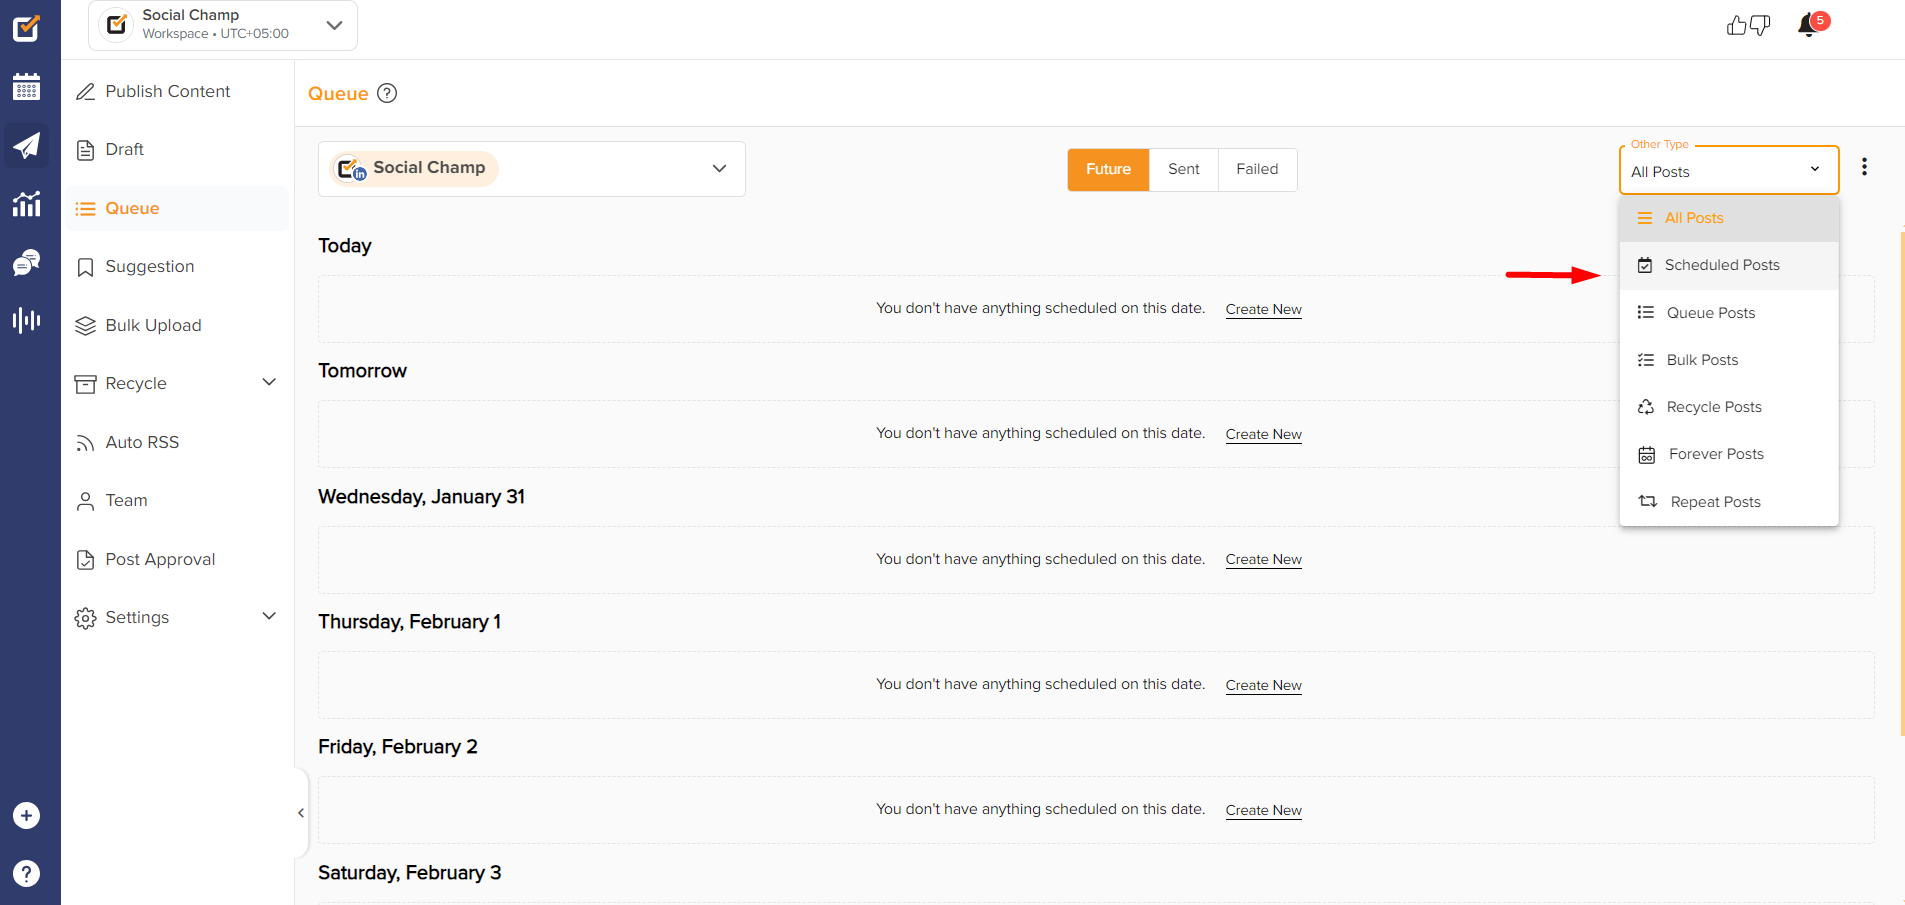
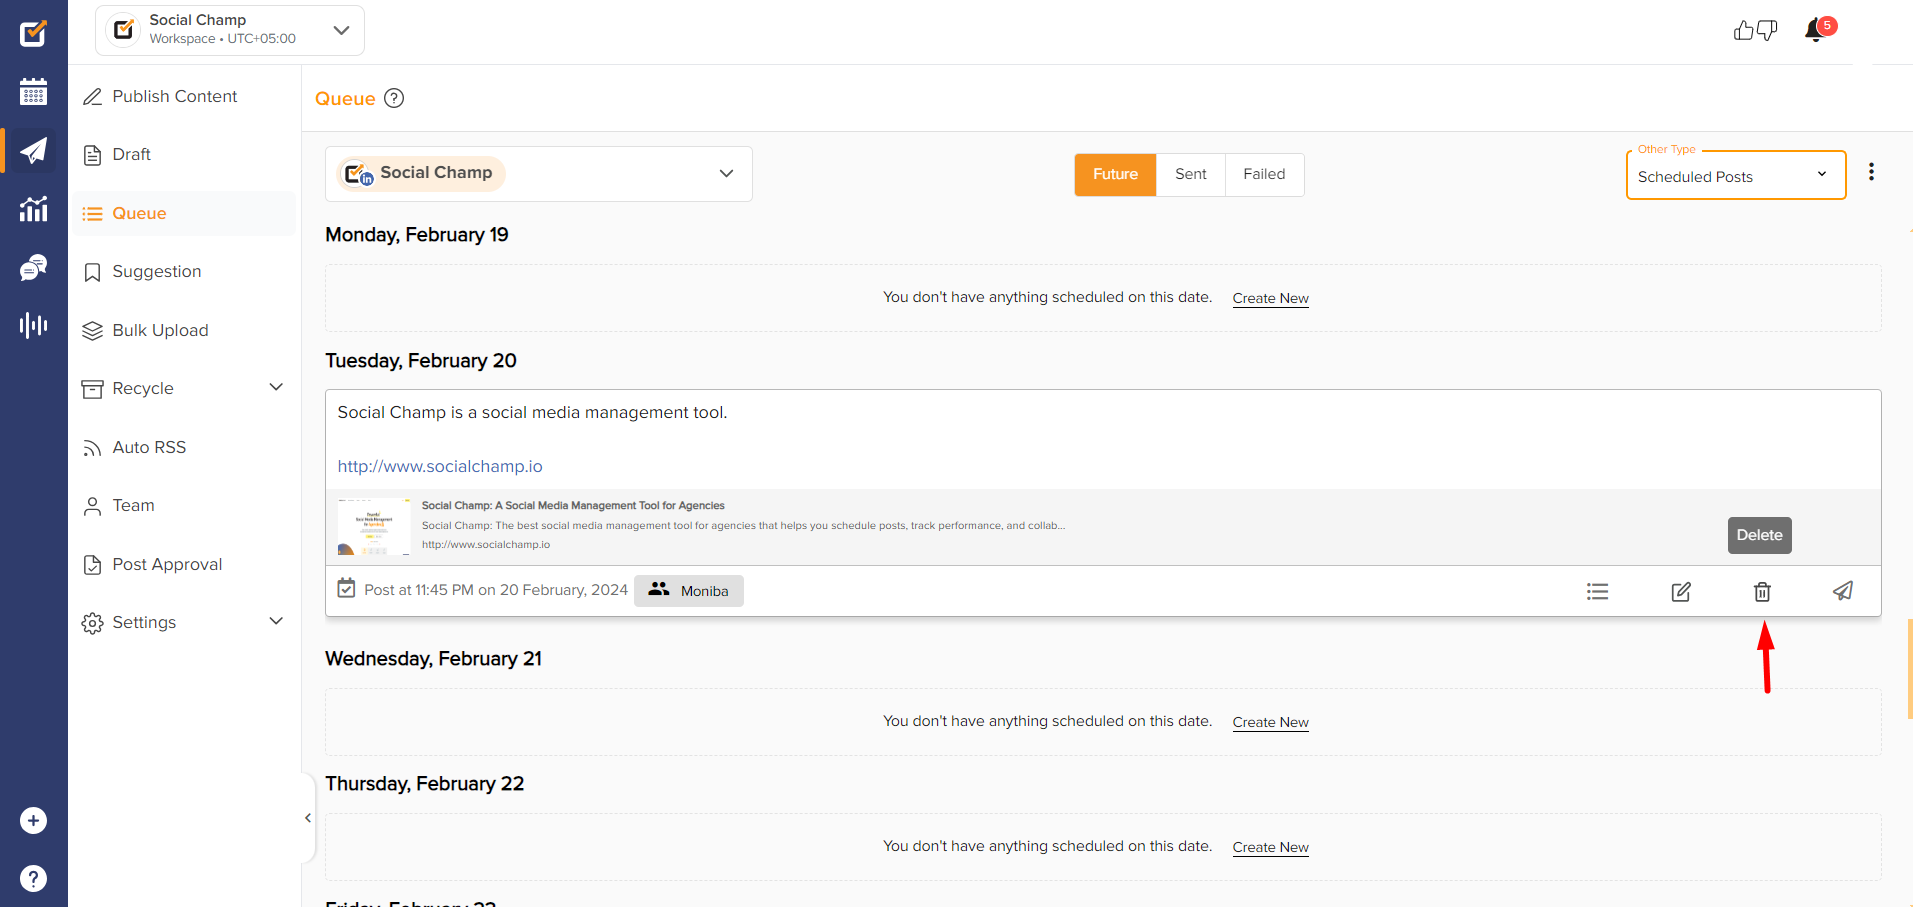
- On the Future tab, select the post type ‘Scheduled Posts.’ You can see your scheduled posts for the selected social media account here.
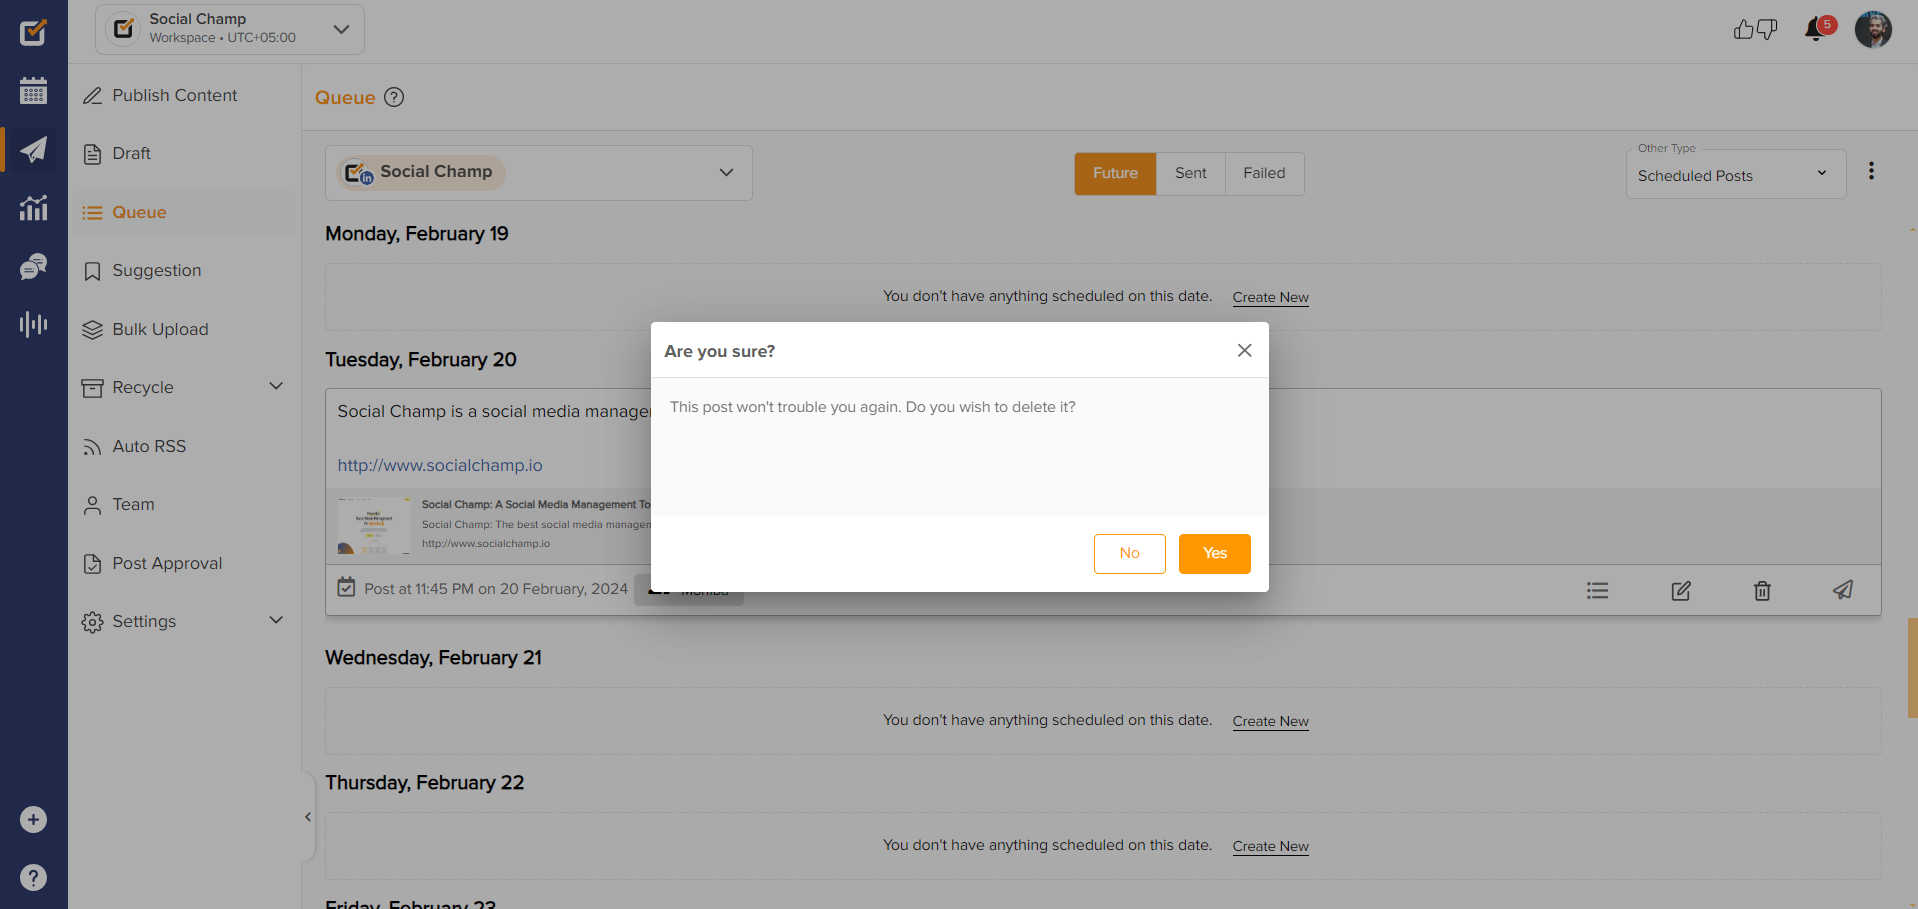
- To delete the specific post, click on the ‘Delete’ icon.
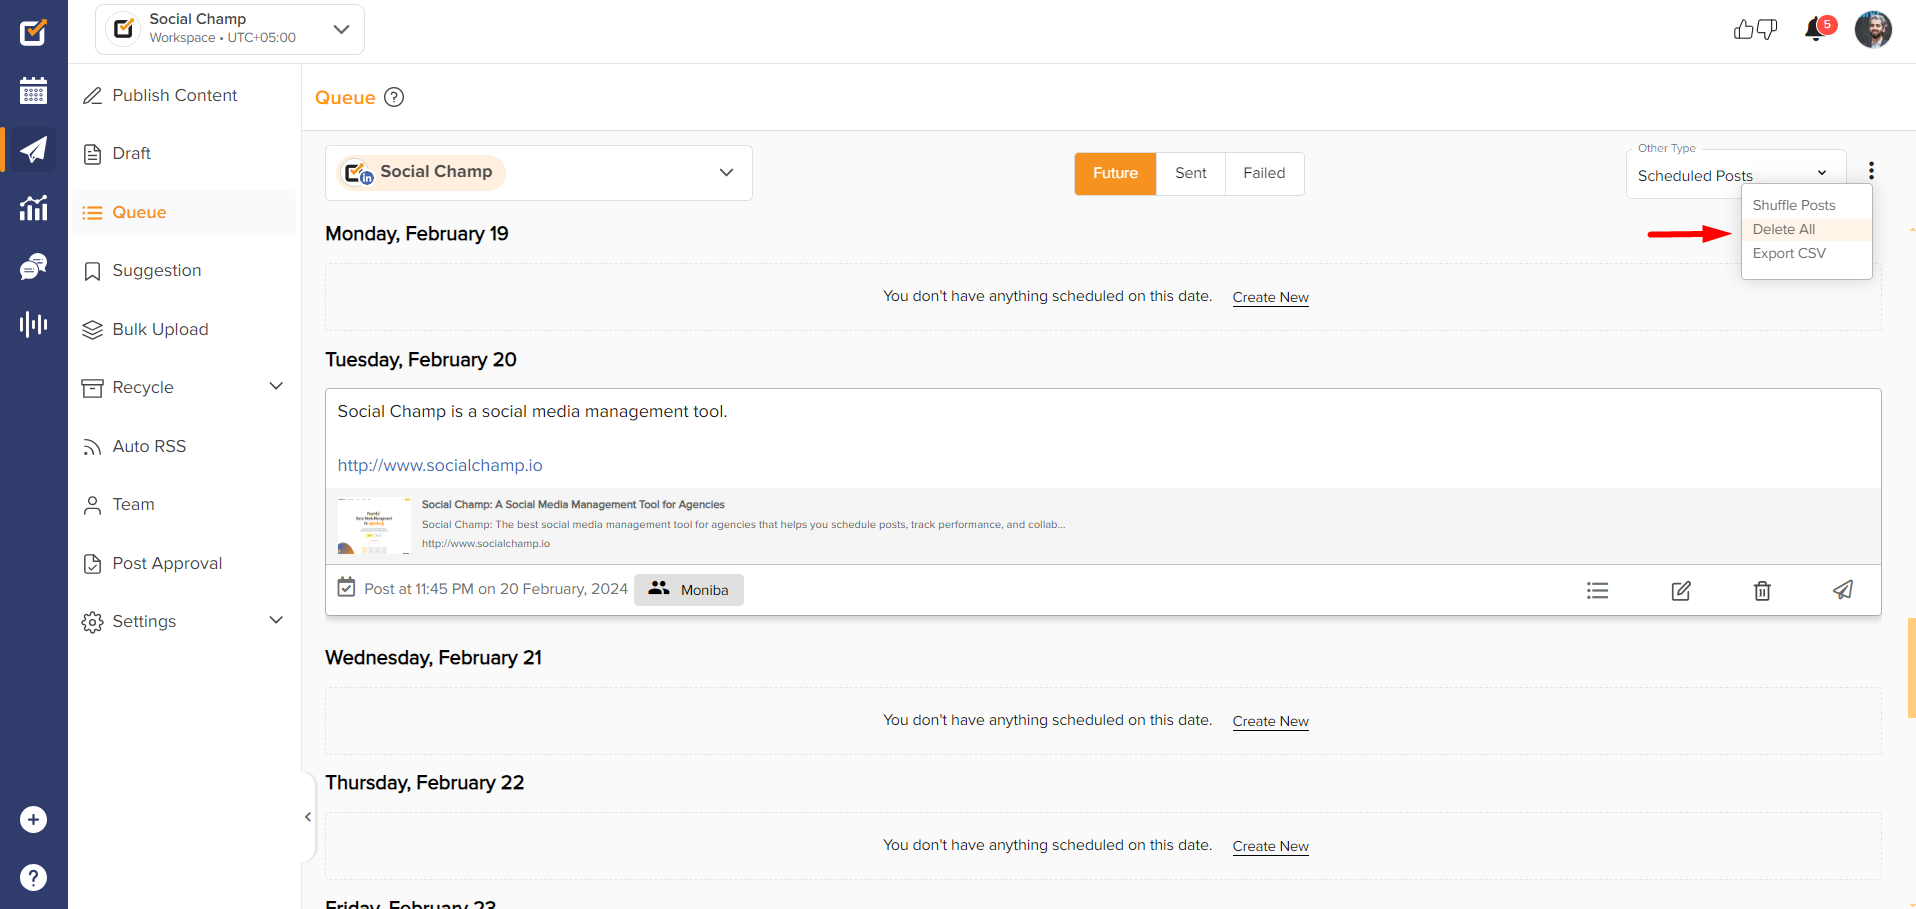
- You can delete all the scheduled posts at once by clicking on the three dots in the top right corner and selecting ‘Delete All.’
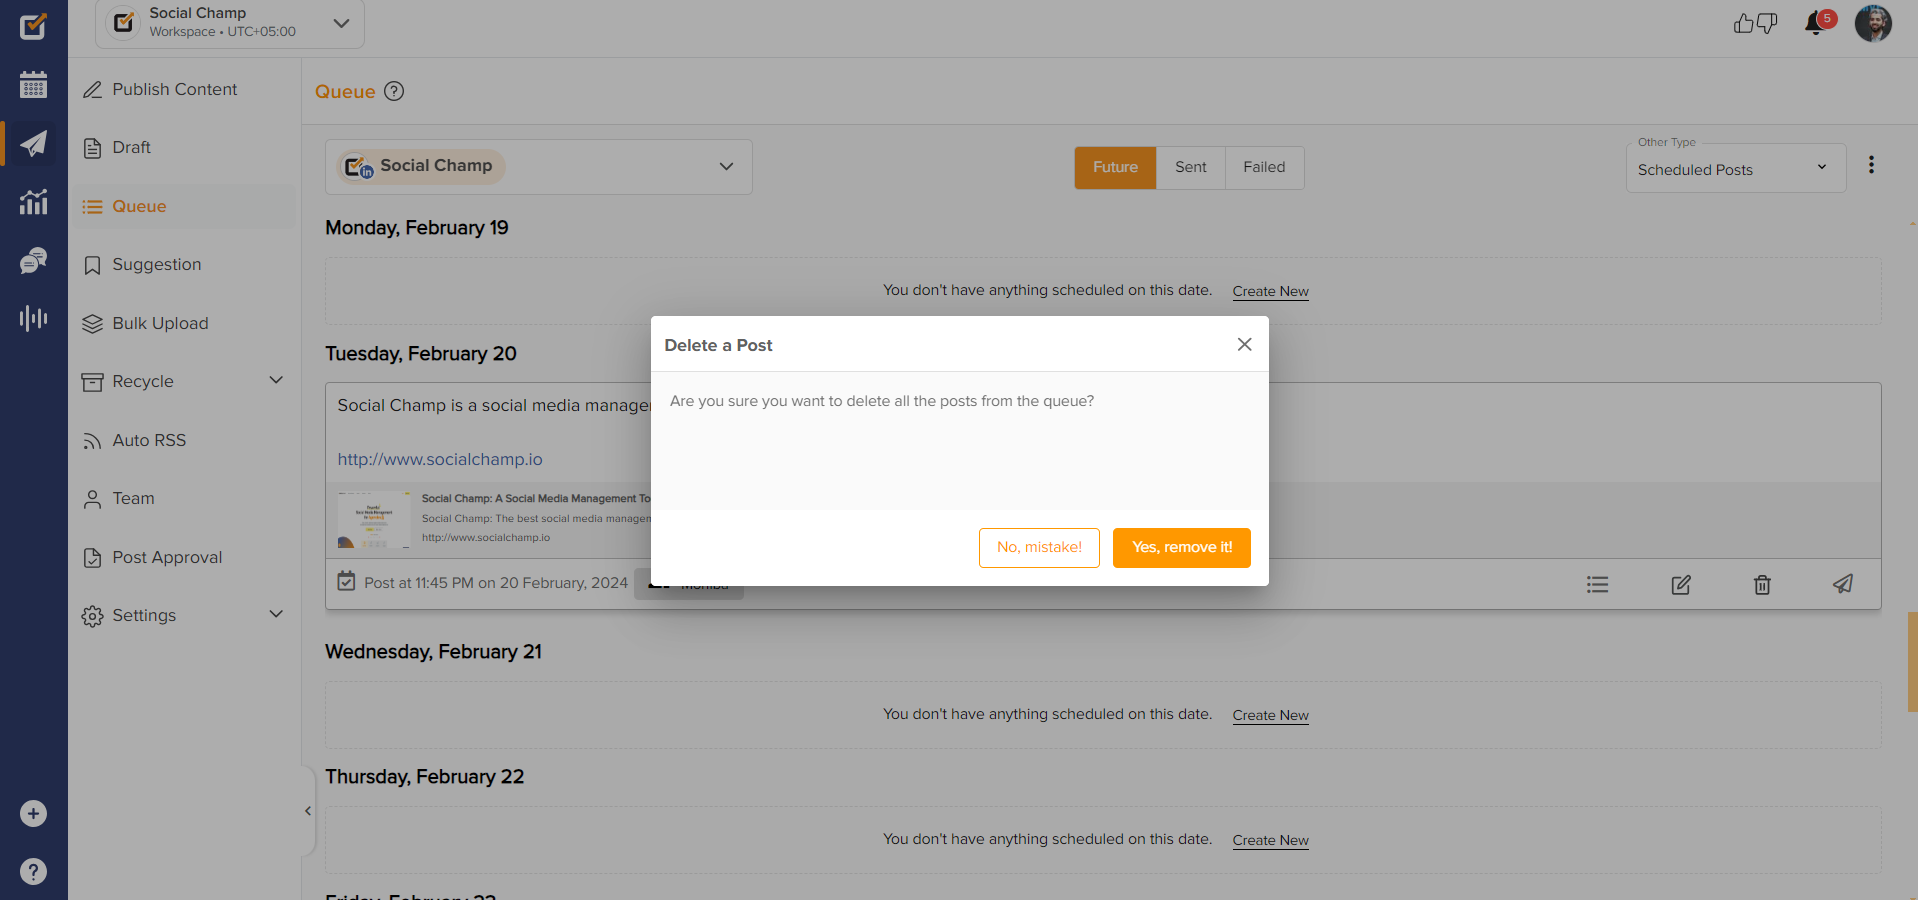
- Click on the button ‘Yes, remove it!’ and all of your scheduled posts for the selected account will be deleted.
Great work! Now you know how to delete your scheduled posts from the Calendar and Queue. 🙂
Was this helpful?
Thanks for your feedback!
