Hey, Champs! Social Champ now introduces its much-awaited feature ‘Shared Calendar’, which allows you to share your scheduled posts in a calendar view with your team members, clients, or anybody of concern. 😀
Let’s get started with how you can create a shared calendar using Social Champ.
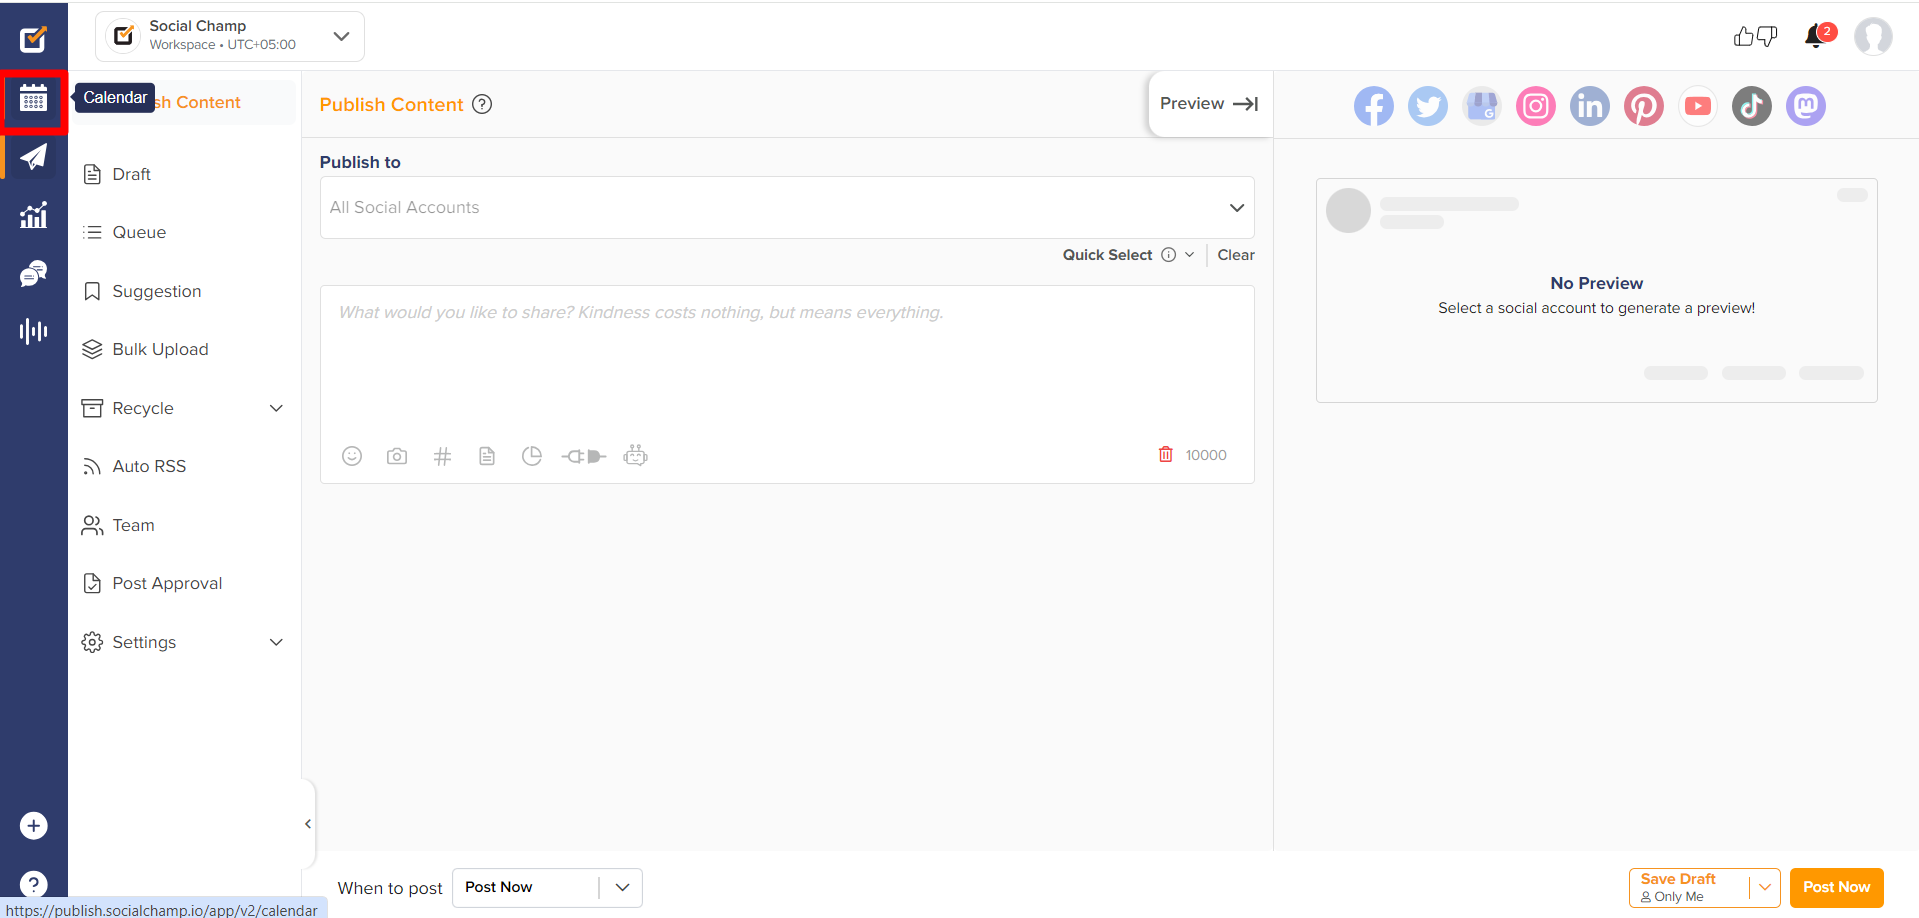
- Log in to your Social Champ account, and you will be directed to our main content dashboard. Click the Calendar option from the left panel.

- Find and click the ‘Shared Calendar’ option from the top right of the page.

- Create your calendar by clicking on the ‘Create New Shared Calendar’ icon to start fresh.
From the top left of the pop-up, you can cross-check your current plan and the number of shared calendars you can create.

- Give a name to your Shared Calendar and upload the picture to make it customized.

- Now select a social account or several accounts as per your requirement.

- Select a date range for the posts to reflect in the Shared Calendar.

- You can select from the options, View only and Editor option, depending upon the access you want to give it to your clients. The Shared Calendar can also be protected by the password.
Note: The Business Plan enables you to give access of View only.
With the Agency plan you will be able to use the options View only and Editor.

- Once done, Click Create.

- The calendar can be shared with a link and Password (if protected with the password) to other members and clients. Make sure that link sharing is enabled.


- If you are unsatisfied with your created calendar, you can further edit it or click the delete button to delete your Shared Calendar.

- By opening the shared link, and entering the name and email address, your client can view/edit all your posts within a particular date range.


Tadaa! You have successfully created your first Shared Calendar within Social Champ. Cross-check how many more shared calendars you can create within your plan or upgrade. 😀
P.S. The Shared Calendar feature is only available for Business Plan and Agency Plan users.
Was this helpful?
Thanks for your feedback!
