Hey Champs! Social Champ’s Calendar feature allows you to get a bird’s eye view of all your social media scheduling activity.
In this guide, we will discuss all the things Social Champ’s Calendar is capable of doing.
- When you first log in, you will land on the content dashboard by default. Navigate to the left panel and click the Calendar button.

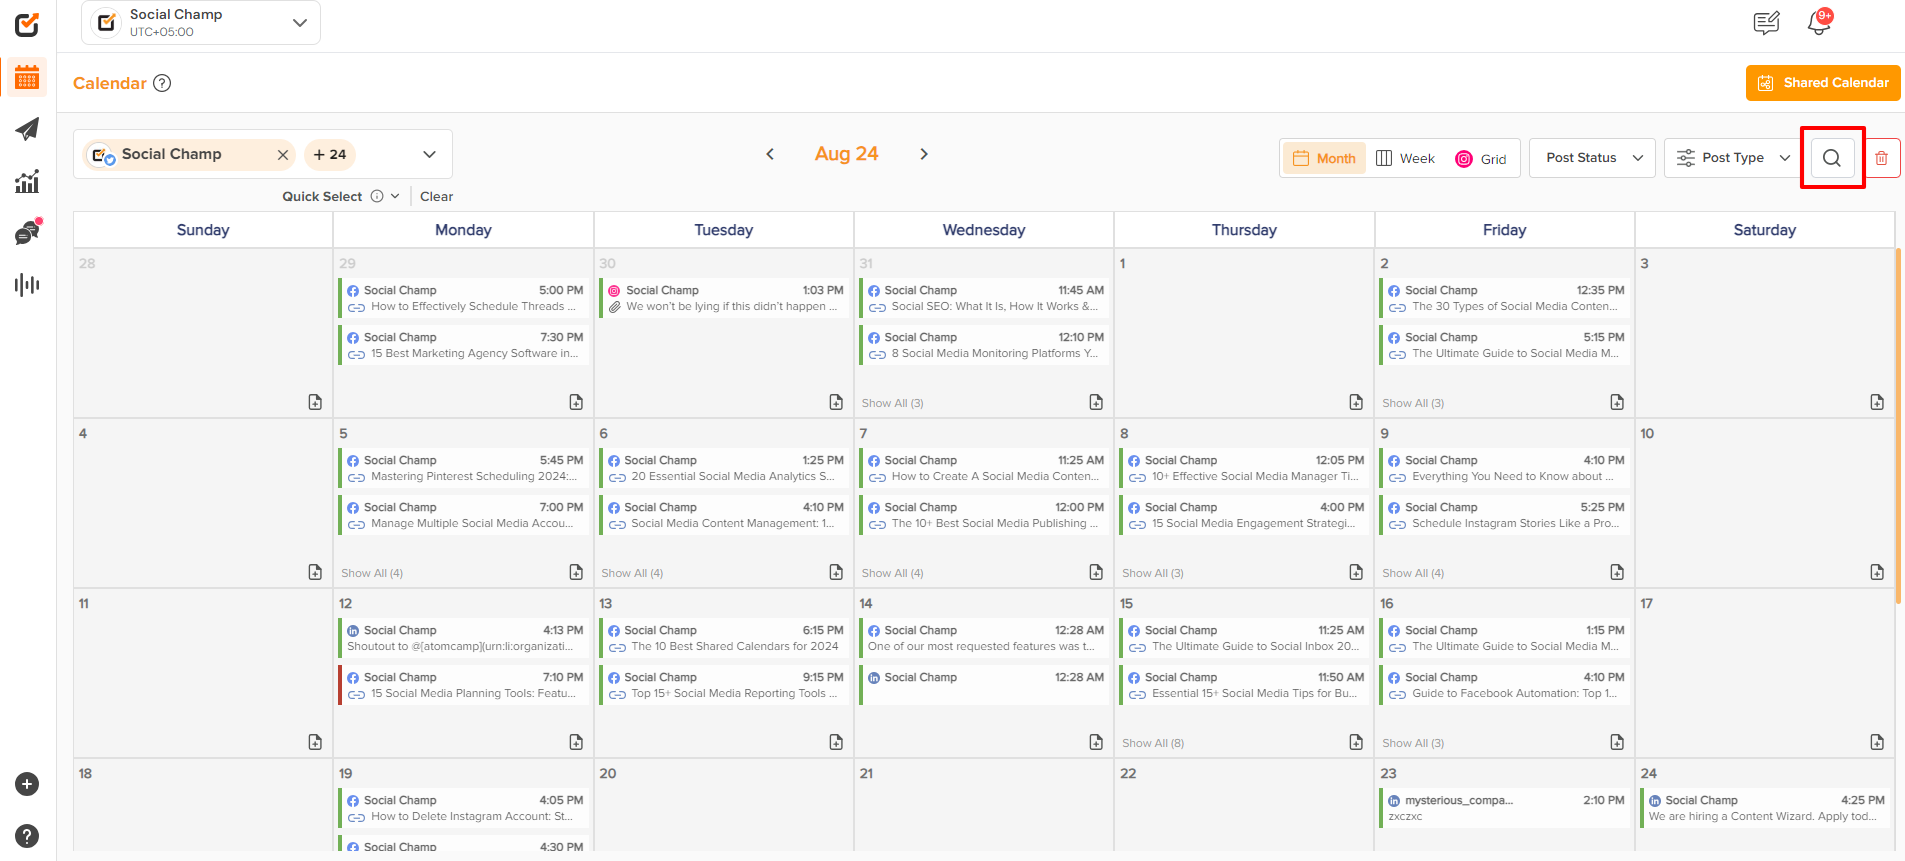
- Within the Calendar, you can choose one or more connected social accounts from the top left dropdown. View all your scheduled, pending, sent, or failed posts here.

- From the top right of the window, you can choose a calendar view to be monthly or weekly! For Instagram accounts, you can opt for a grid view as well. You can further filter your posts with ‘Post Status’ and ‘Post Type’ options to manage them better.

- With the topmost right option of ”Delete”, you can delete your future scheduled posts.

- One can also search for the posts in the Calendar by clicking on the search button and entering the keywords.
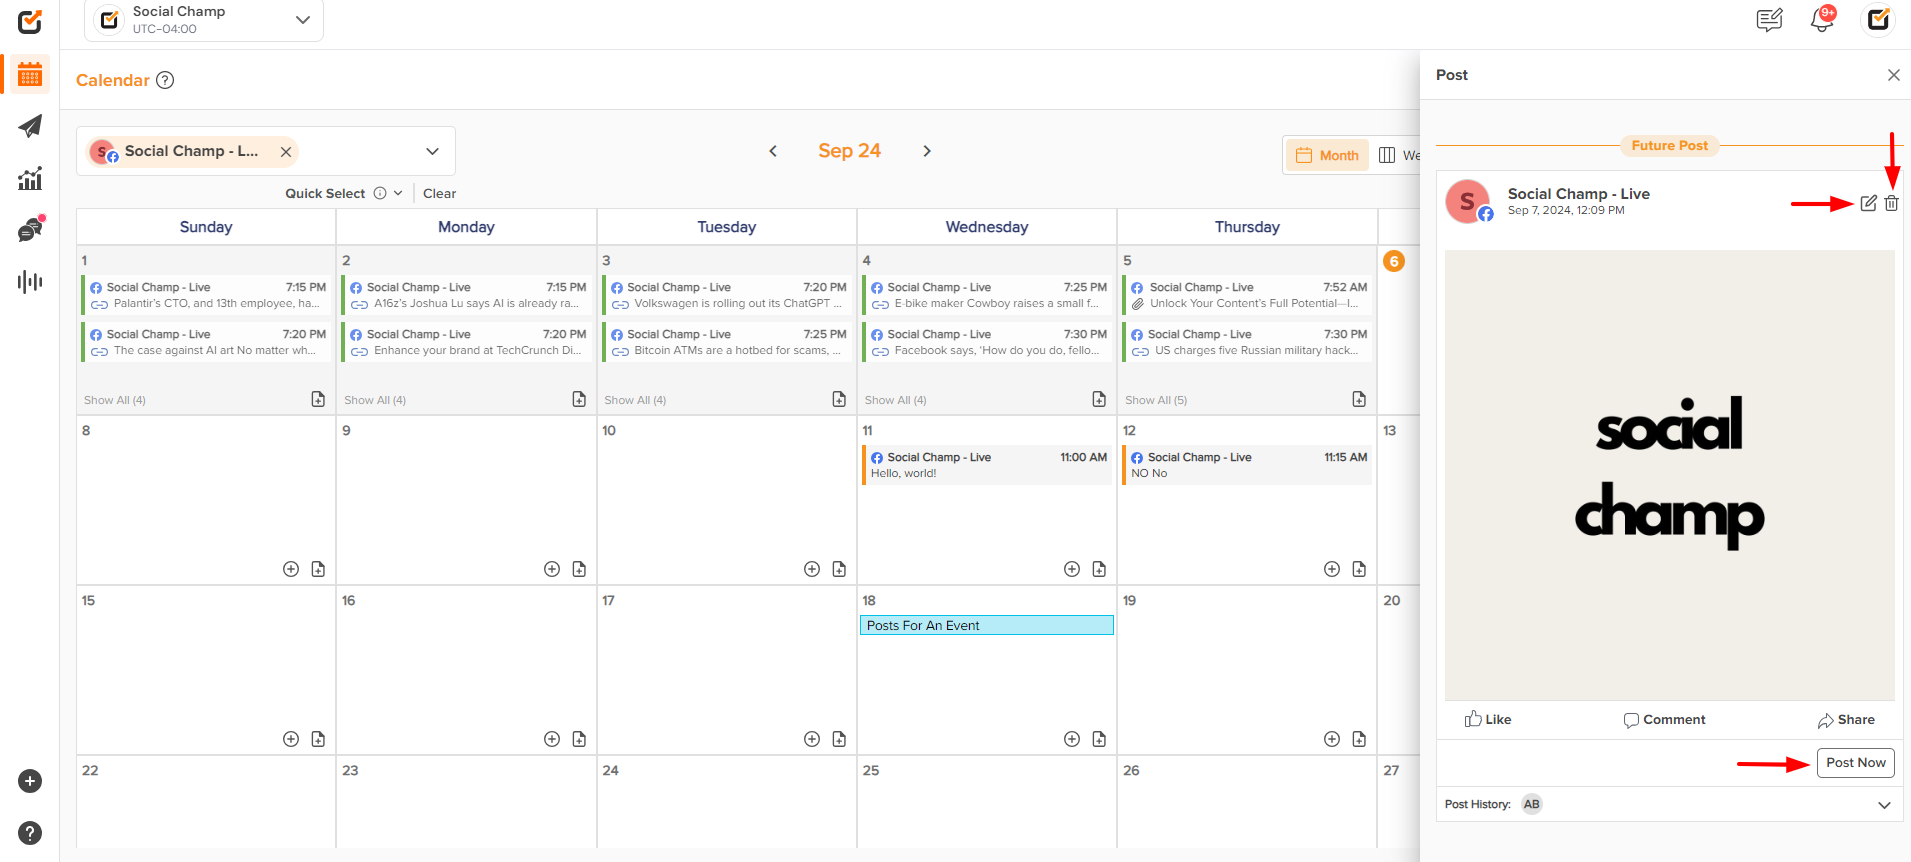
- Click on a post to get a more detailed view of the caption and media attached. For the scheduled posts, you can further edit them, delete them, or post them right away.
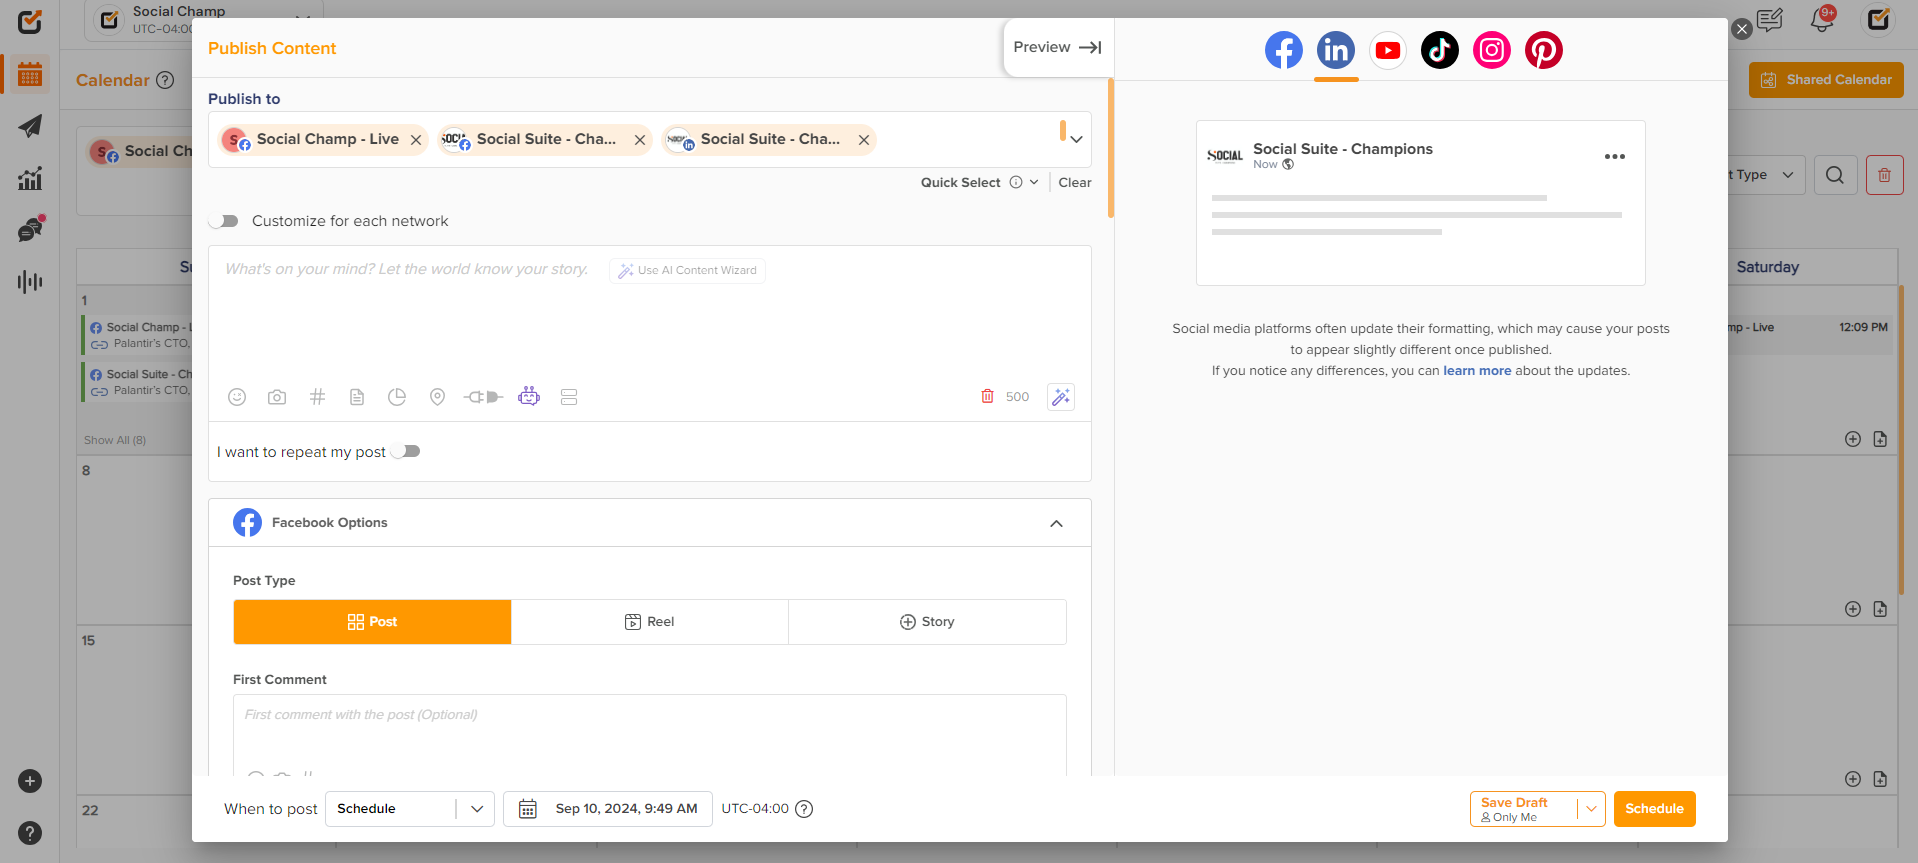
- Within Calendar, posts can be created and scheduled by clicking on the “+” sign.
Posts can also be Rescheduled/Reposted by dragging and dropping.

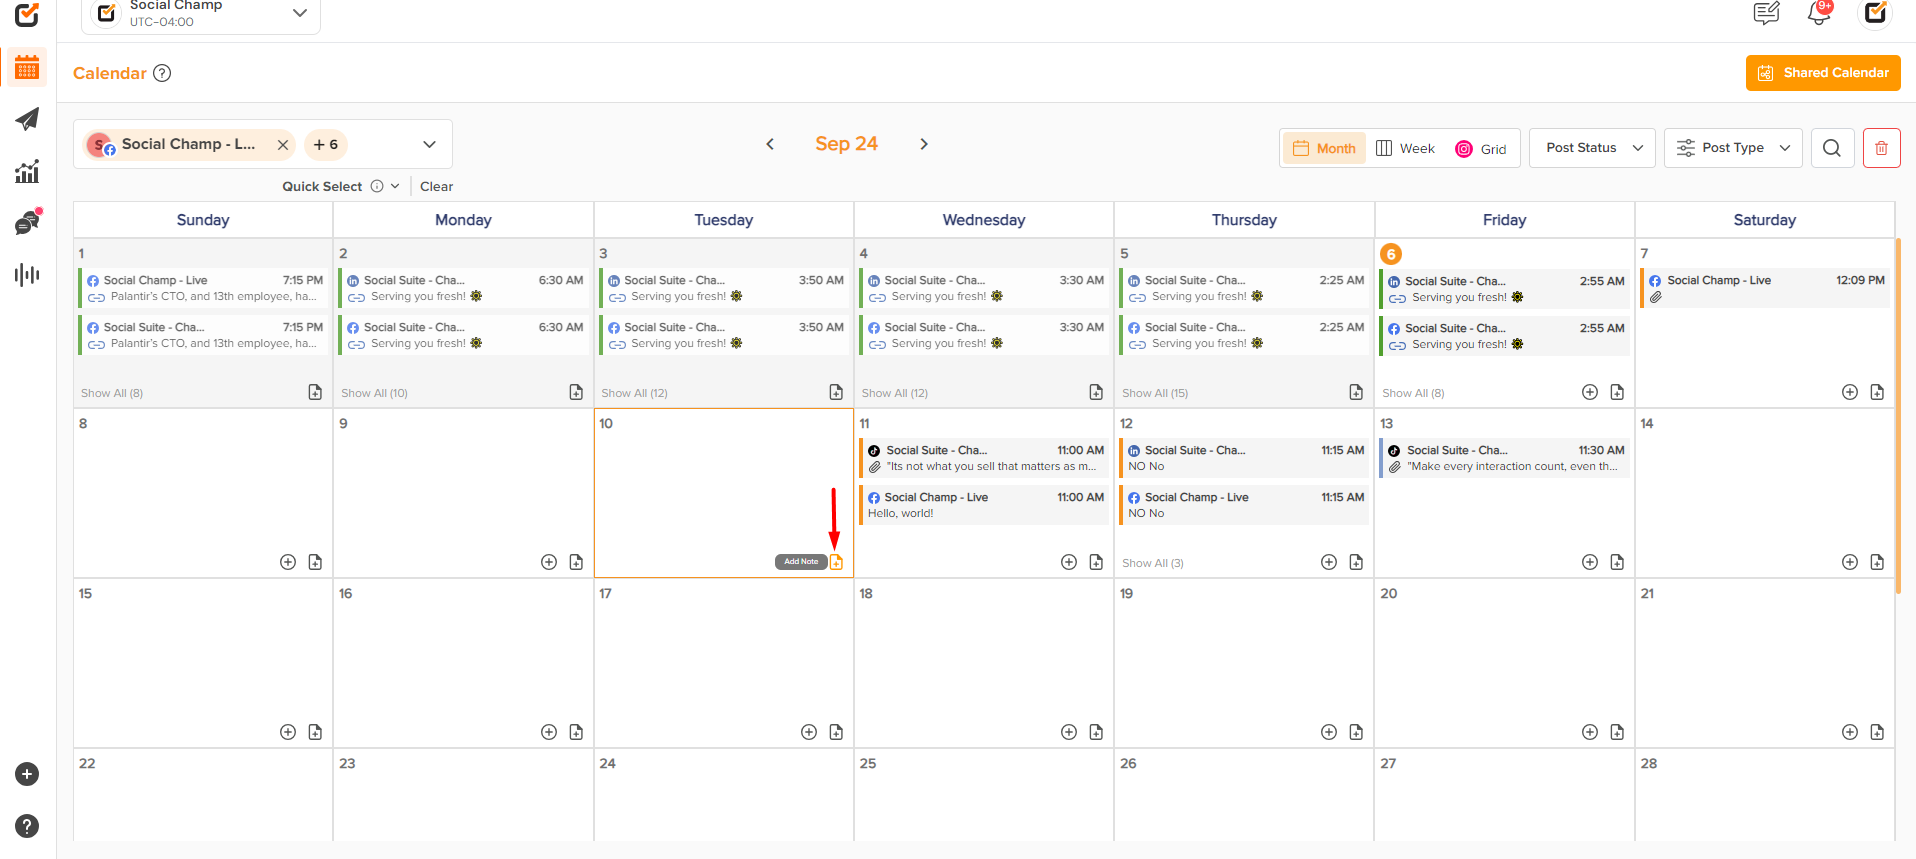
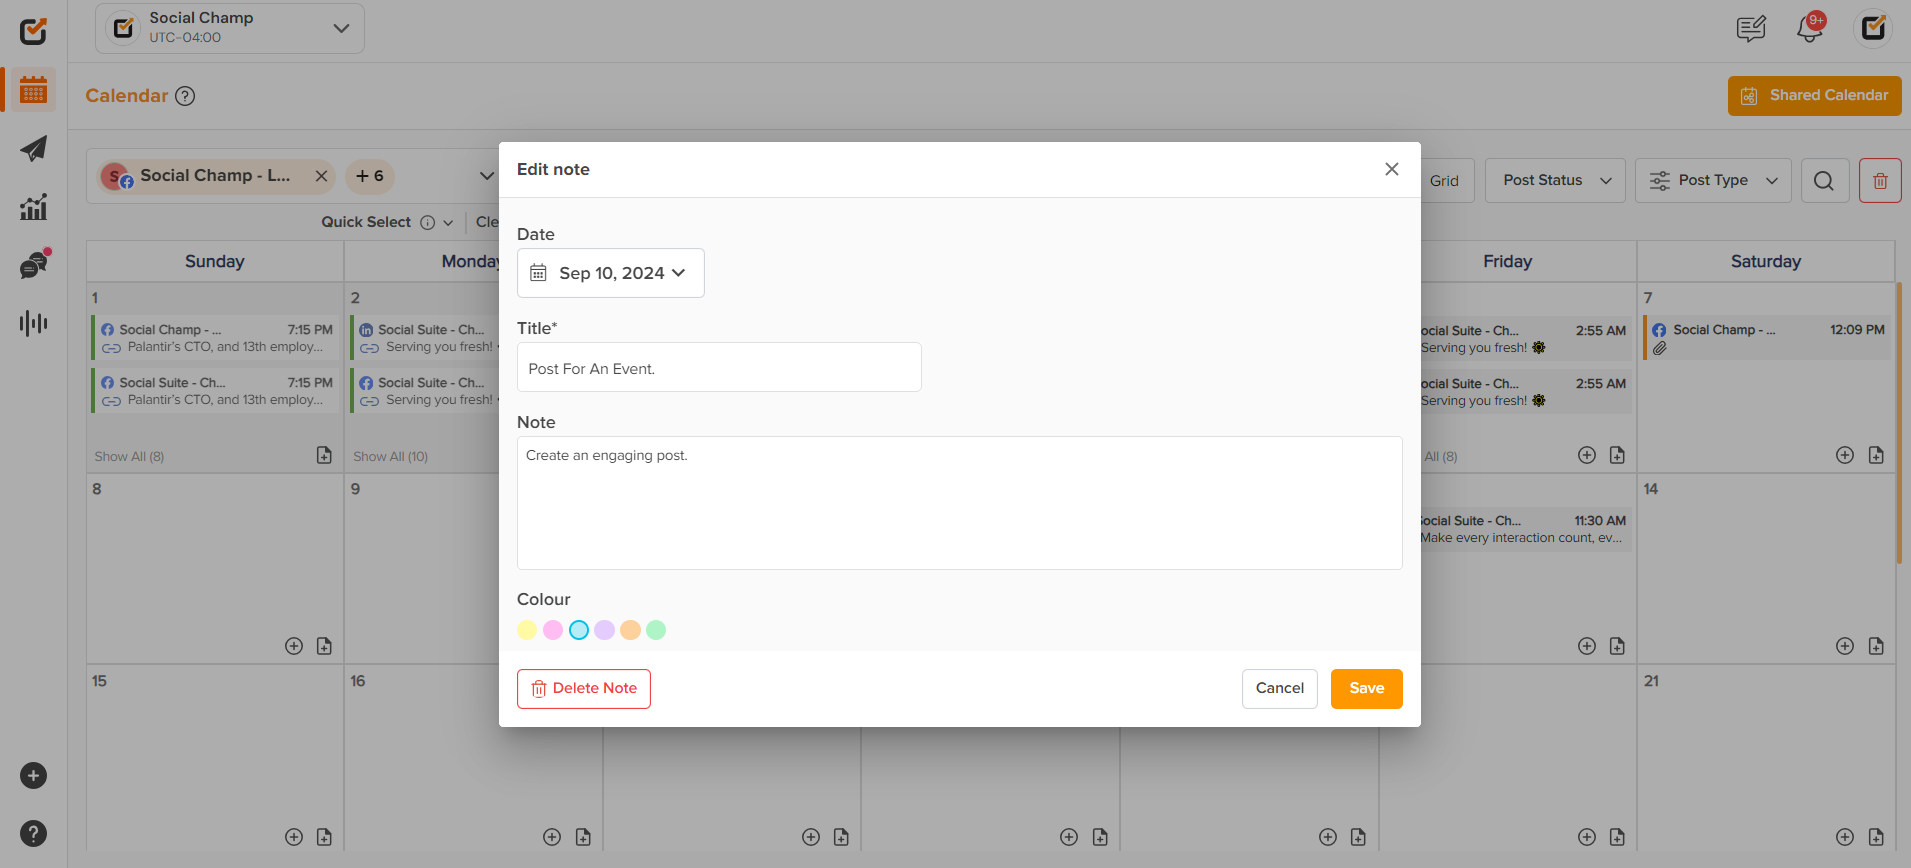
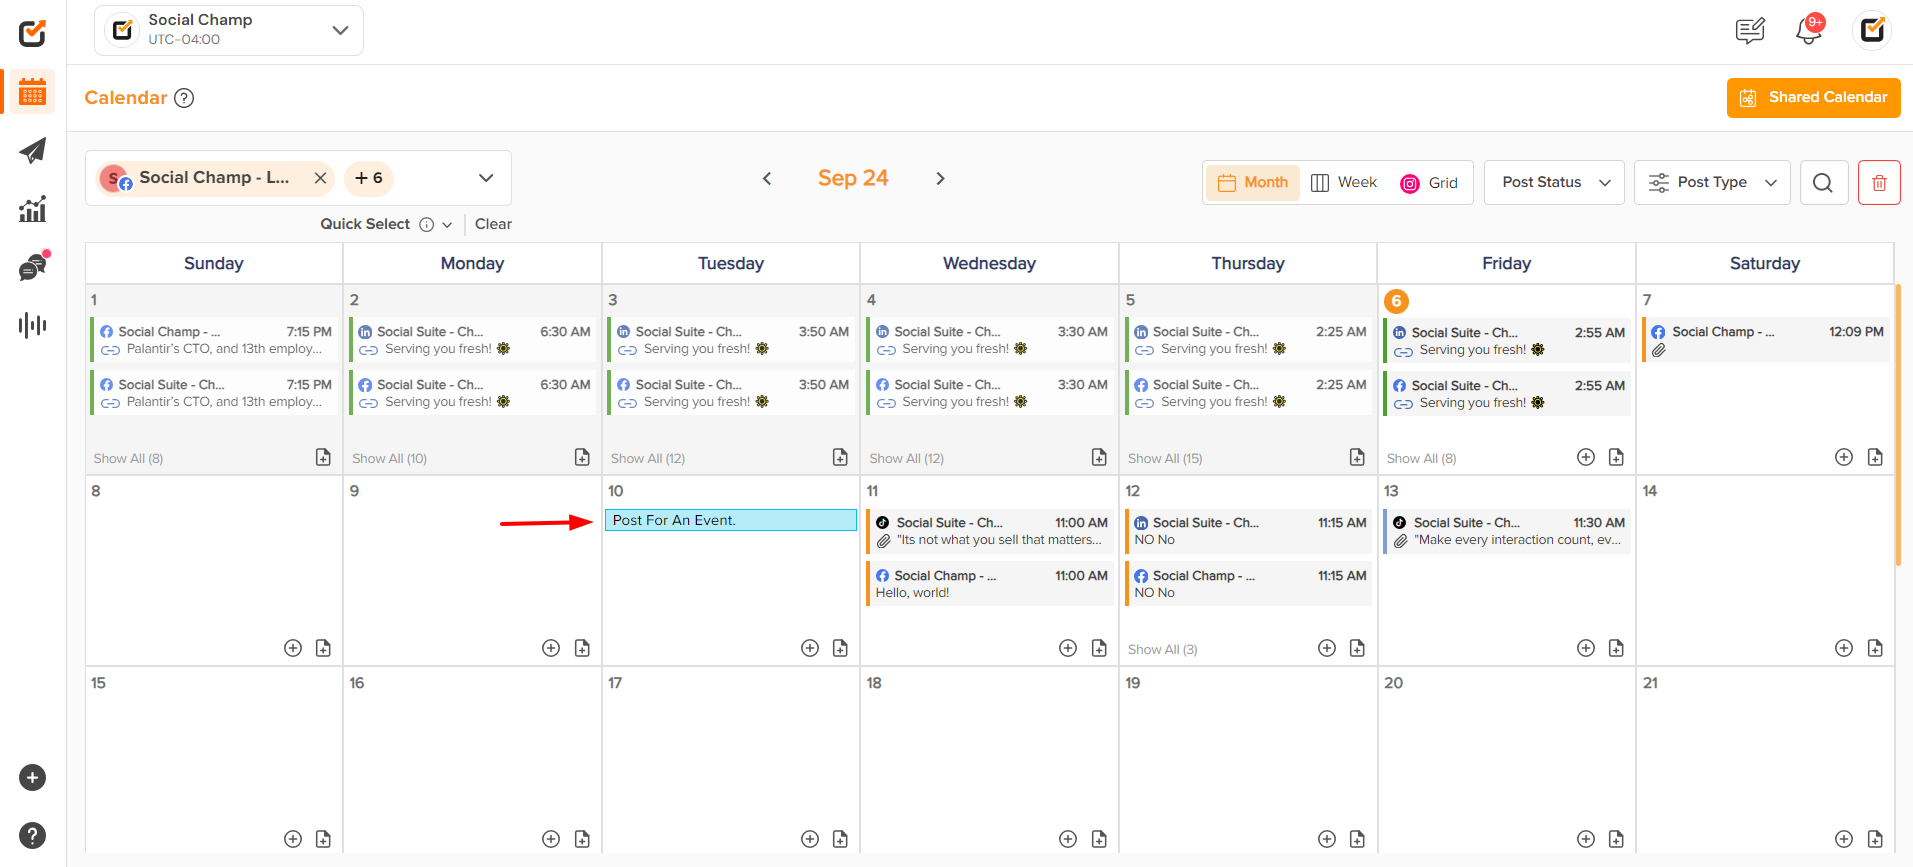
- You can also add a note for a specific date in the Calendar by clicking the Add Note button.
- The ‘Shared Calendar’ feature allows you to share the calendar with clients or teams via a link like Google Docs. Learn how to use this feature here.

That’s it, Champs! Now you know how to use Social Champ’s Calendar feature.
Here is a video tutorial:
Was this helpful?
Thanks for your feedback!
