Hey Champs! You can distribute your added social media accounts into different Workspaces. Creating Workspaces will help you streamline and manage your tasks with more ease and efficiency.
Here in this guide, you can learn how you can create a Workspace in your Social Champ account.
Let’s get started.
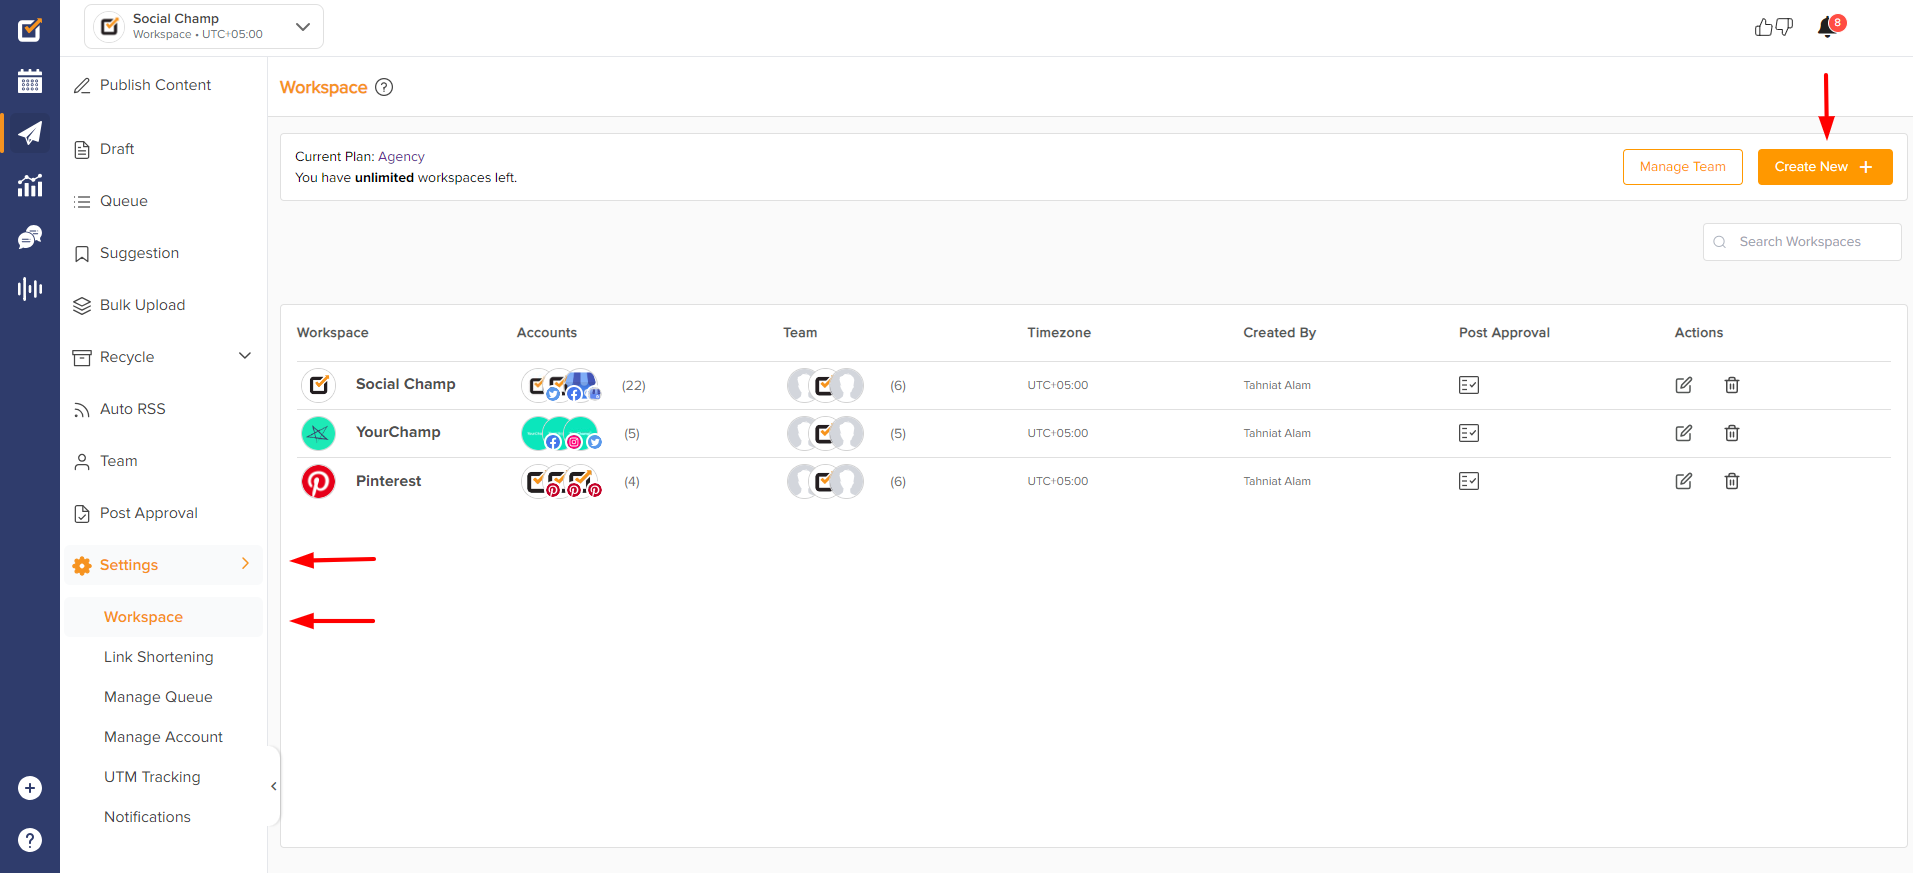
- When you first log in to your Social Champ account, you will land on the content dashboard by default. From the left panel, select Settings and choose ‘Workspace.’ Click on the ‘Create New’ button.
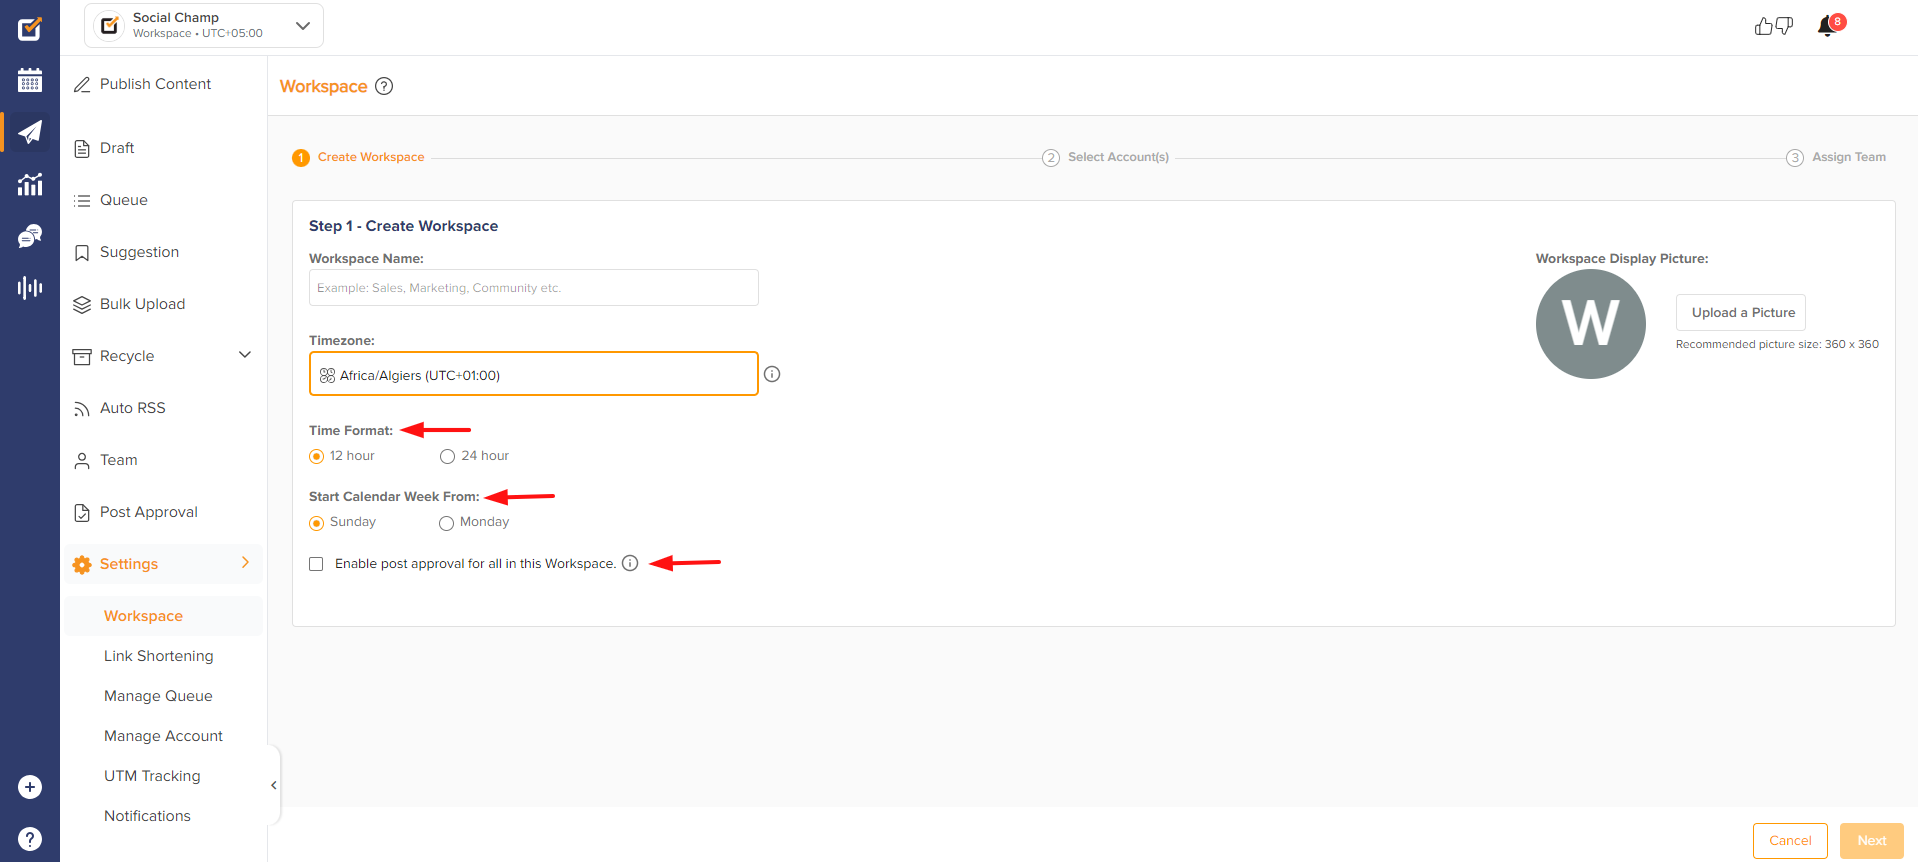
- You can give a name to your Workspace and select the timezone from the drop-down as per your preference or target audience. Upload a picture to give it a personalized look. (Uploading a picture is optional).

- Now select the time format and the Calendar week start day as per your preference.
You can tick the box in order to enable post-approval for all in this workspace, then click next.
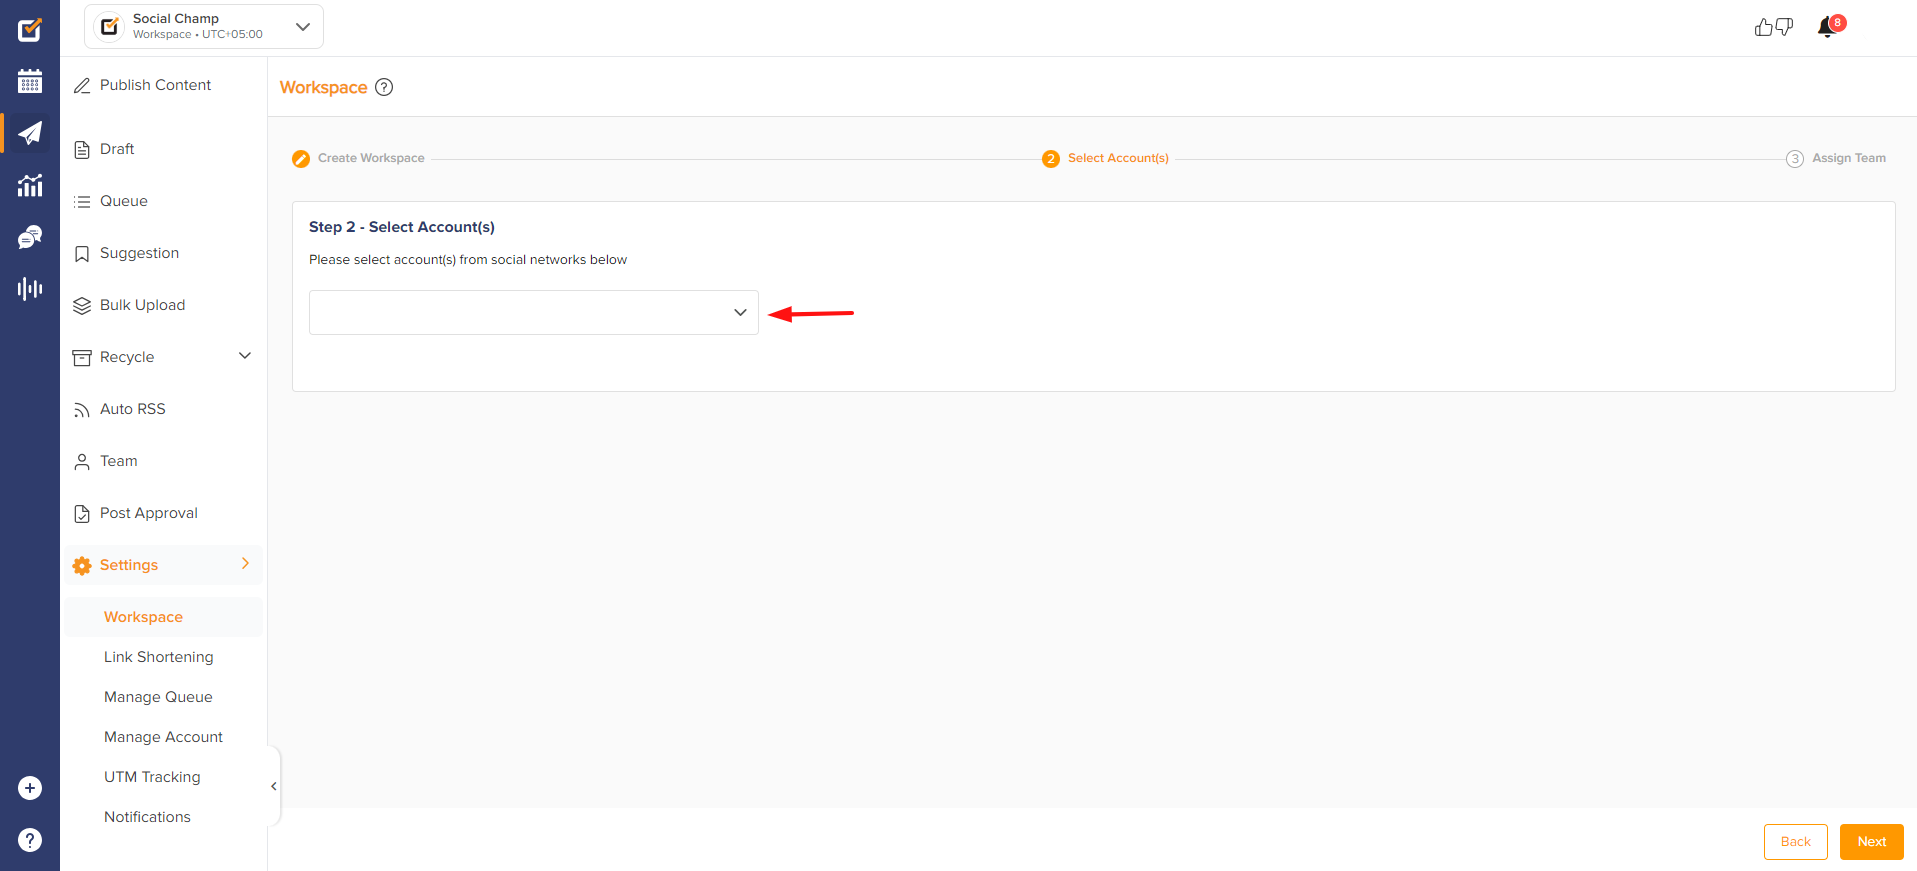
- Select the Social Media accounts you would like to add to this workspace.
Click on the box to release a drop-down menu where you will see a list of All your social media accounts connected with Social Champ and the Workspace they’re added to.
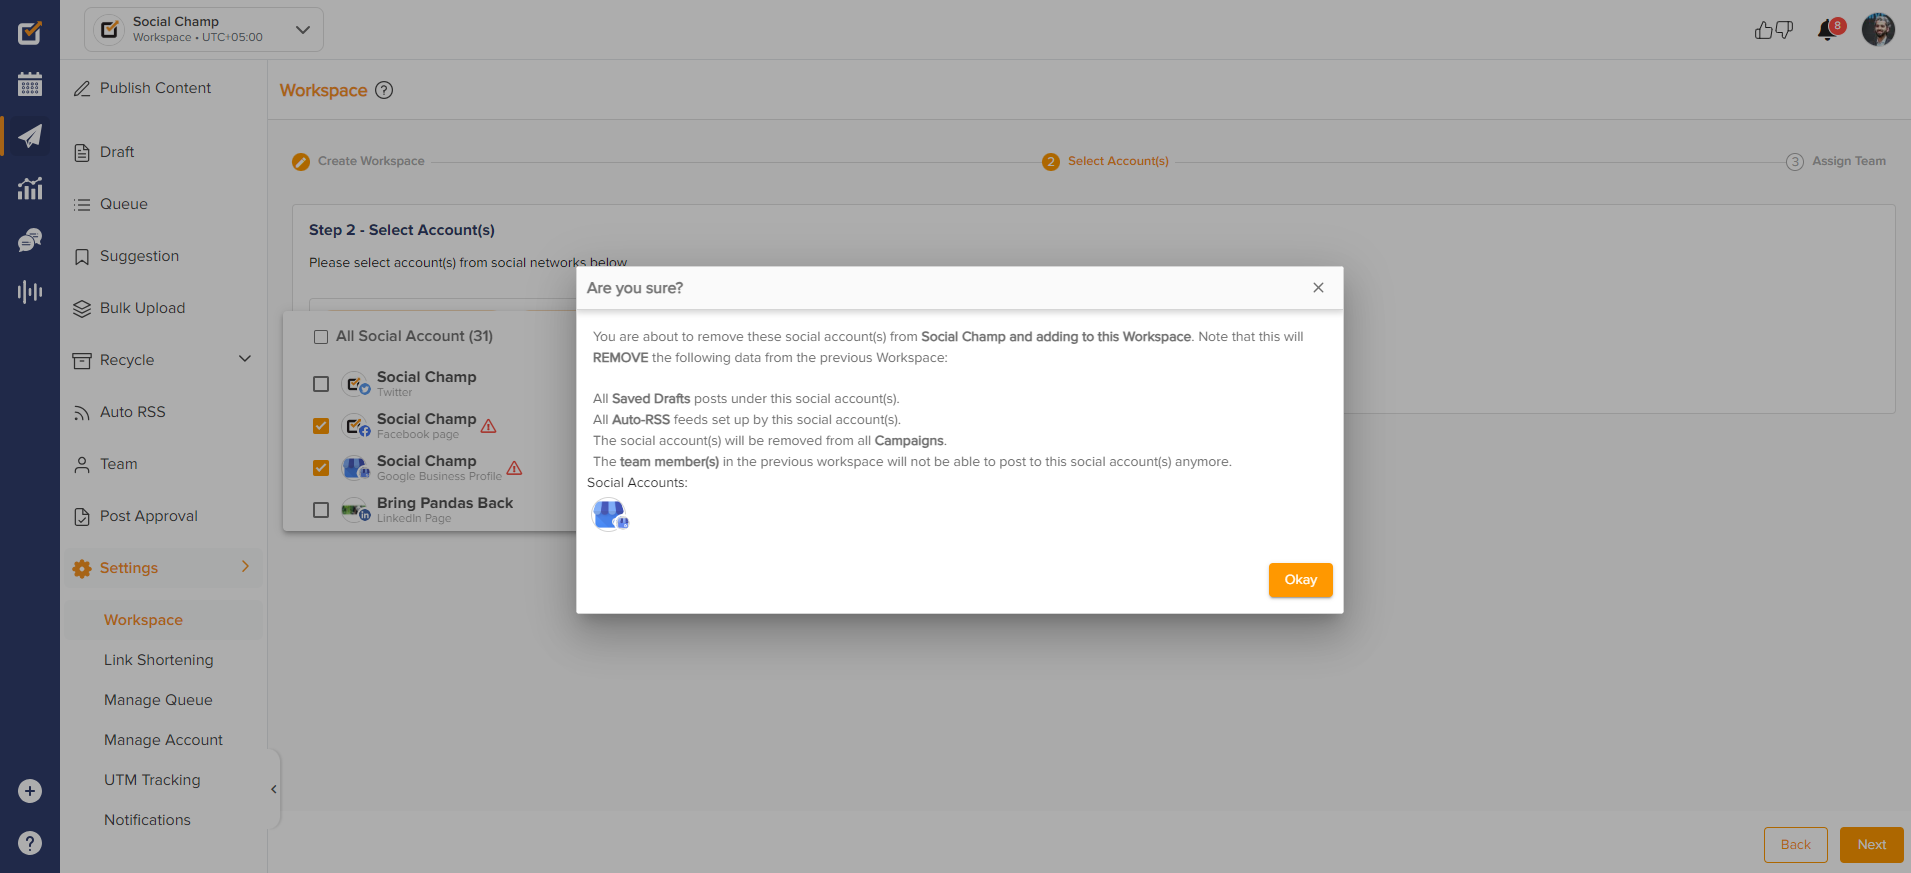
- If you would like to add/move a Social Account from a different workspace to the new workspace simply tick the checkbox next to the Social Account.
Please note:
A Social Media account can only be present in ONE workspace at a time. If you’re moving a Social Media account from one workspace to another a Red error icon will show up. Click the icon to view some important details. They are as follows:
* All Saved Drafts posts under this social account(s).
* All Auto-RSS feeds set up by this social account(s).
* The social account(s) will be removed from all Campaigns.
* The team member(s) in the previous workspace will not be able to post to this social account(s) anymore. - Select the Team members you want to add to the workspace by clicking on the drop-down.
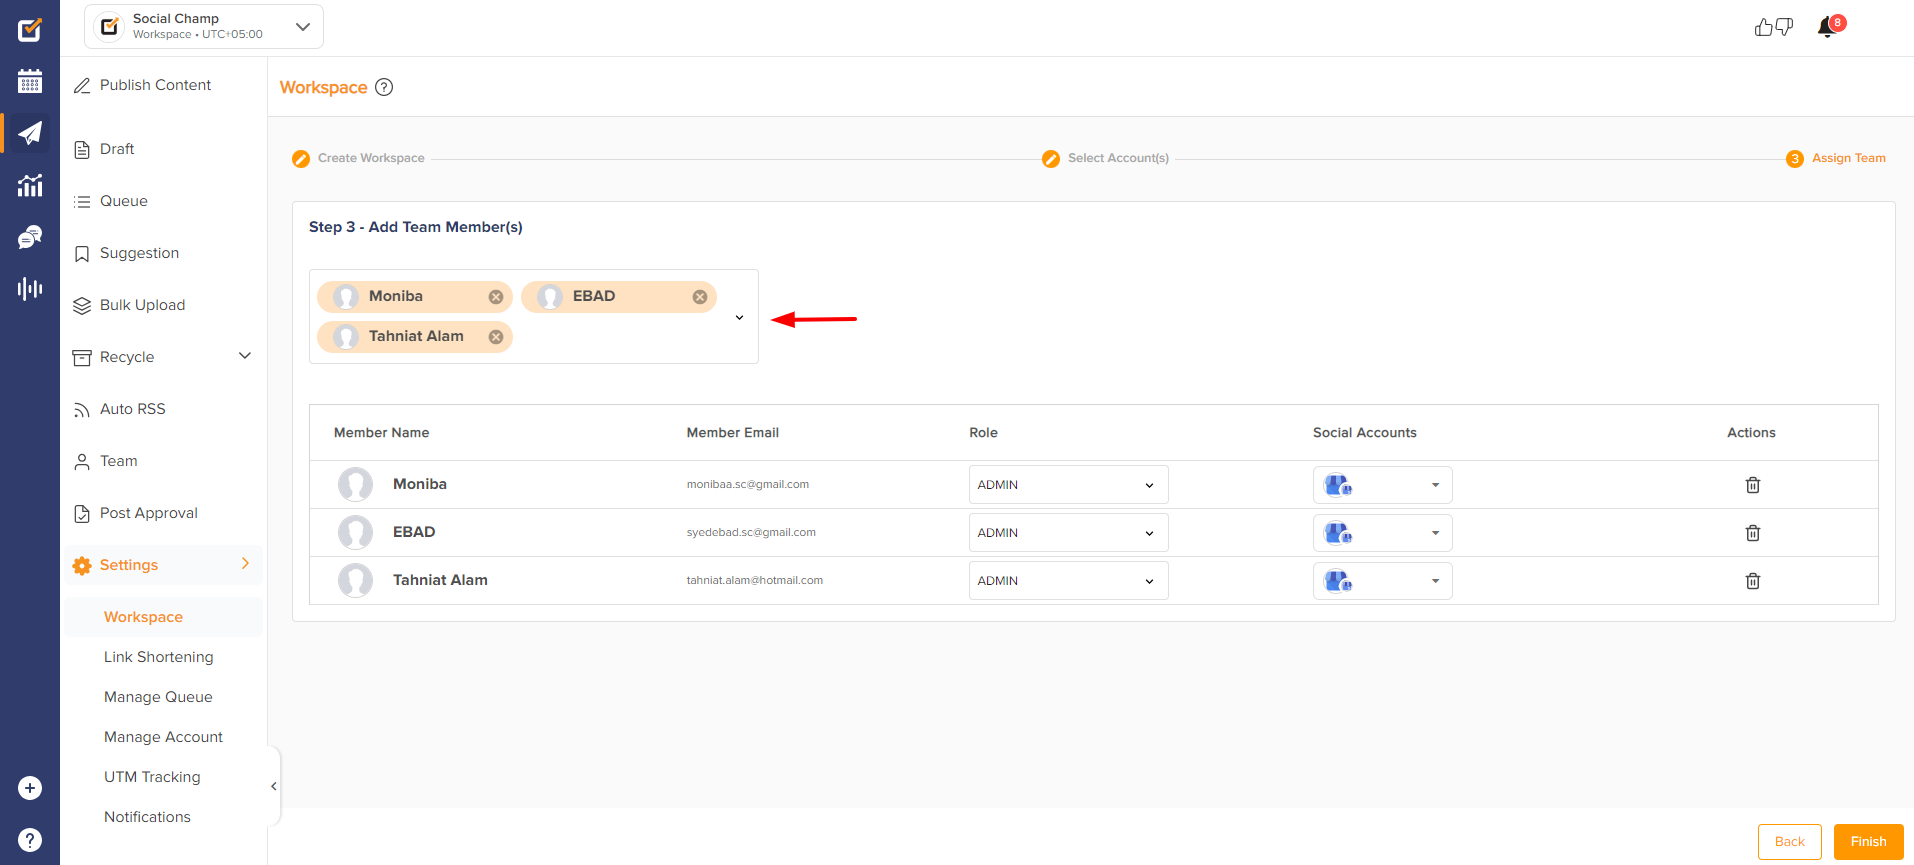
- You can further edit the team by assigning them preferred roles.
 Please note:
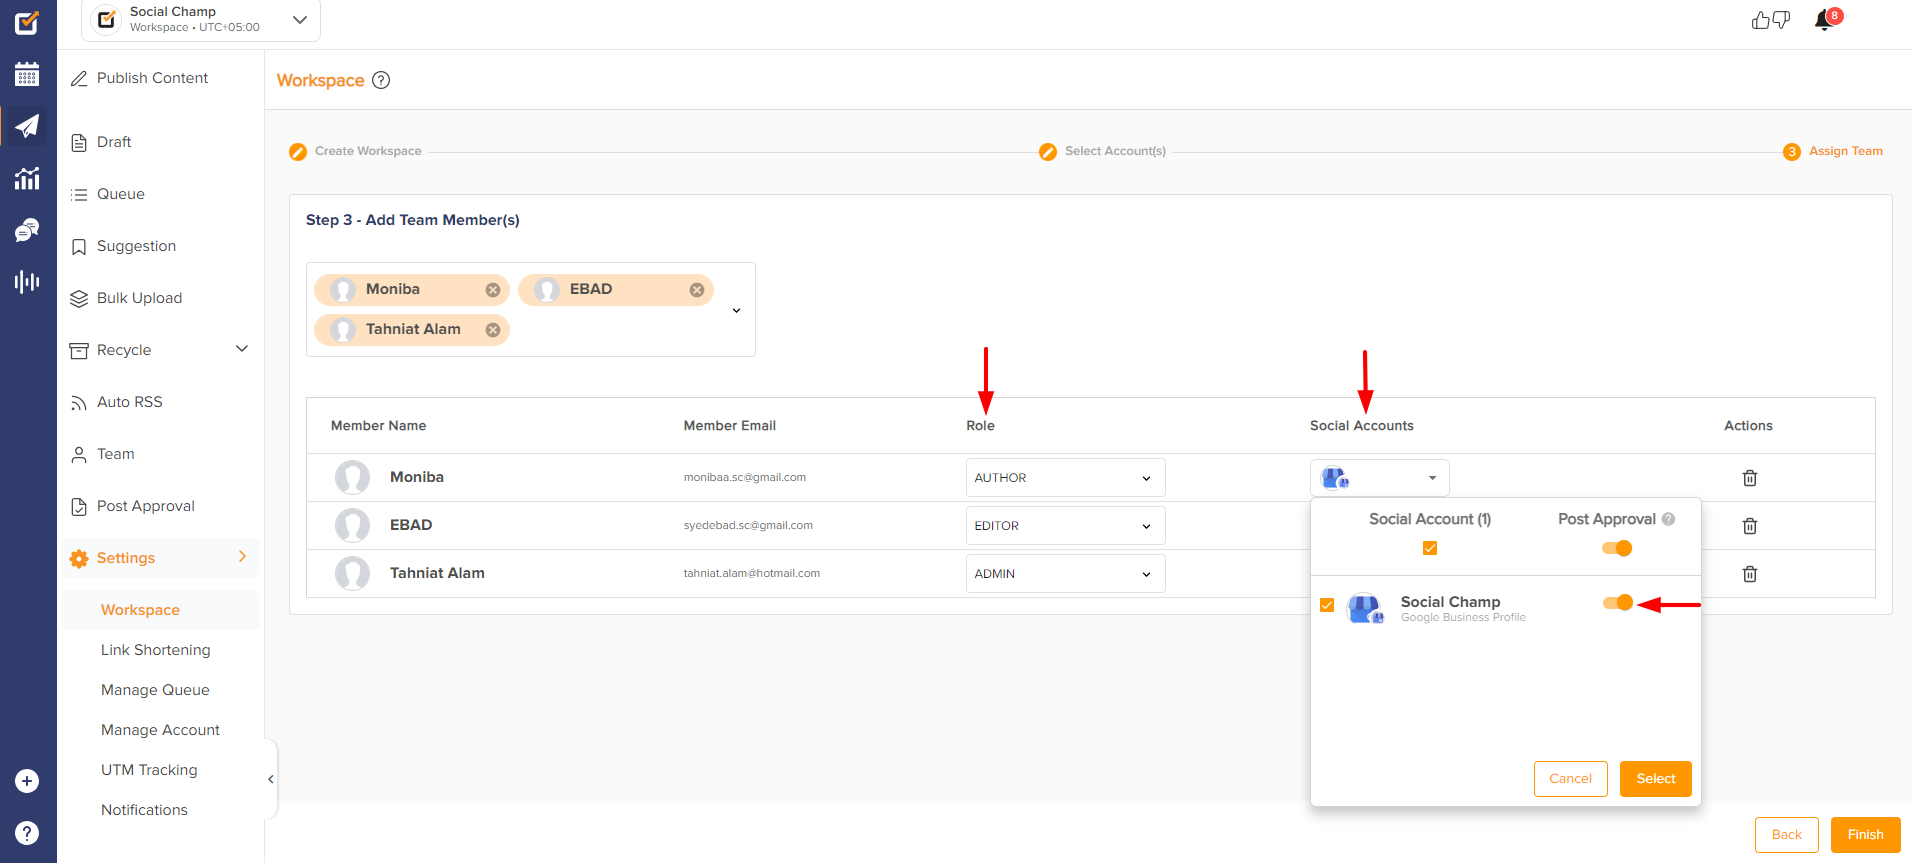
* The Admin team member will be able to: Approve posts, Manage Team, Manage Workspaces and Accounts, Recycle, Auto-RSS, Post Calendar.
* The Editor team Members will be able to: Manage Accounts, Recycle, Auto-RSS, Post Calendar.
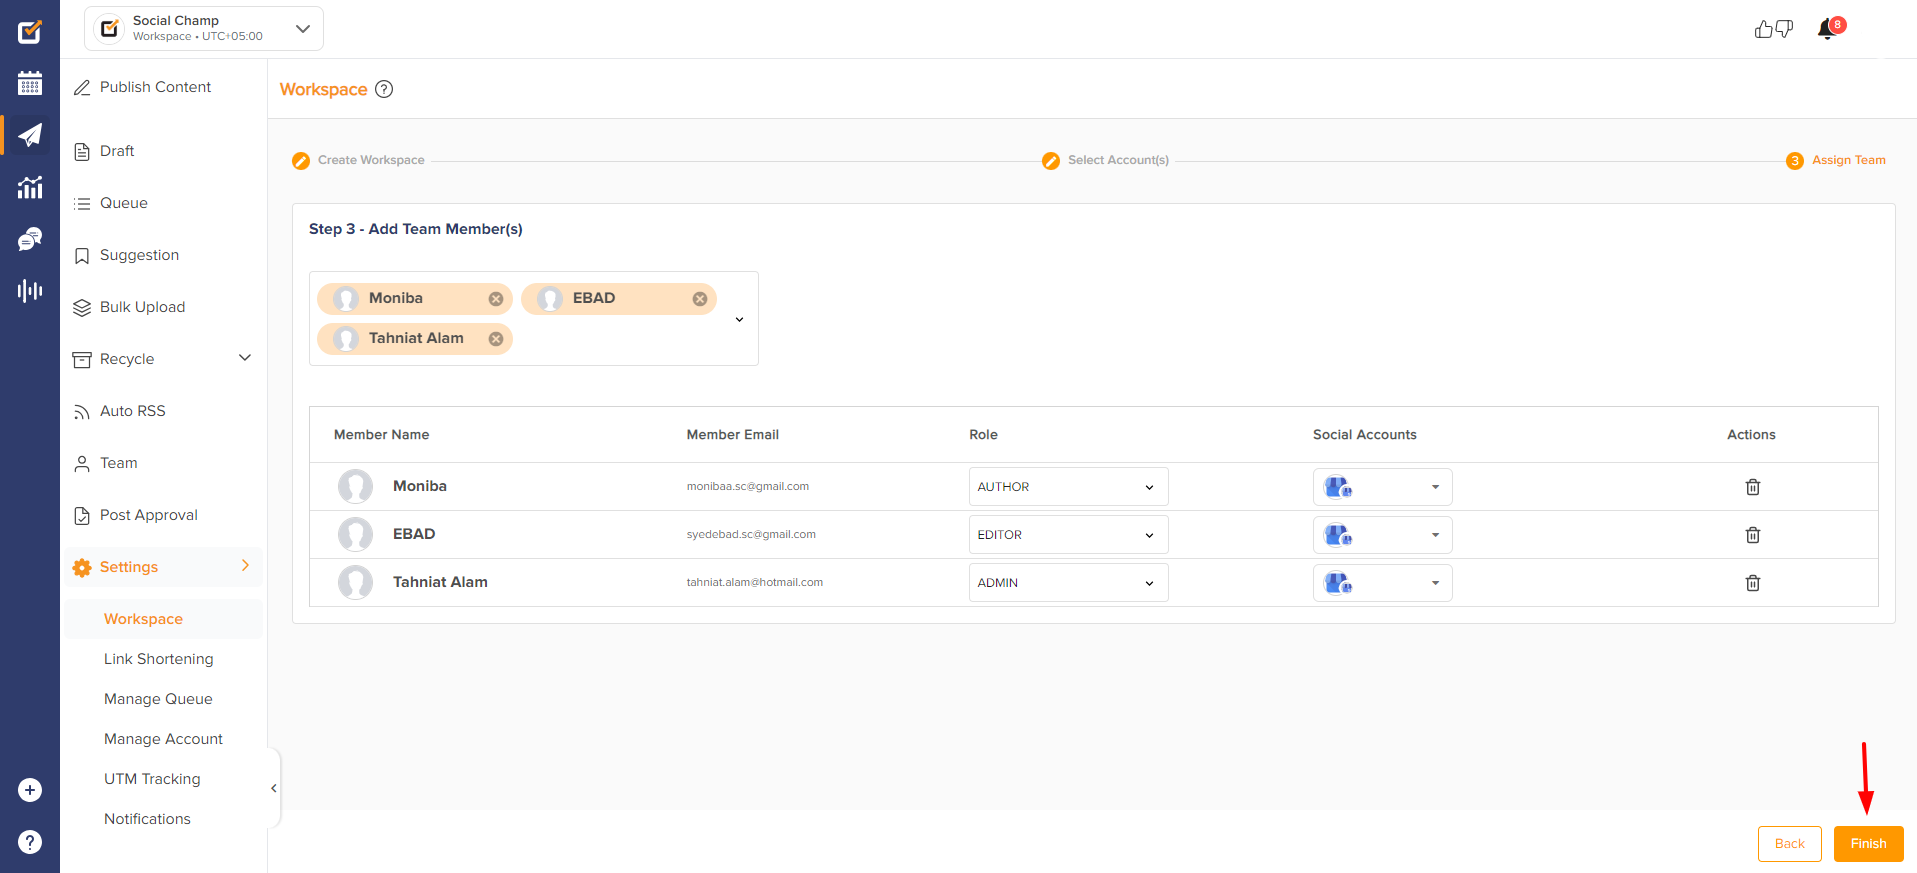
* The Author role Team Member Only manage posts within Calendar and cannot approve posts. You can select the Social Accounts the Author can interact with, by ticking the checkbox and also opt-in for Post Approvals for those selected Social Media accounts by switching the toggle on. - Once done, click the Finish button to save your new Workspace.
Great work! Now you know how to create workspaces. You can find more guides related to the workspace here and we also encourage you to check out the
Check out our Video Tutorial on Creating Workspaces here.
Hey Champs! Let’s Dive into this comprehensive guide and discover the seamless process of adding a team member to elevate Read more
Hey Champs! You asked and we answered - Now you have the ability to set Time Zones when scheduling and Read more
Social Champ allows you to assign roles to your team members, allowing you to collaborate with your colleagues in a Read more
Social Champ allows you to assign roles to your team members, allowing you to collaborate with your colleagues in a Read more